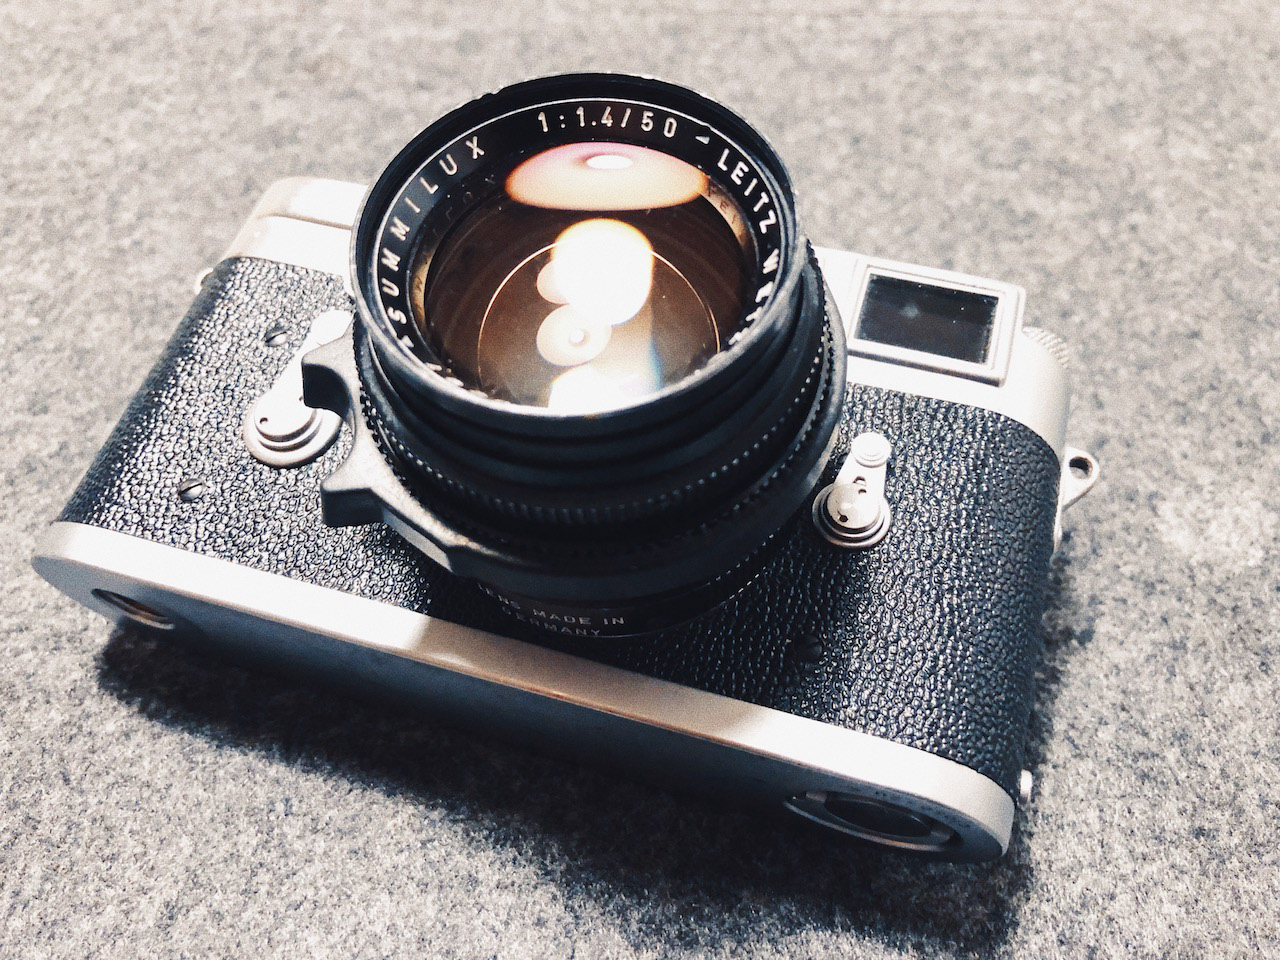
When you are in Leica cameras you know, that there is only one real M out there, the Leica M3.
Although containing the 3 in its name, it was the first Leica camera build with the legendary M-mount. The M-mount is used still today for modern Leica M, e.g. the M10, and enables the use of a wide-range of lenses from over 60 years.
While I already own an M2 and some digital Ms, I always wanted to have the original M3. There are some legends around that camera, some say the build quality was never achieved with later models.
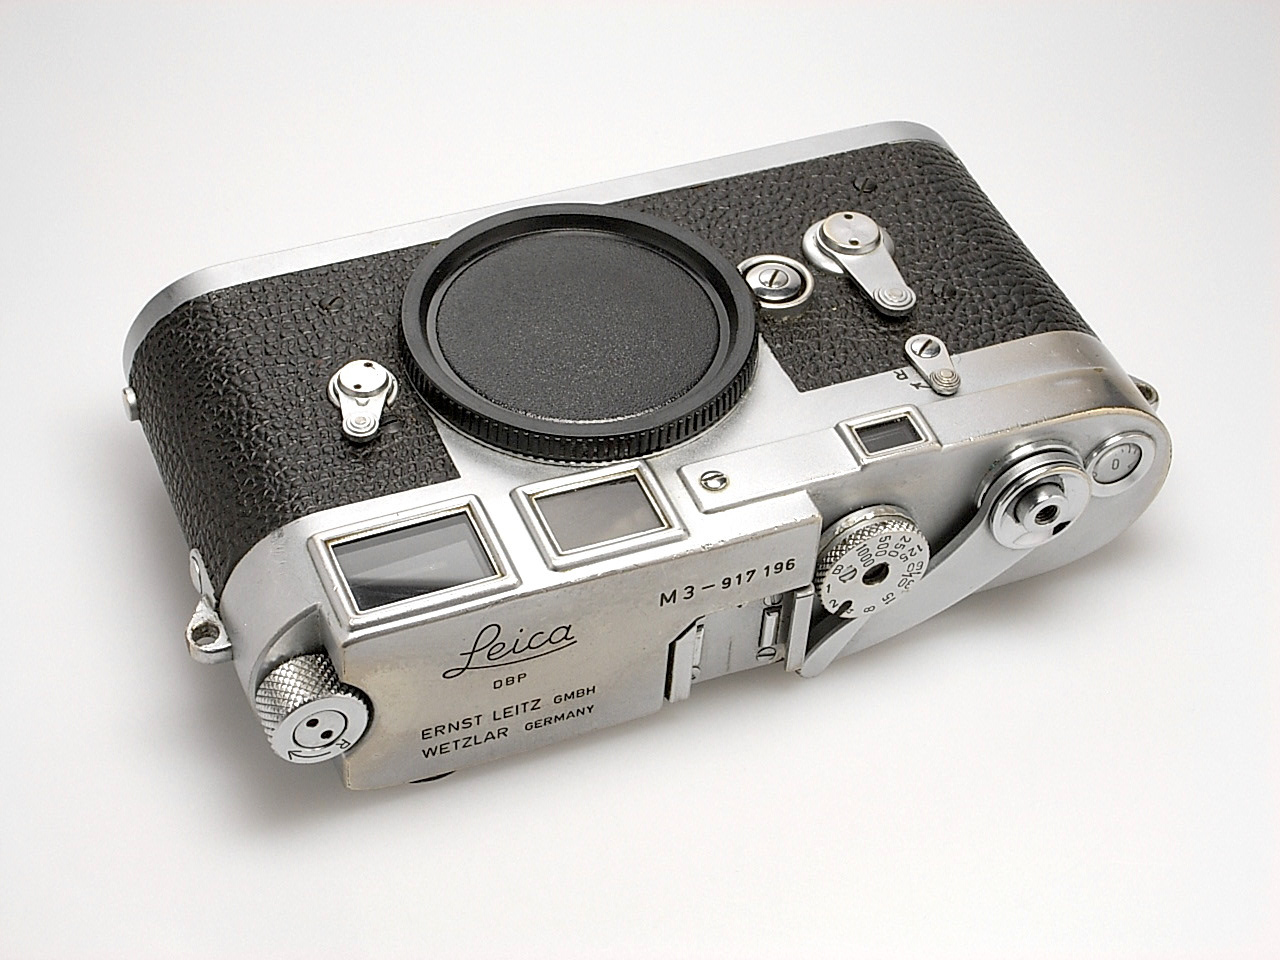
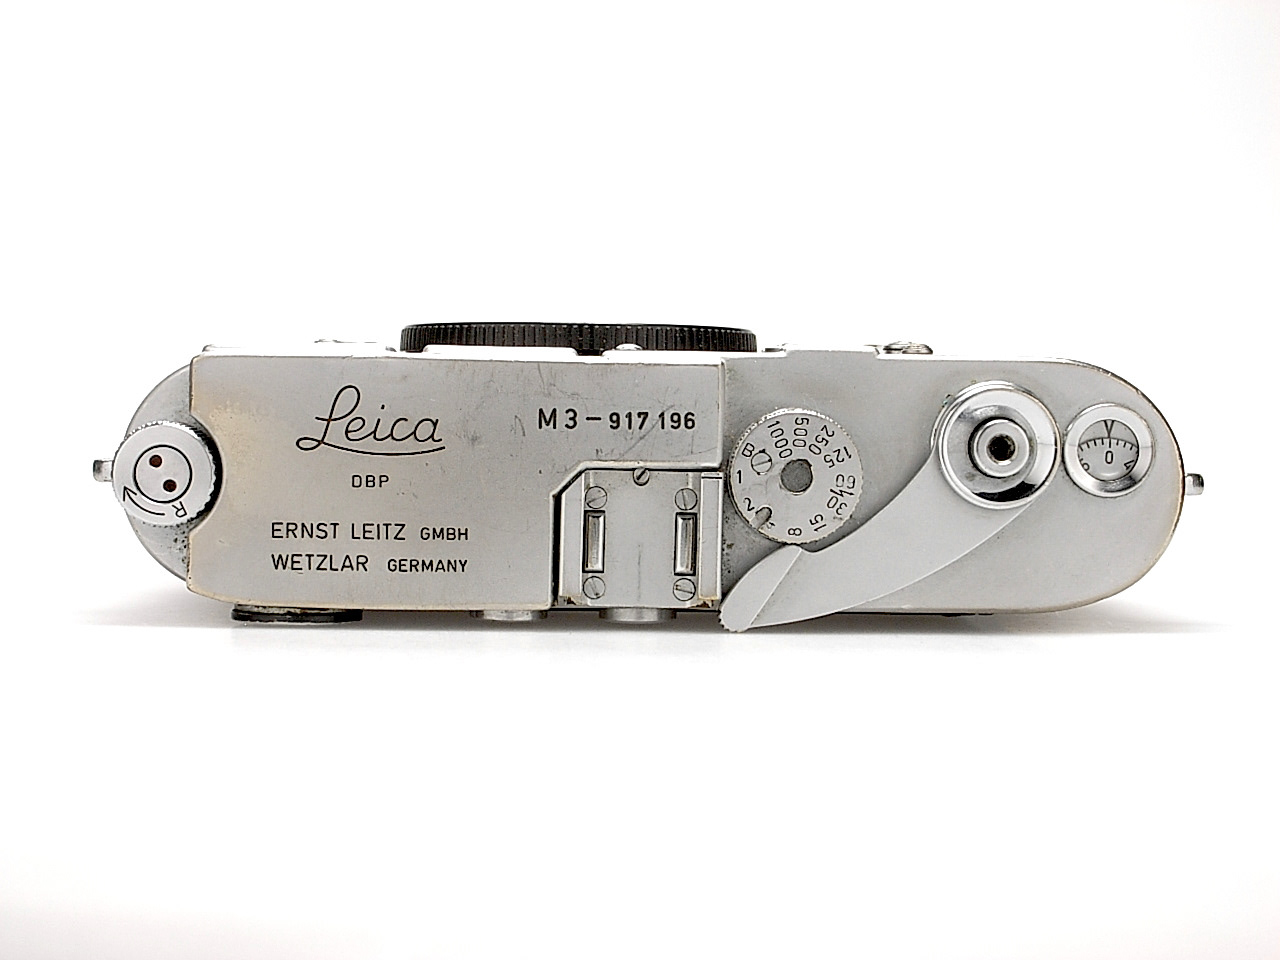
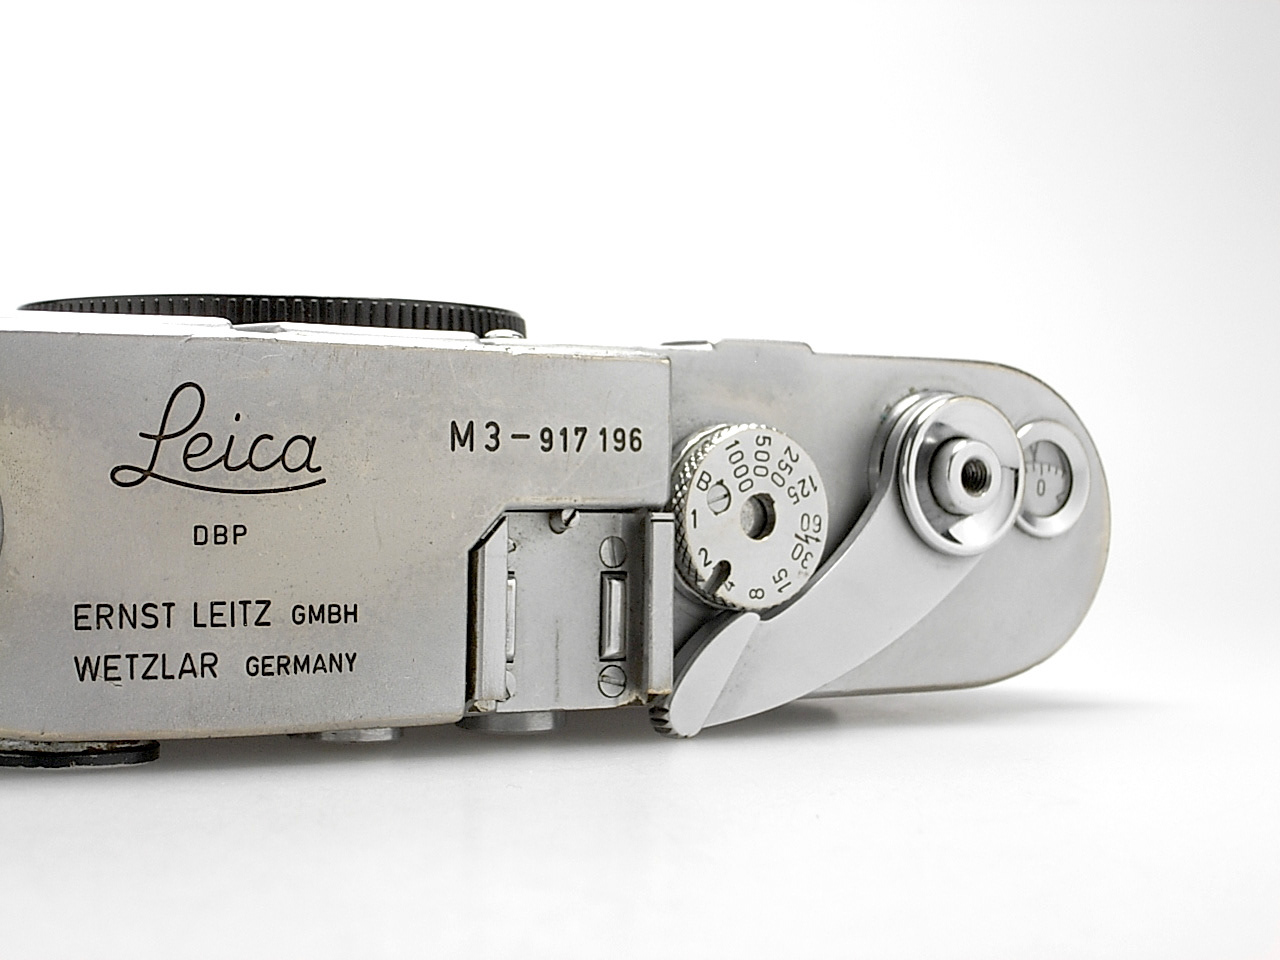
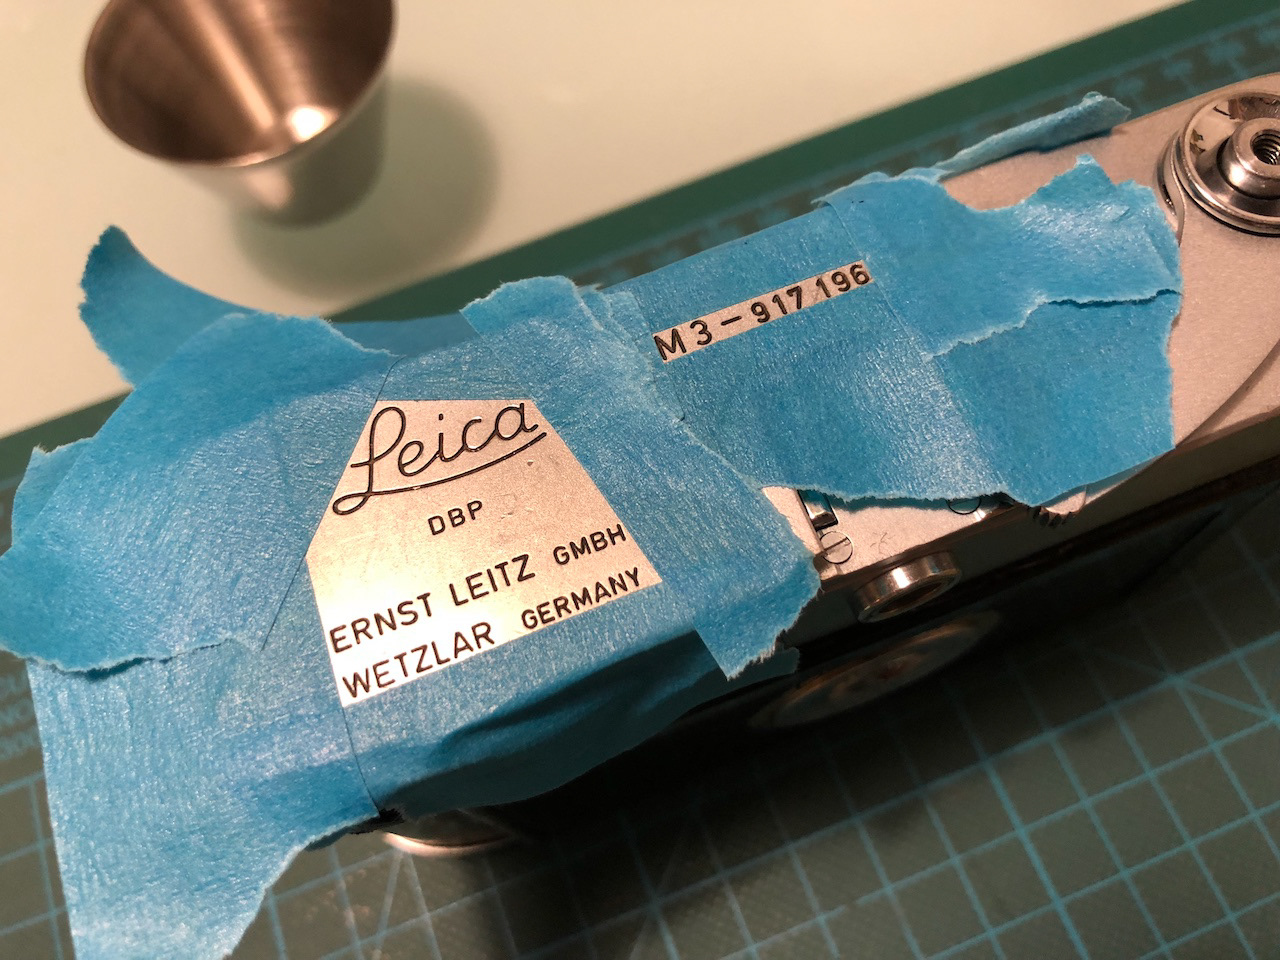
While prices vary with the condition of the camera, and my camera budget is always tight, I spend some month researching the different M3 types and problems they can come with. Finally, I went with a nicely used body sold by Meister Camera in Hamburg. I spend 350€ on the body and it came with the original leather pocket and all manuals (incl. the matching serial number on them).
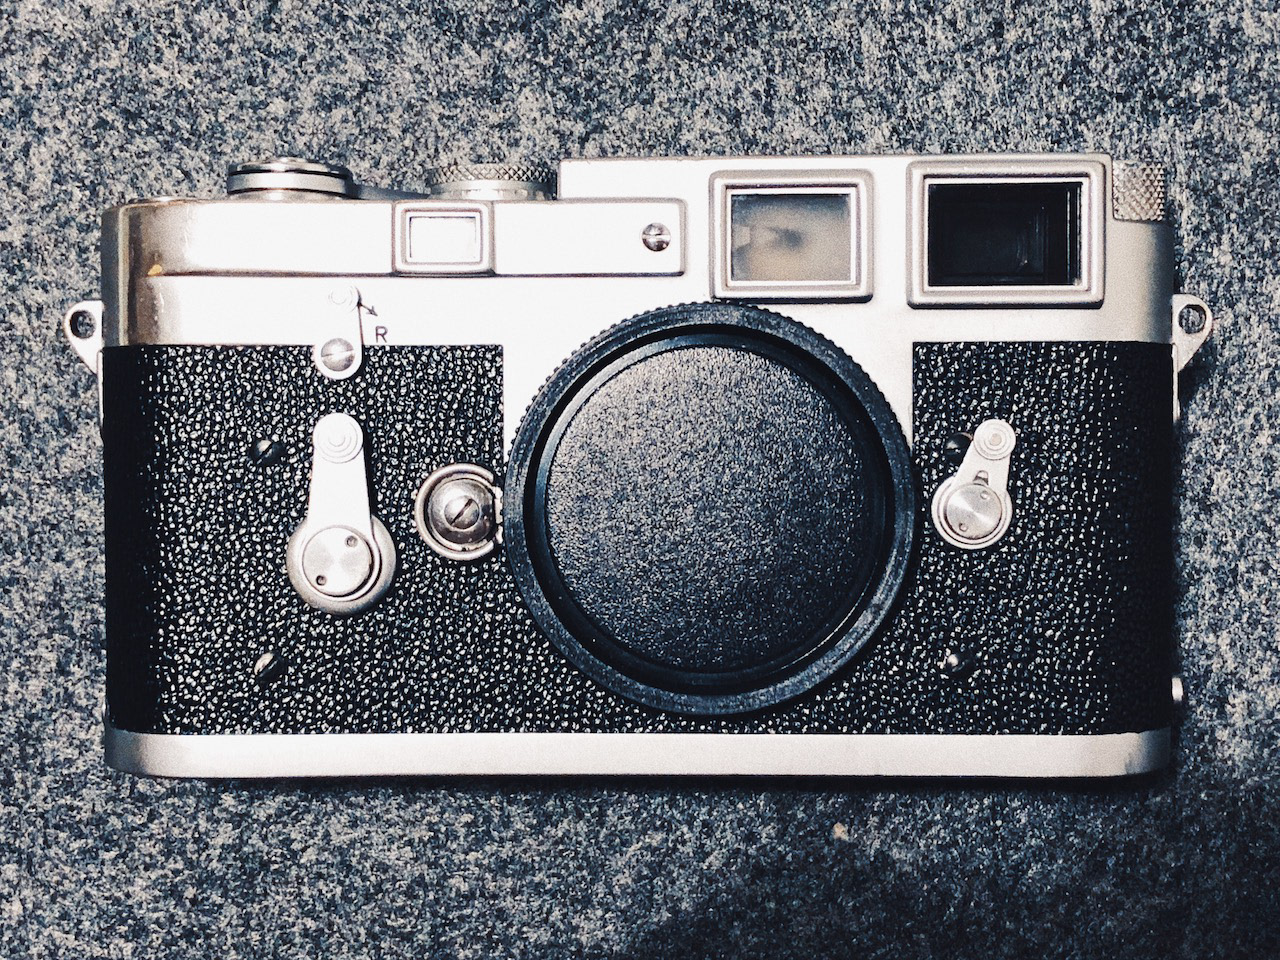
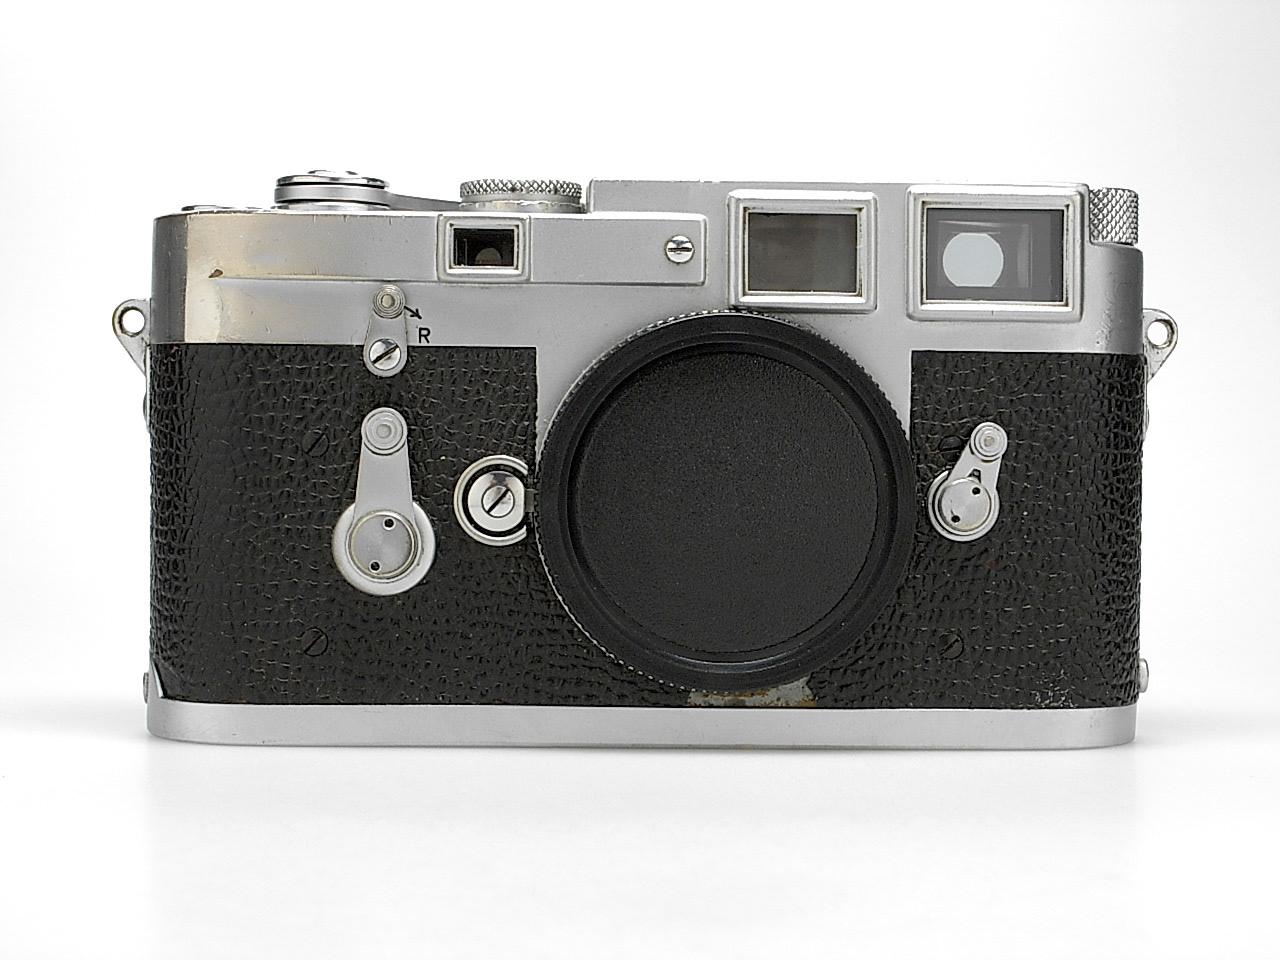
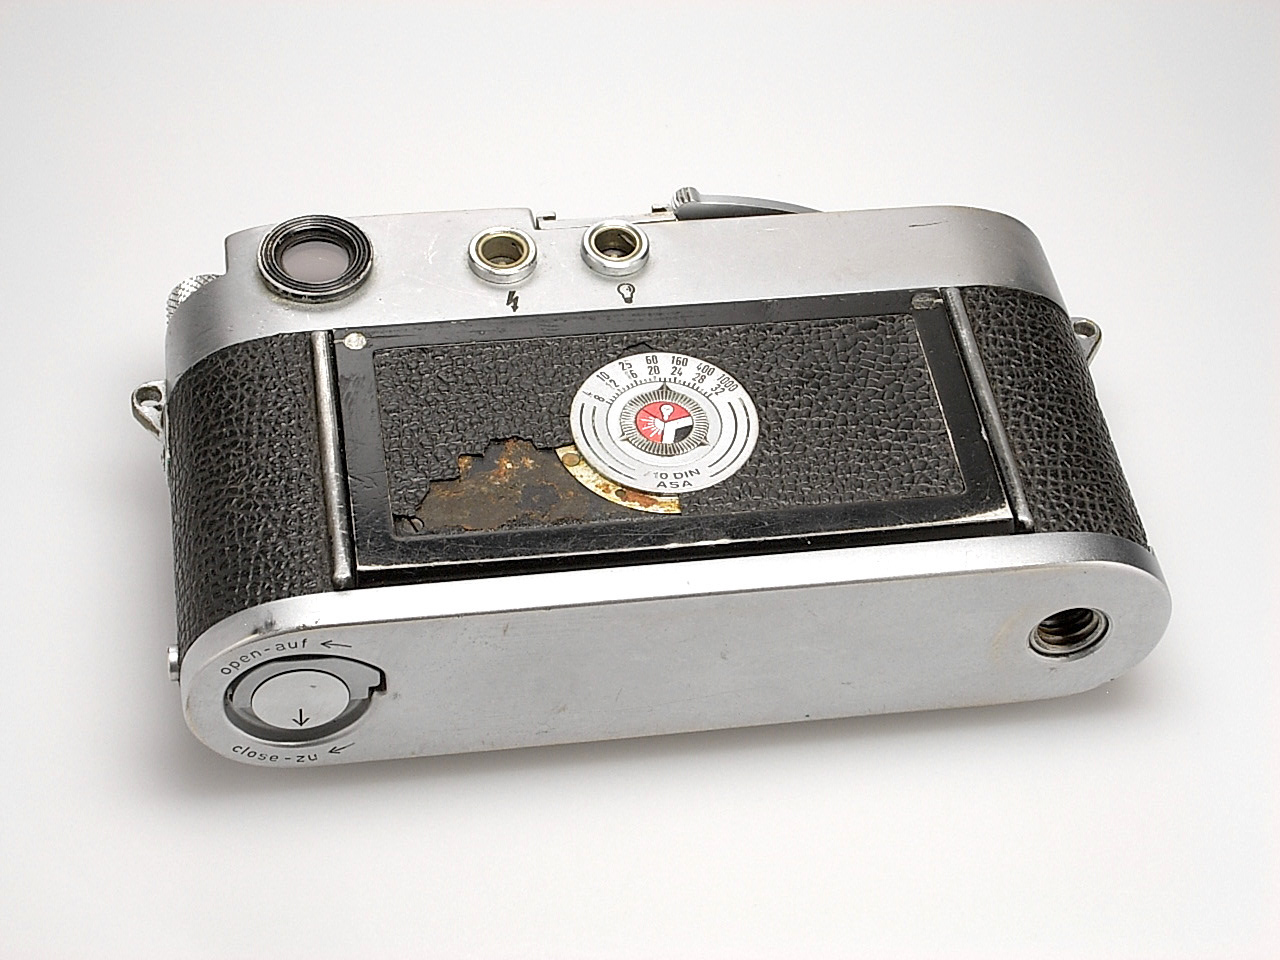
To be precisely here, it is a 1958 model, with self-timer and preview lever and the buddha ears.
While the body has signs of usage, all times worked perfectly and even the self-time was still working. I decided to refurbish the body again, clean the internals and upgrade some parts as well (e.g. install a quick loading kit).
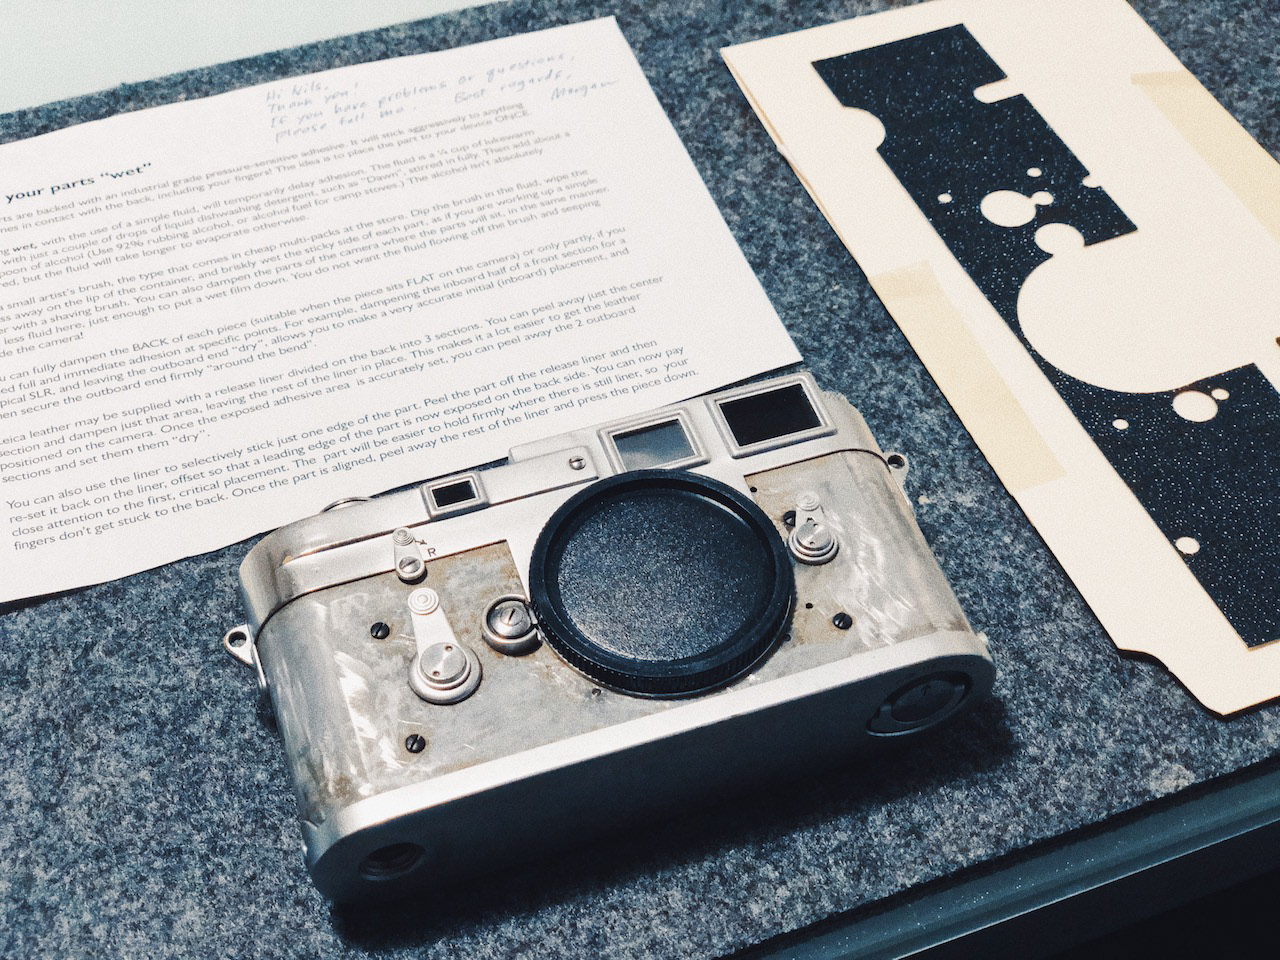
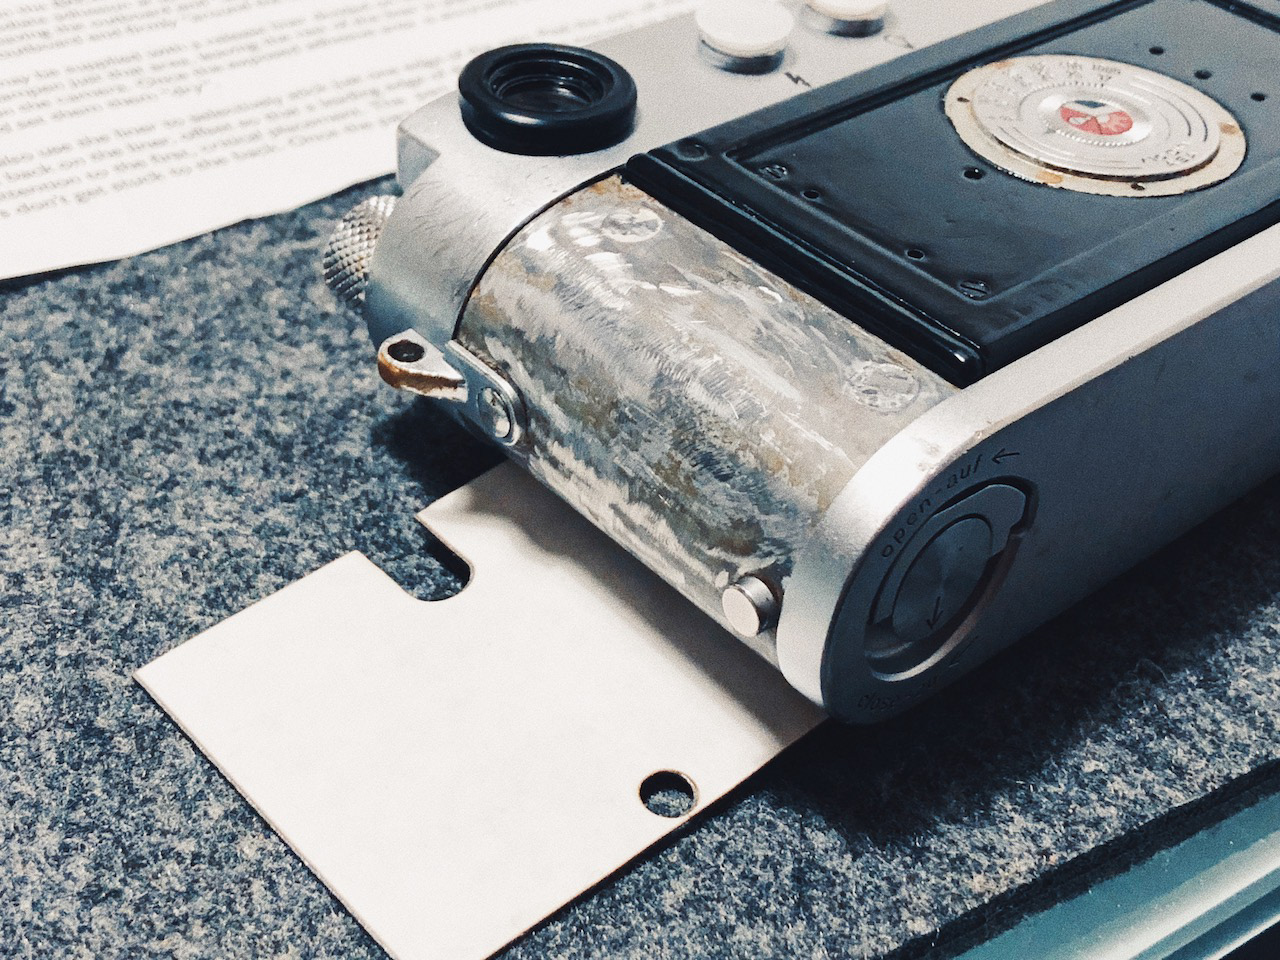
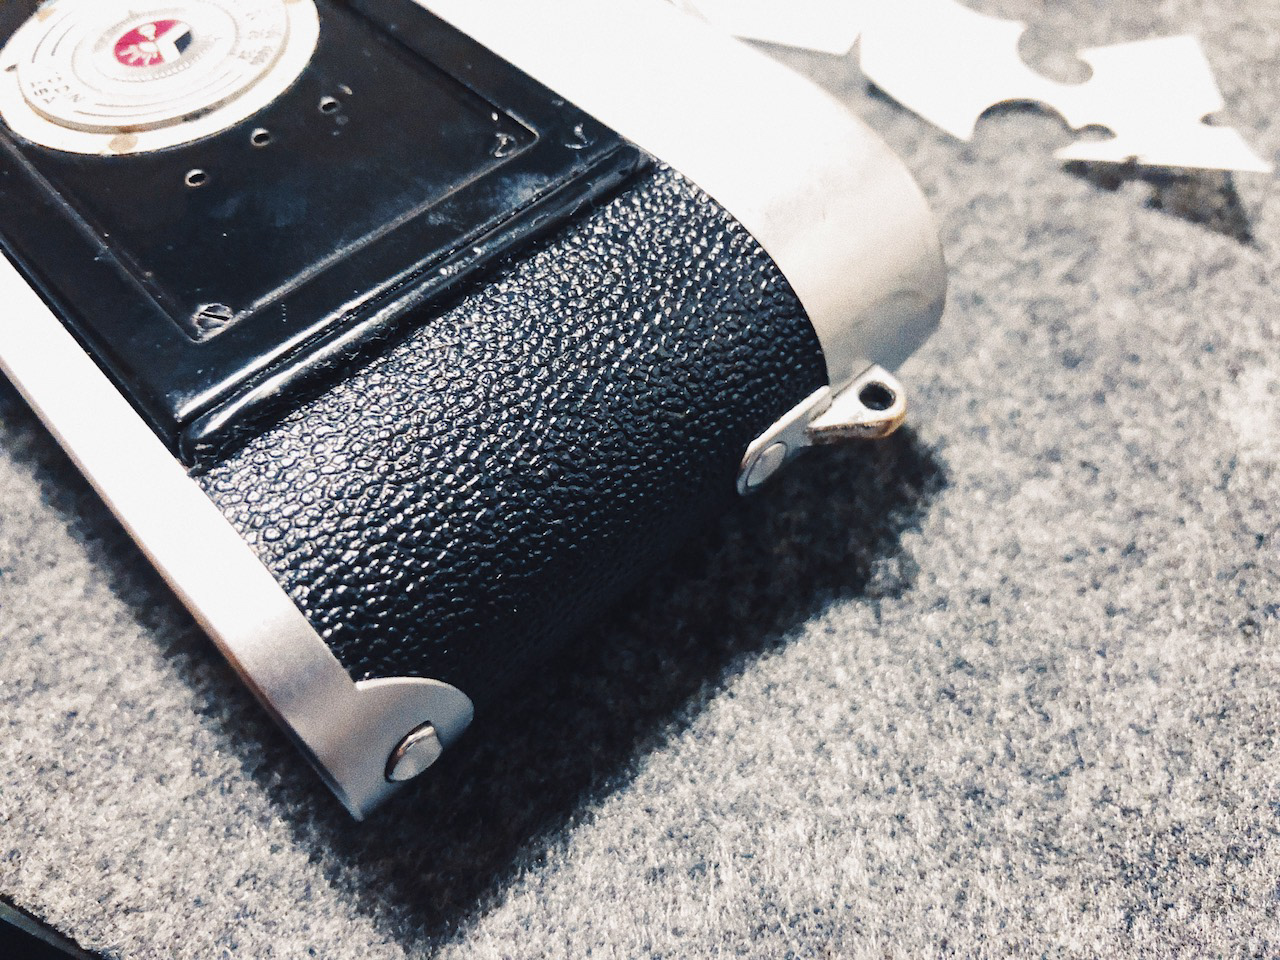
The first step, as always, was to remove the old, bridle leatherette and clean all surfaces. I use nail-polish to remove old glue and clean the surfaces. Before applying new leather to the body make sure to have the body perfectly clean.
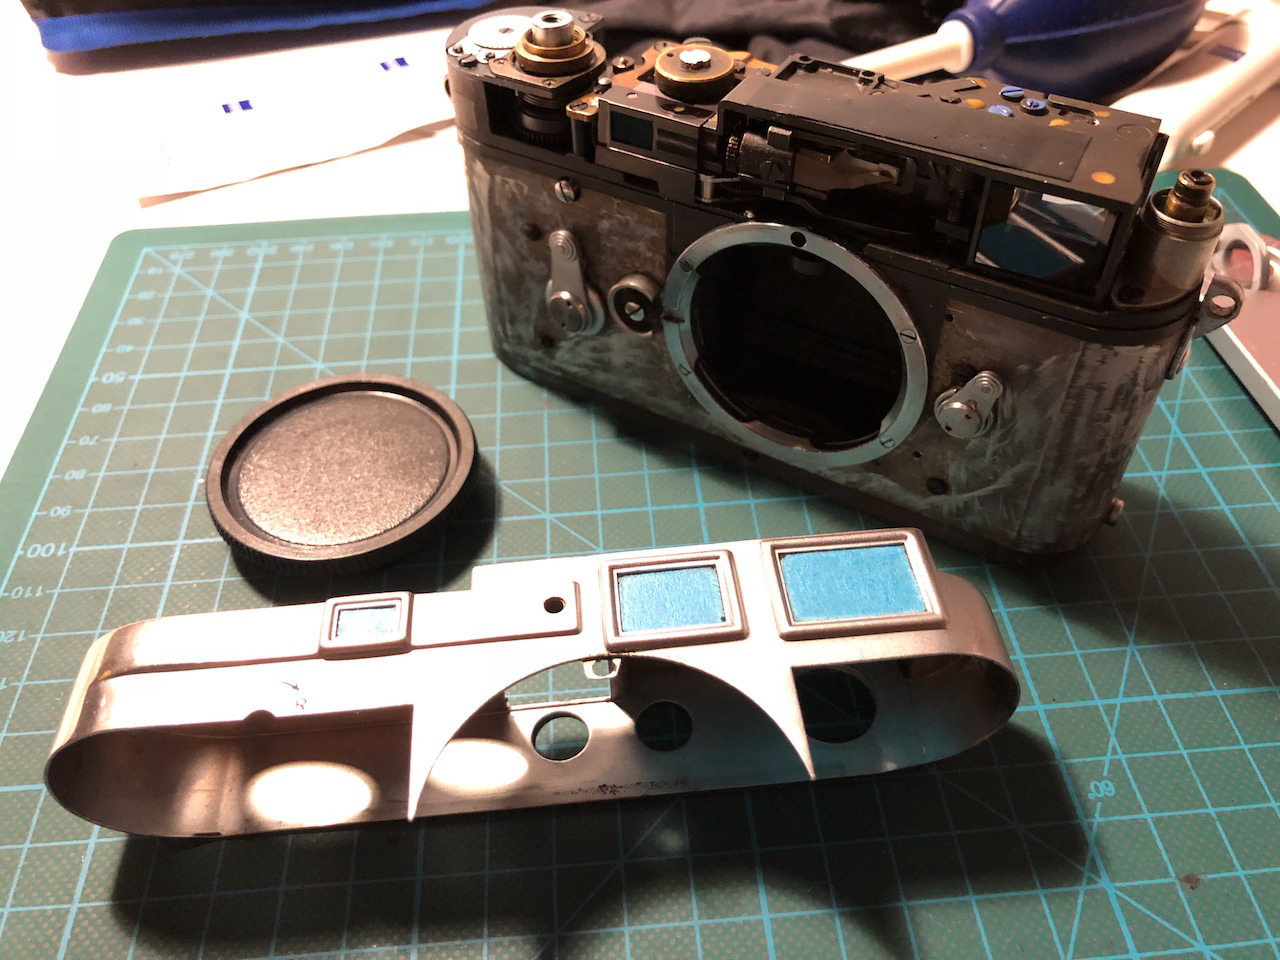
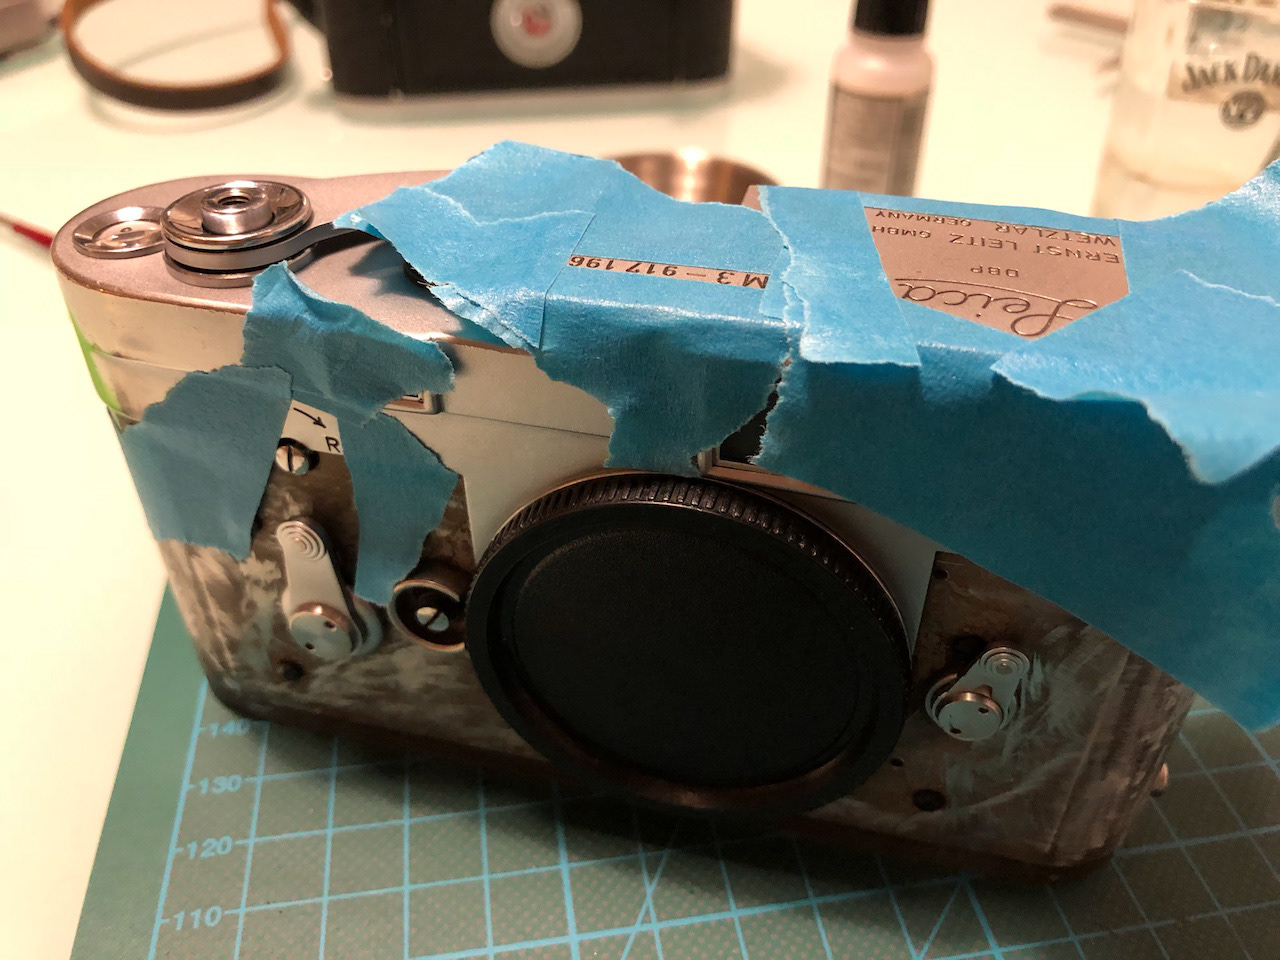
To prevent scratches, I always tape all glas parts.
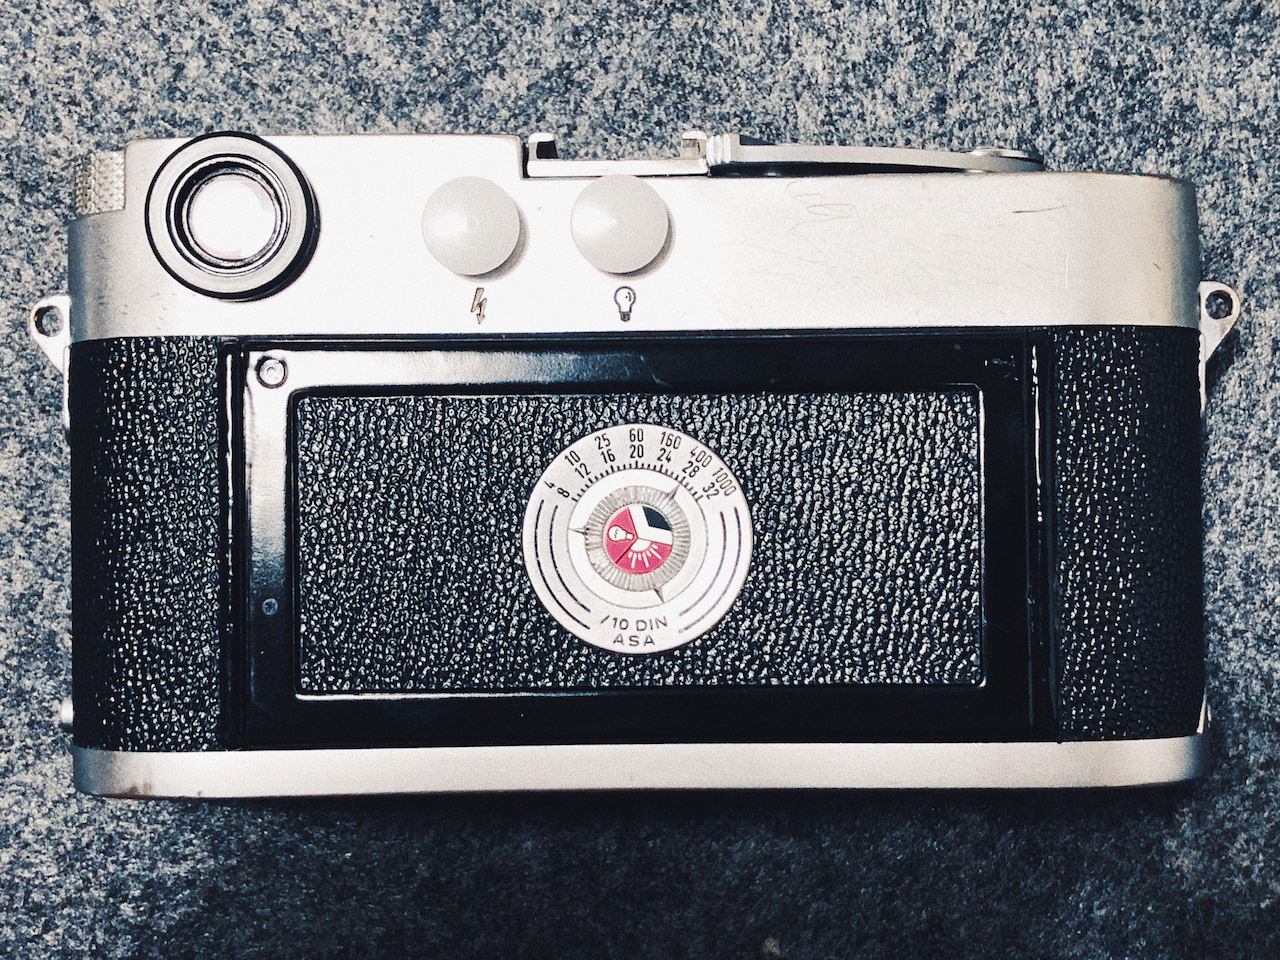
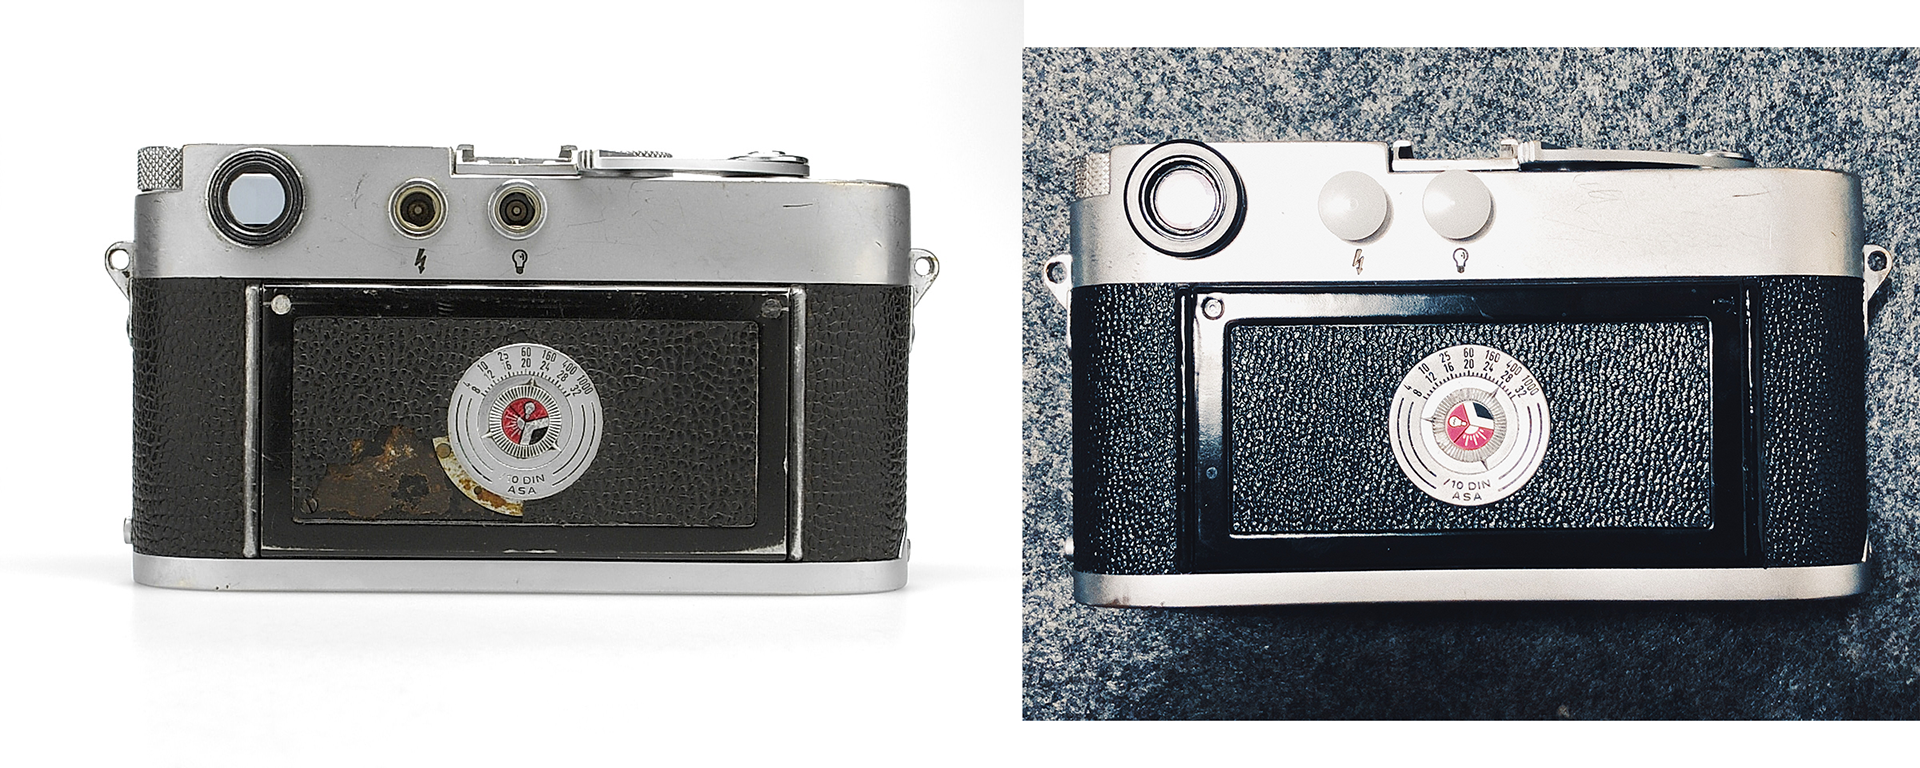
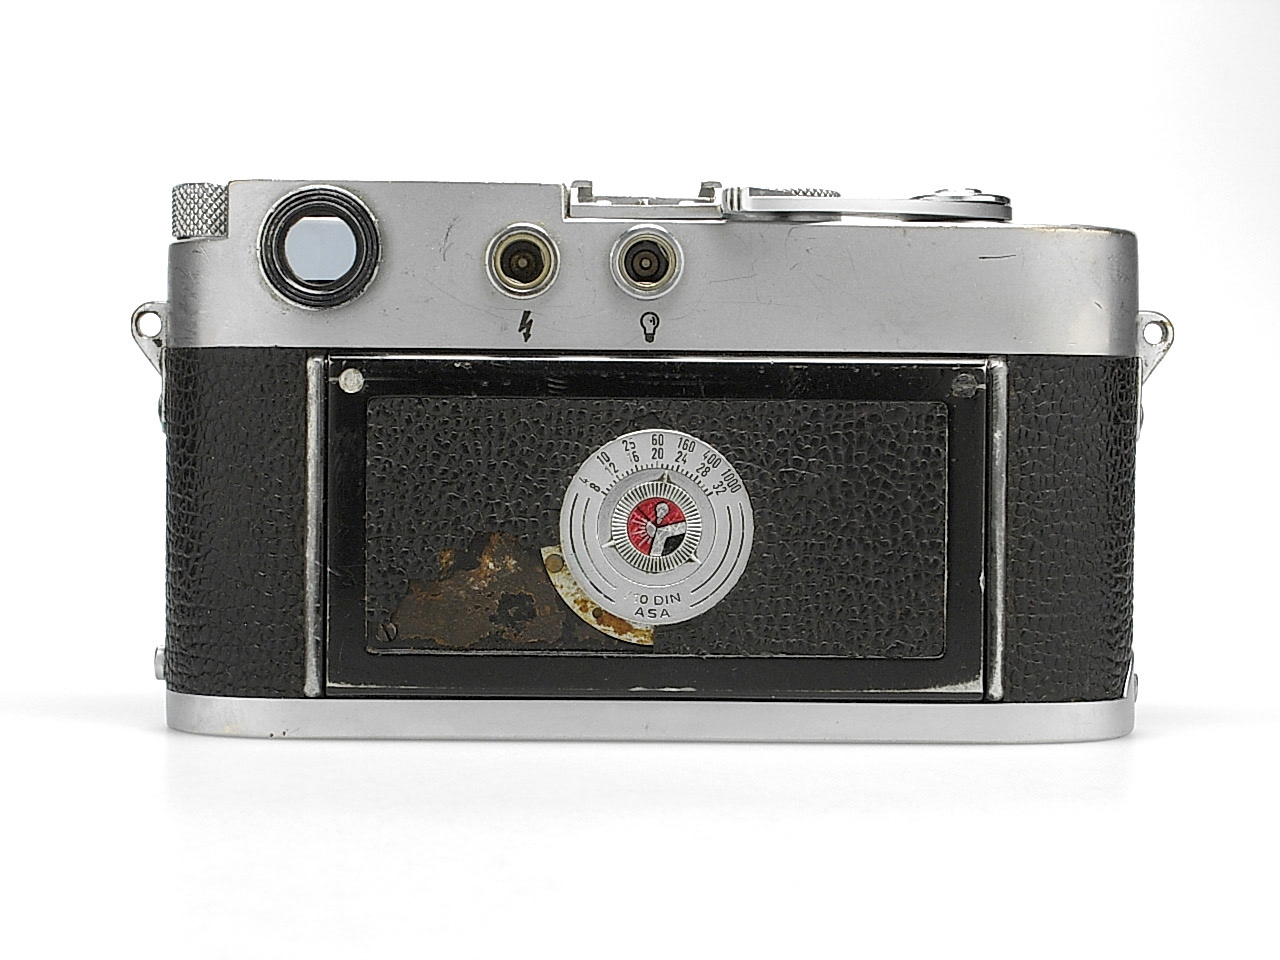
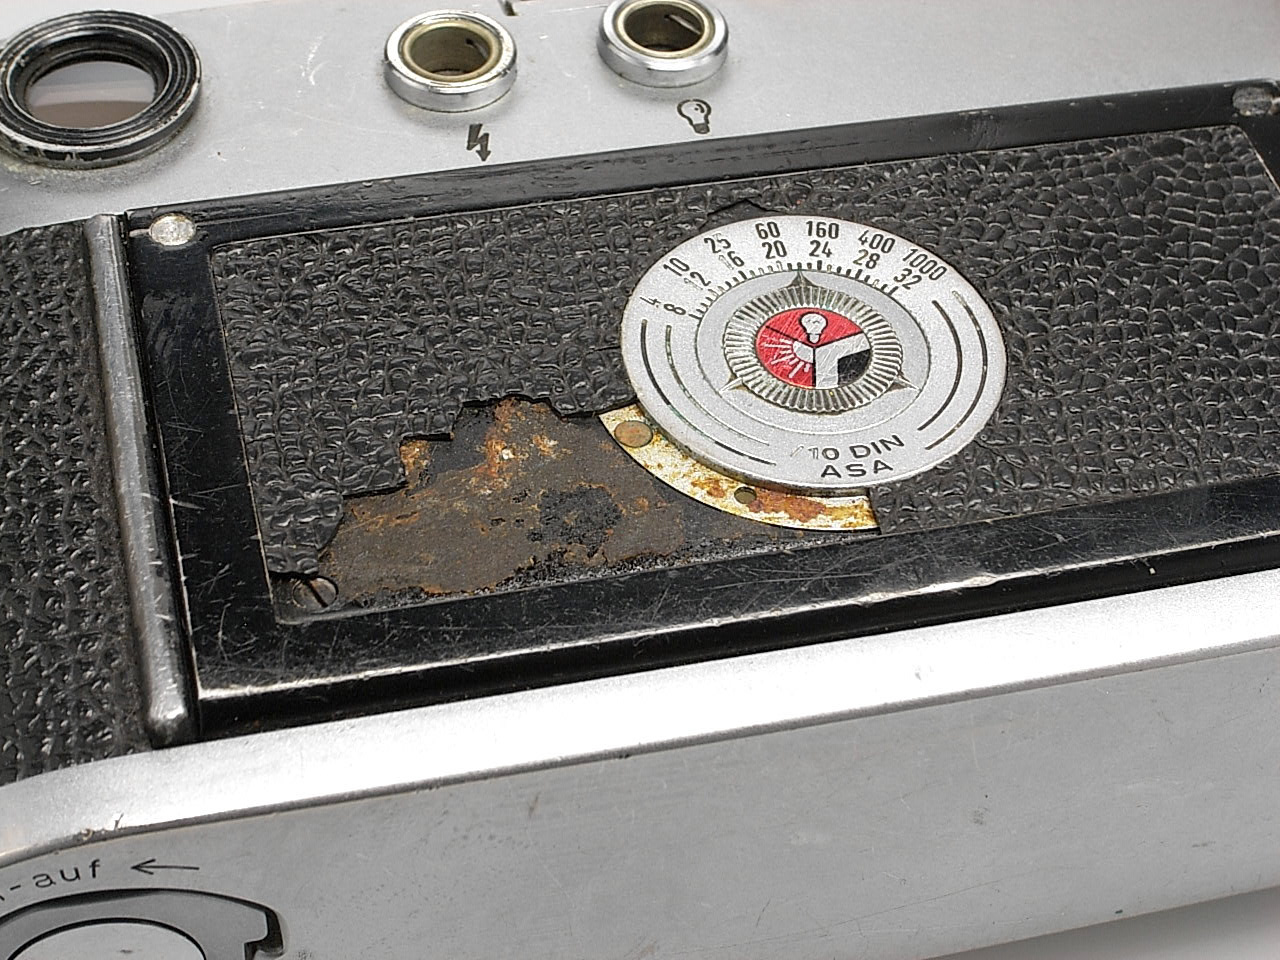
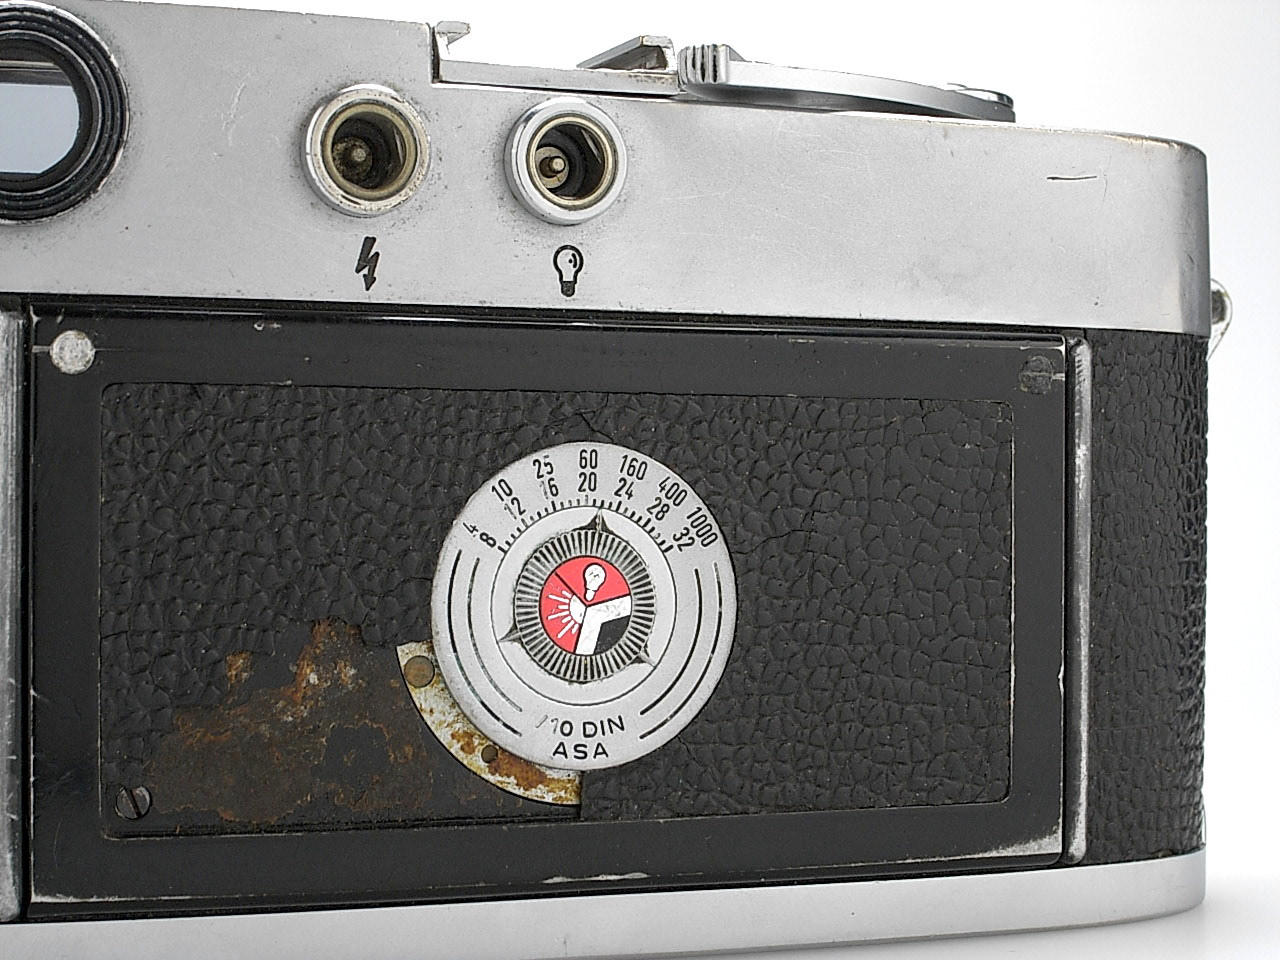
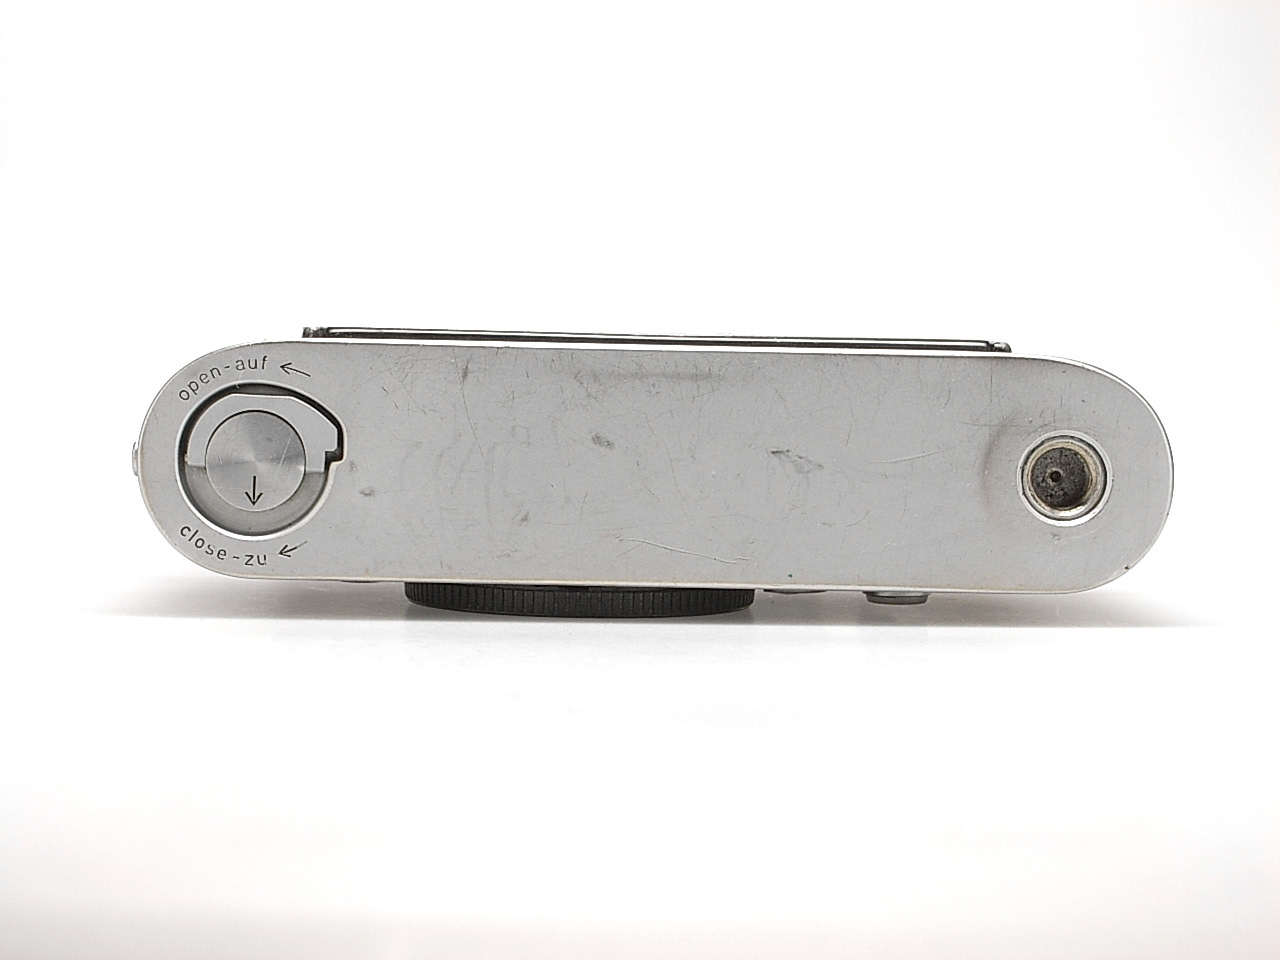
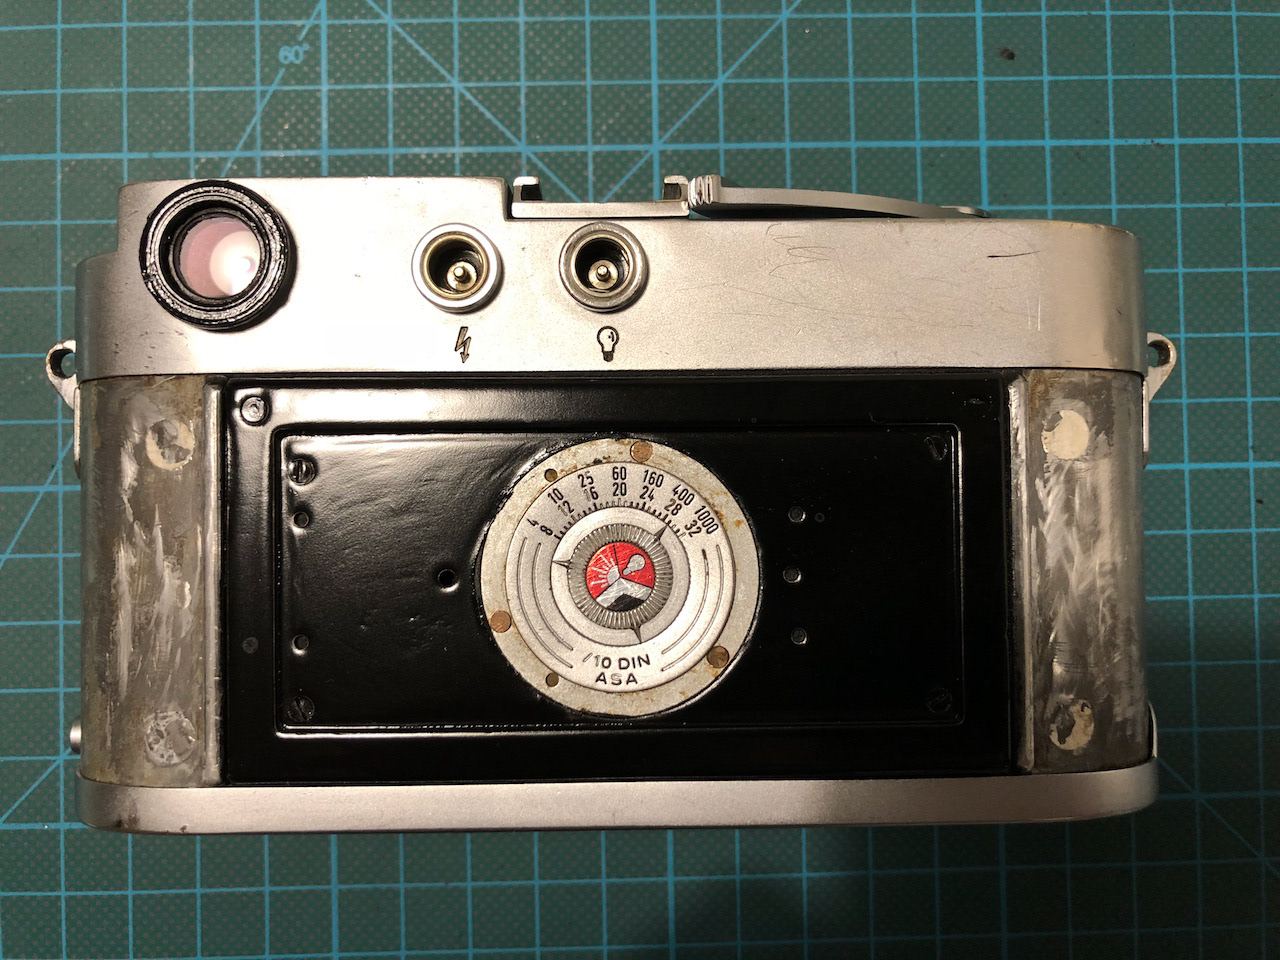
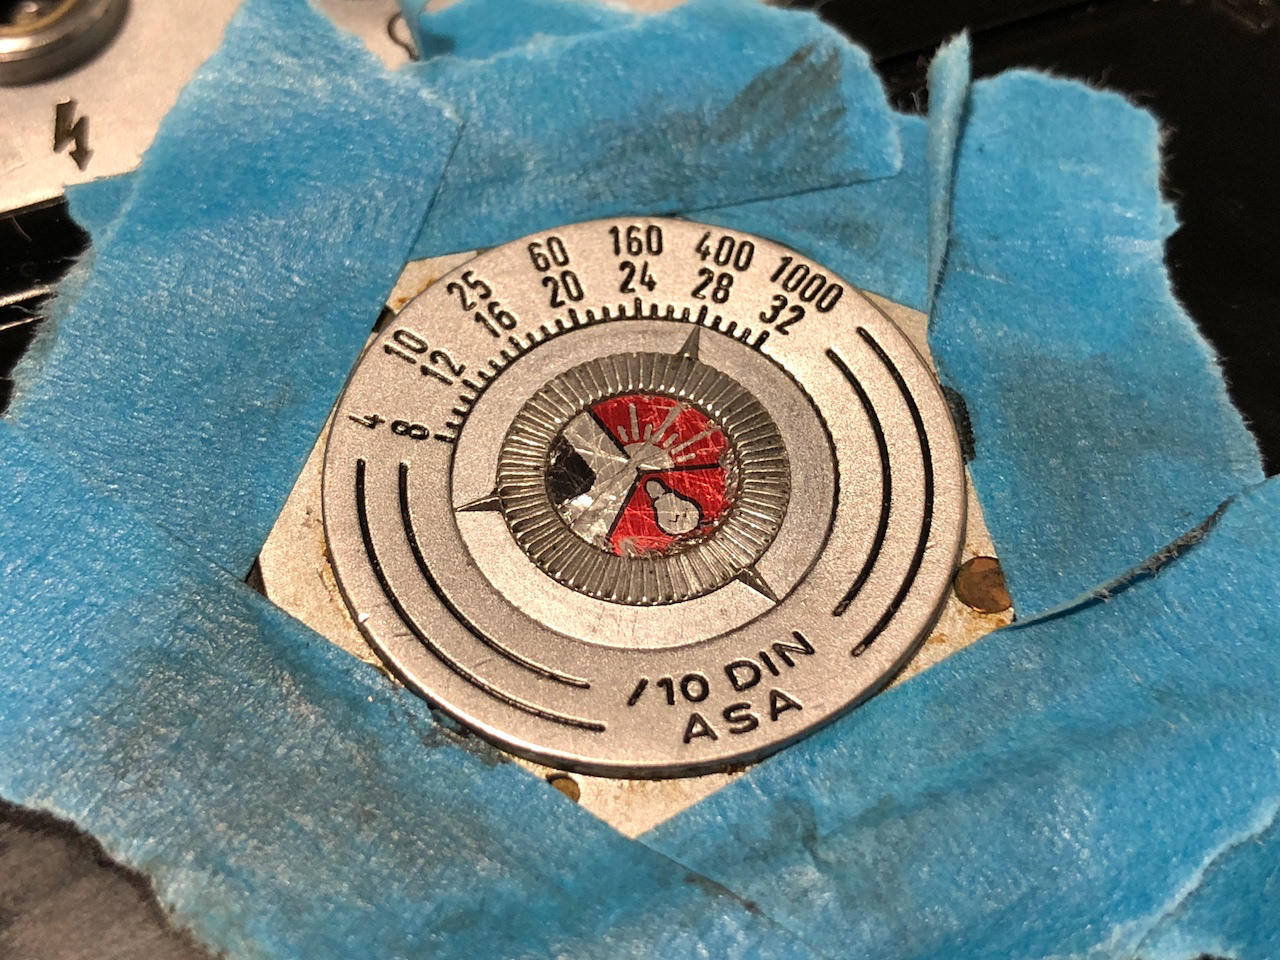
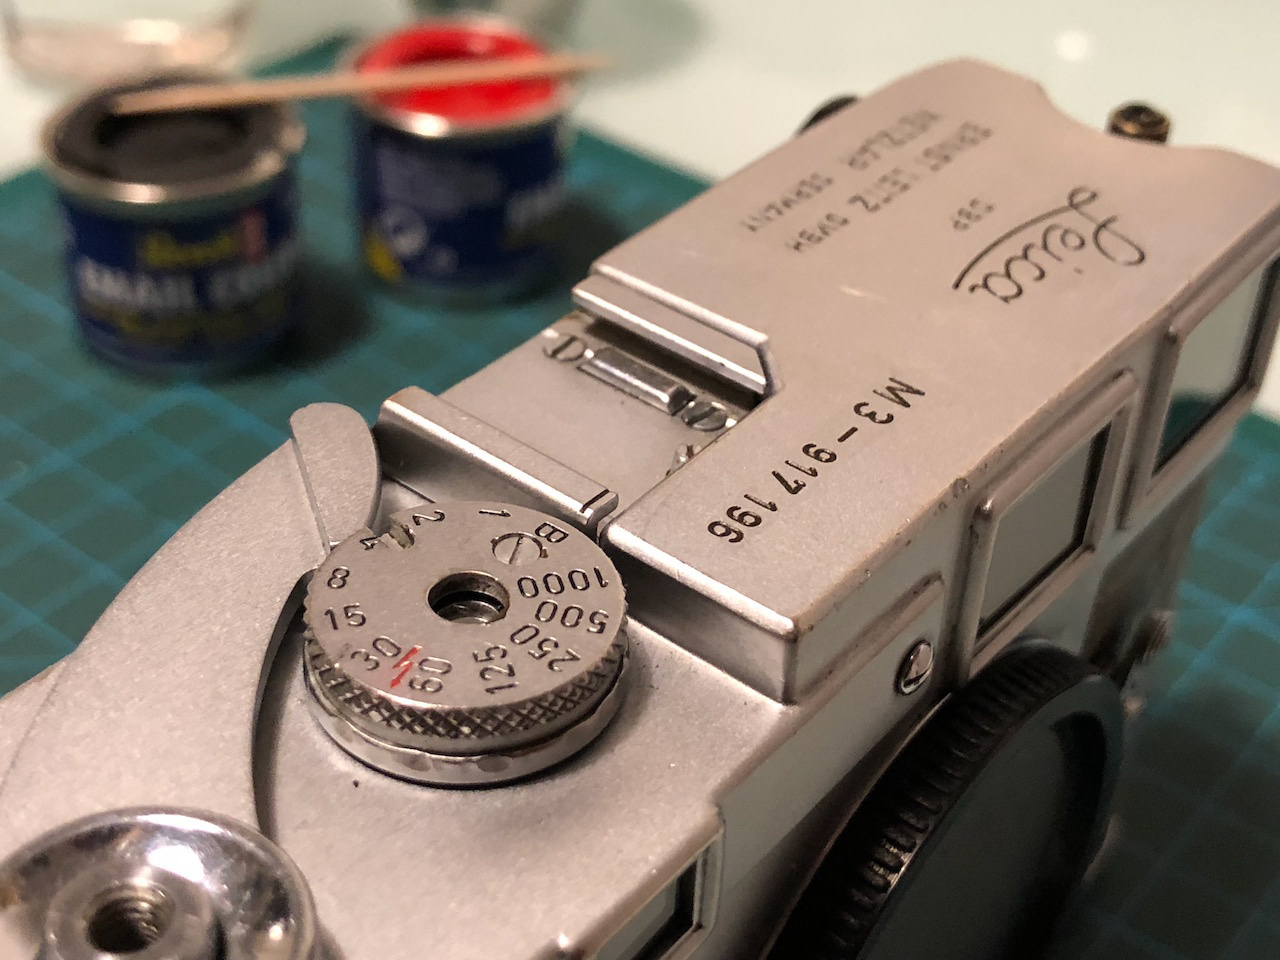
Since the backdoor was pretty worn out, I decided to repaint that as well. So I also removed the old paint with a Dremel, taped the film indicator and backparts.
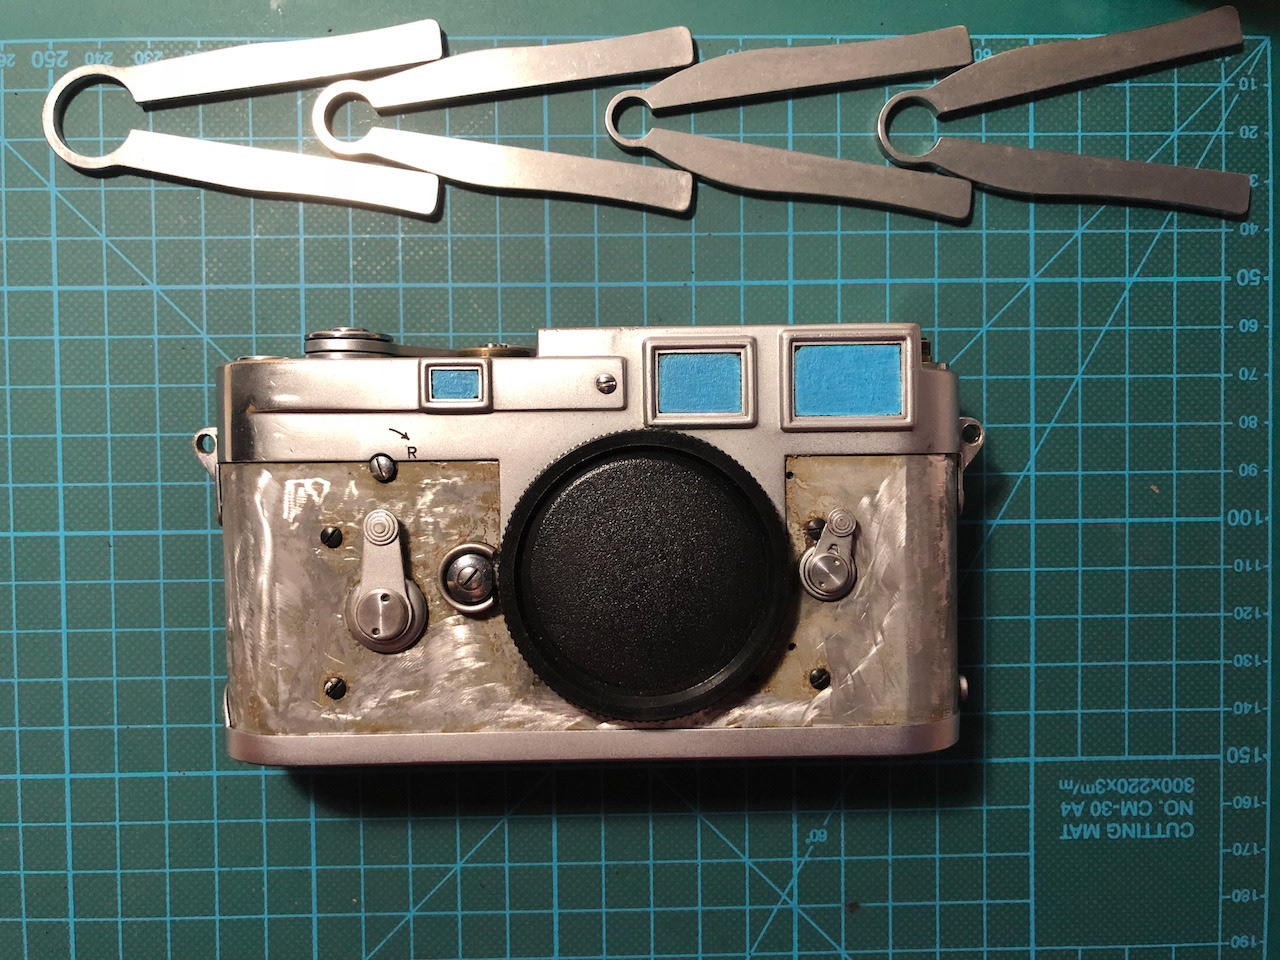
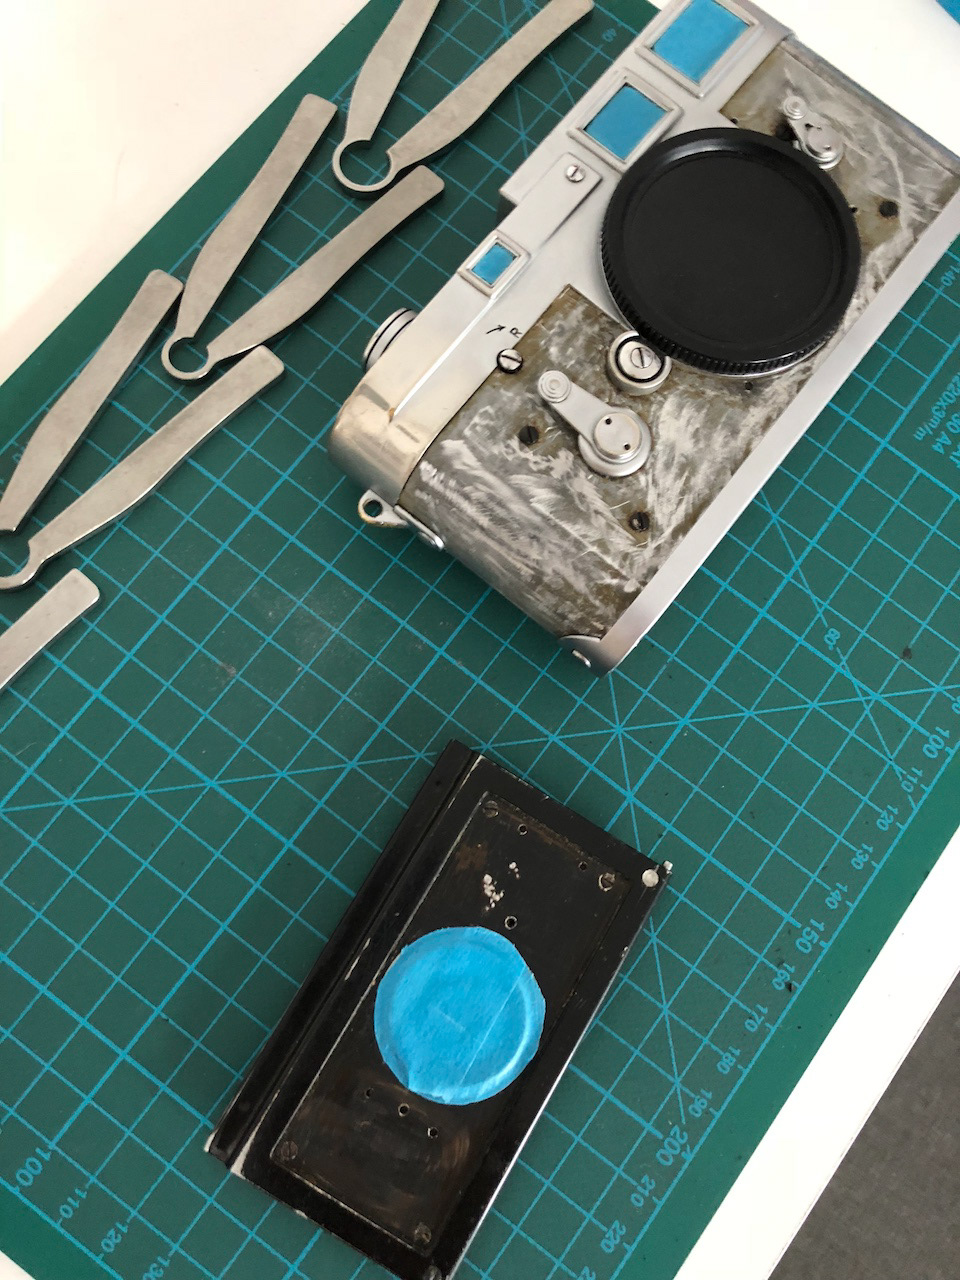
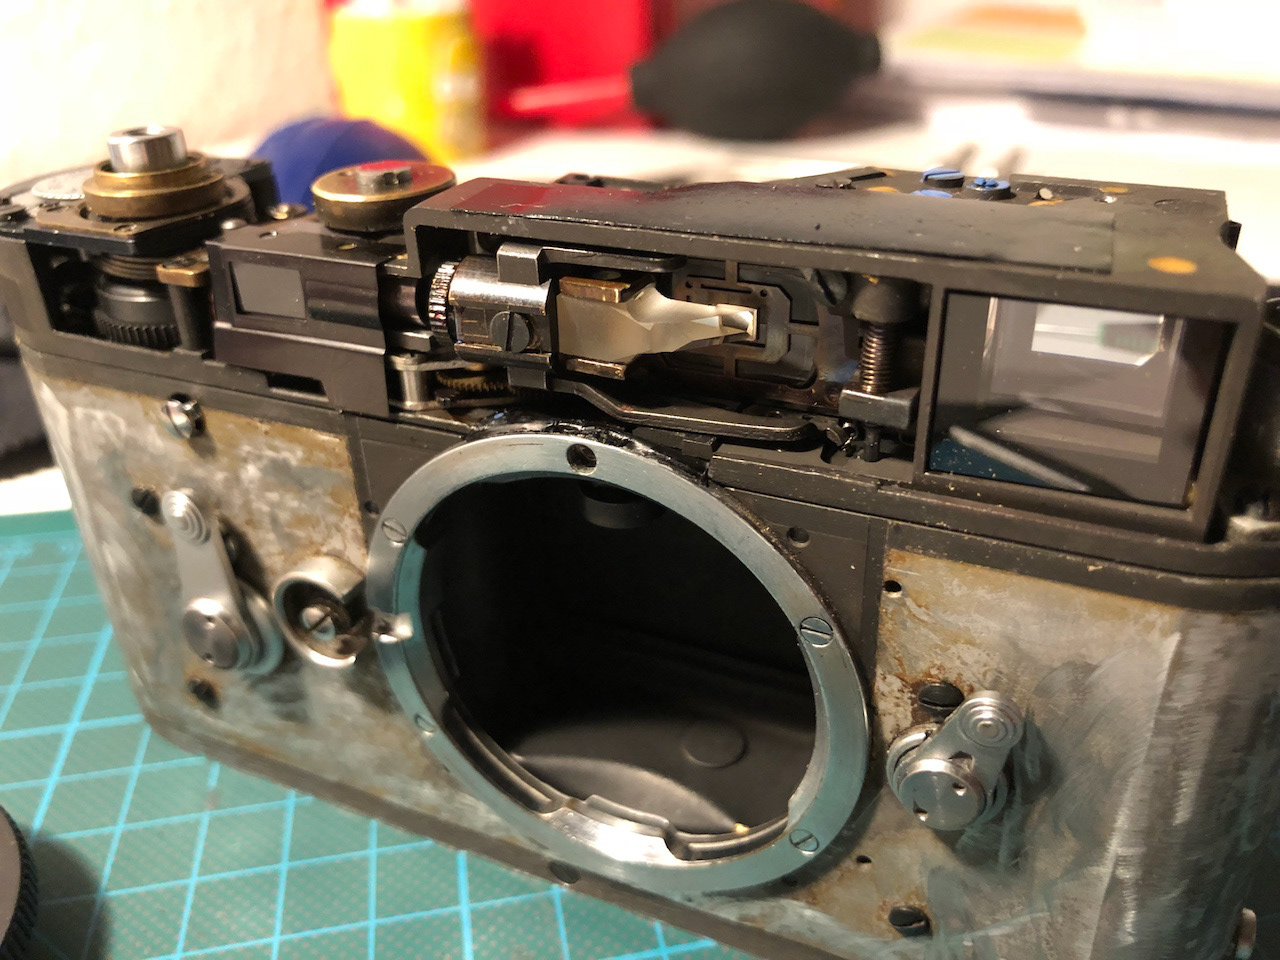
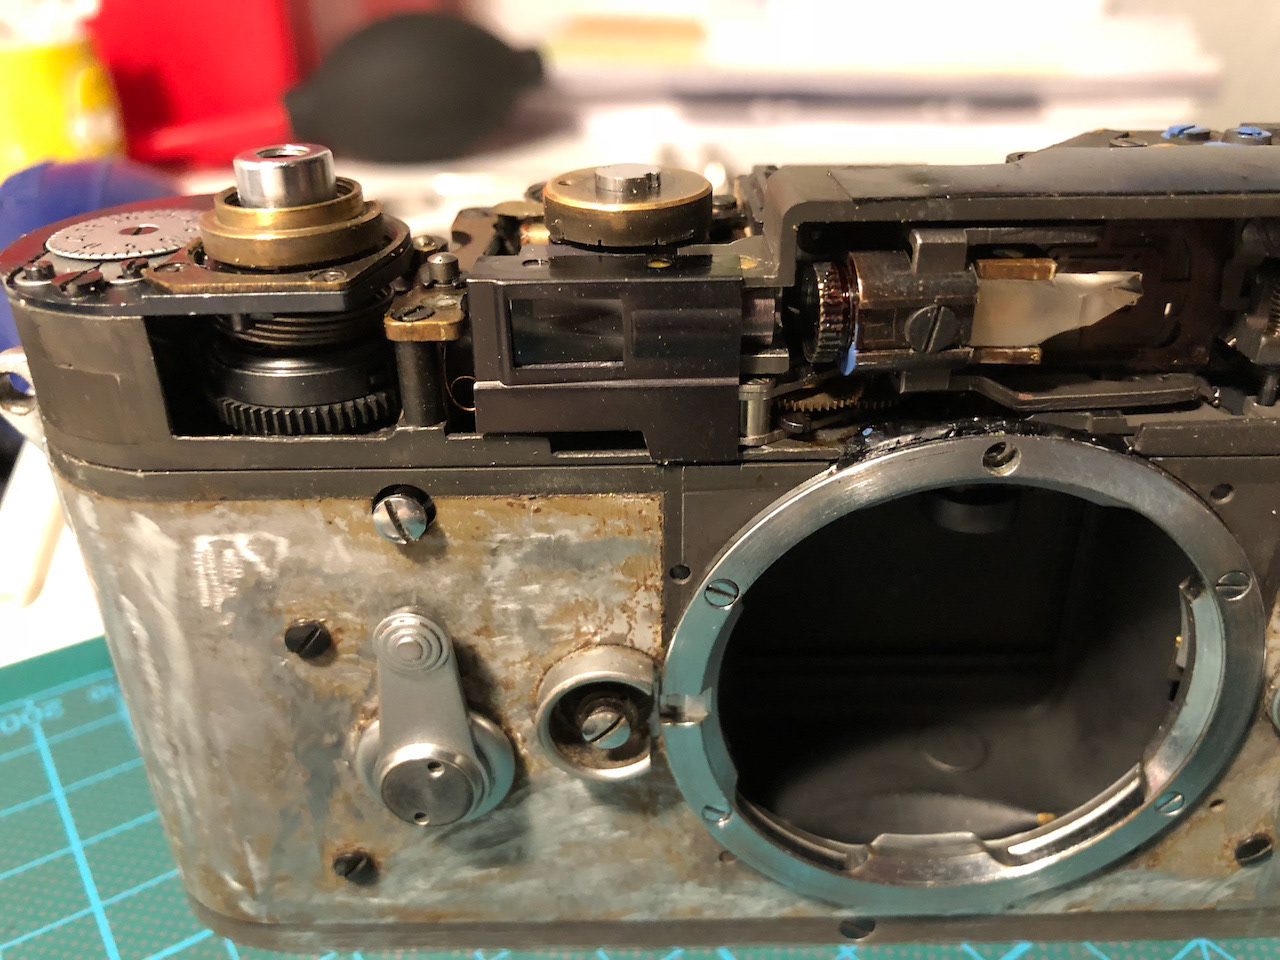
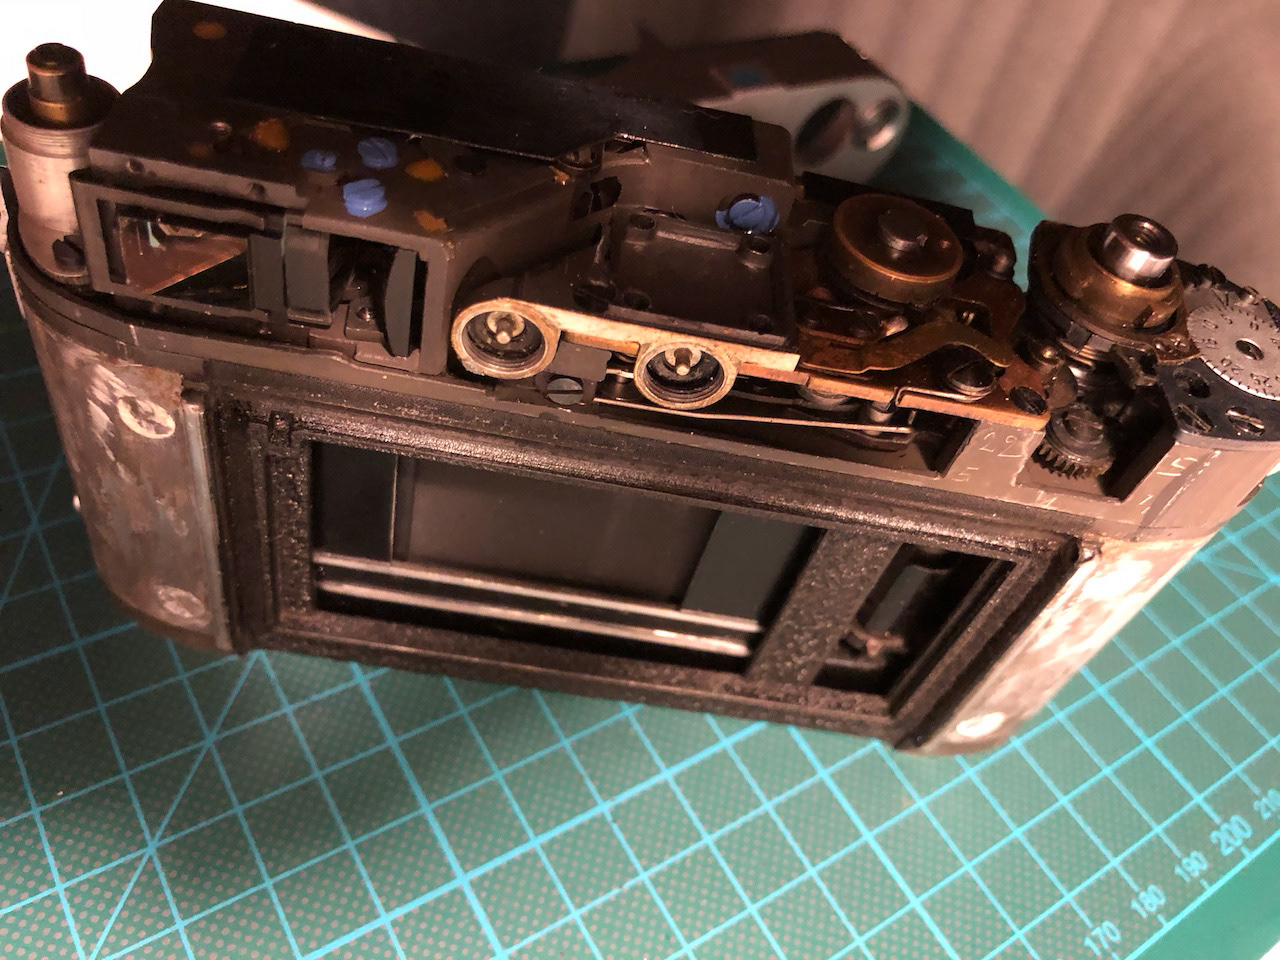
While working on the body, I discovered a lot of grease between all the parts, in the viewfinder and around all threads. I removed the top cover and started cleaning everything gently. The viewfinder and prism were clean with window cleaner everything else just with some lighter gas.
I'm always amazed about the mechanical parts of a range-finder (especially the Leica ones). Everything is so simple, but still well made, that even after 50 or 60 years of usage it perfectly works. What of our todays produced items will be around in 60 years and still working?


For the already mentioned paintjob on the backdoor I used a new paint this time. After some research, I went with Hammerite spray paint. It took 3 thin paint layers and 24hrs to dry, but overall I'm really satisfied with the result. Hopefully the paint will last longer than my previous attempts with car paint.
For all engravings I used Revell Enamel paint in flat black and red. After repainting, the lettering now really comes out great again and especially the red made a good appearance on the rewind knob.

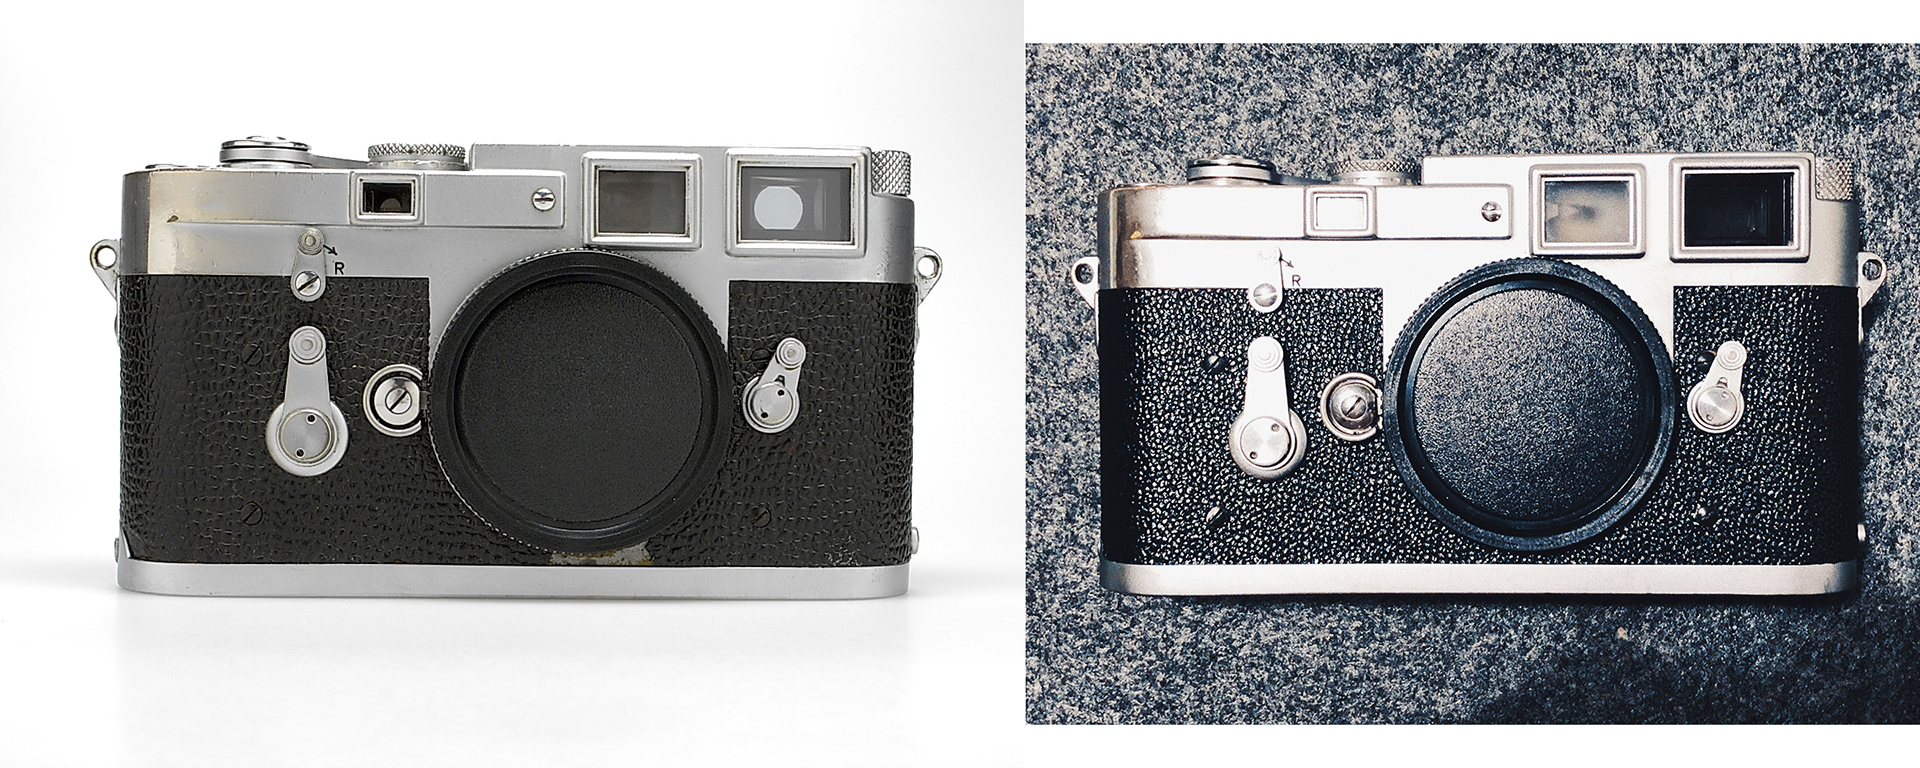
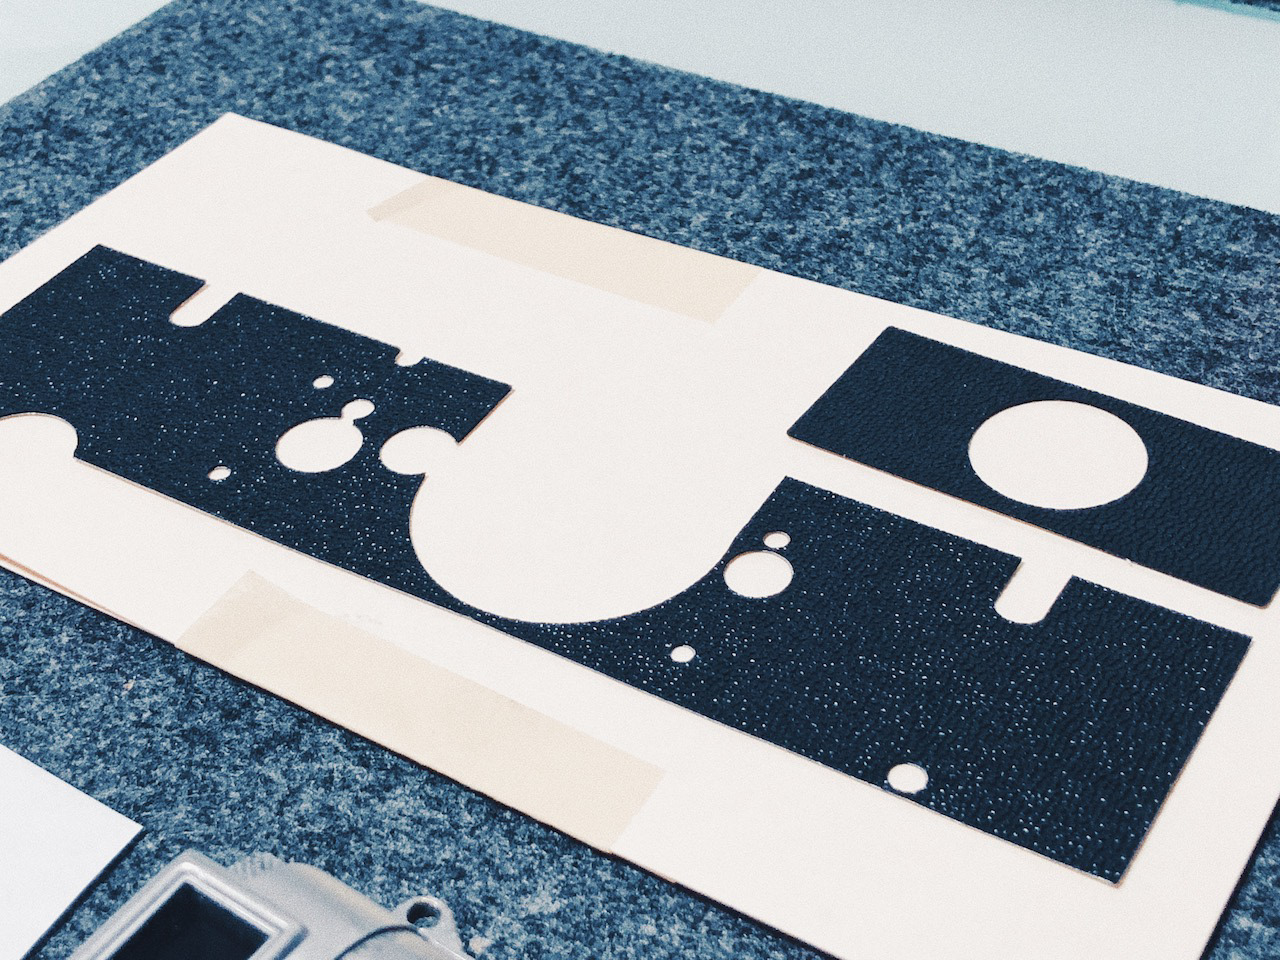
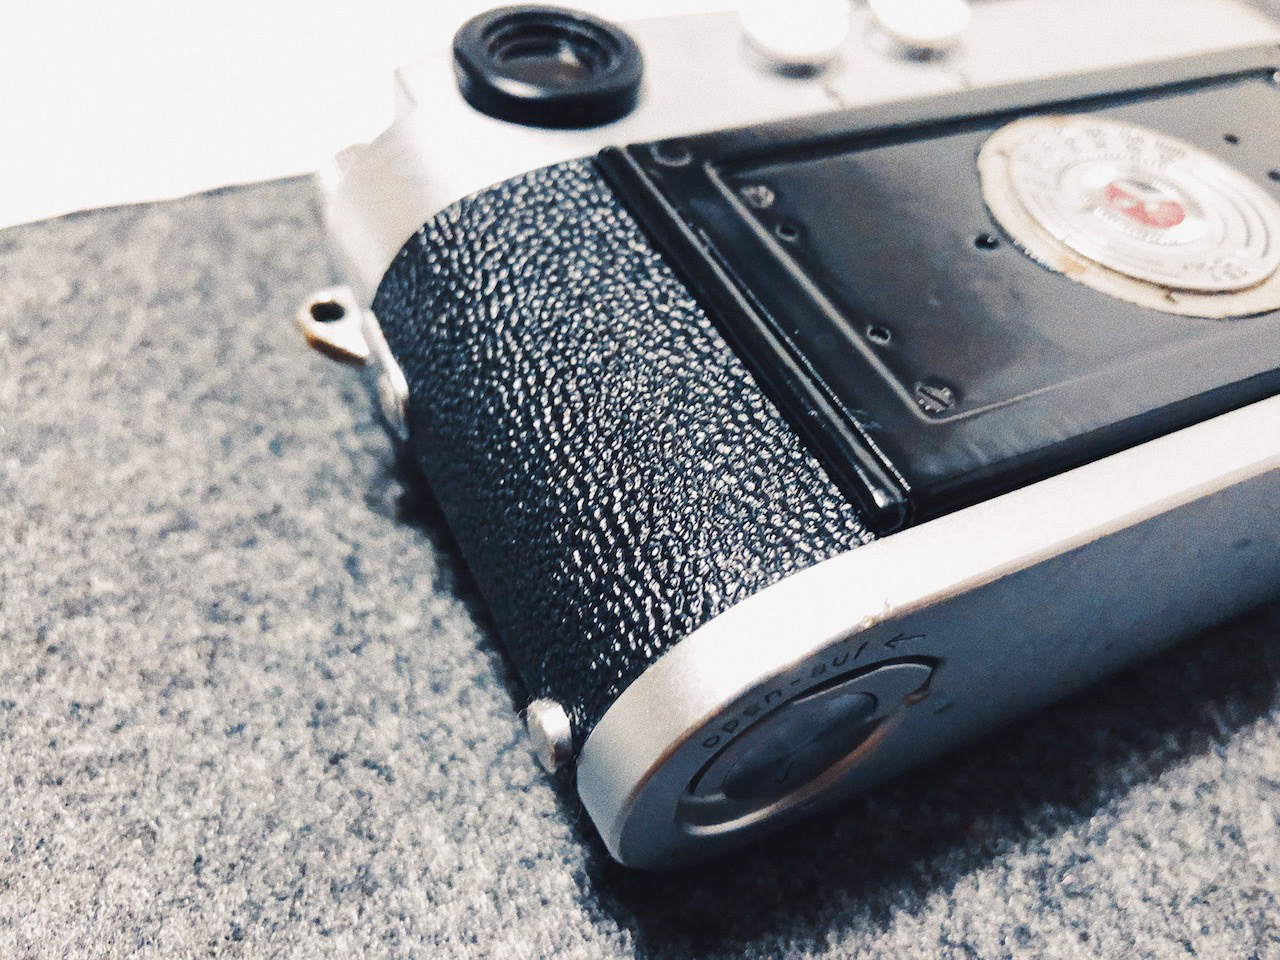
As always, the leather is one main part of the refurbishment. This time I went with Restoration Black from cameraleather.com and I didn't regret the choice. It is a really details, high-quality leather which gives a lot of grip, while also providing a natural leather feeling. The hardest part was around the self-timer because it is just so big, but with a bit of patience the job can be done by everyone.
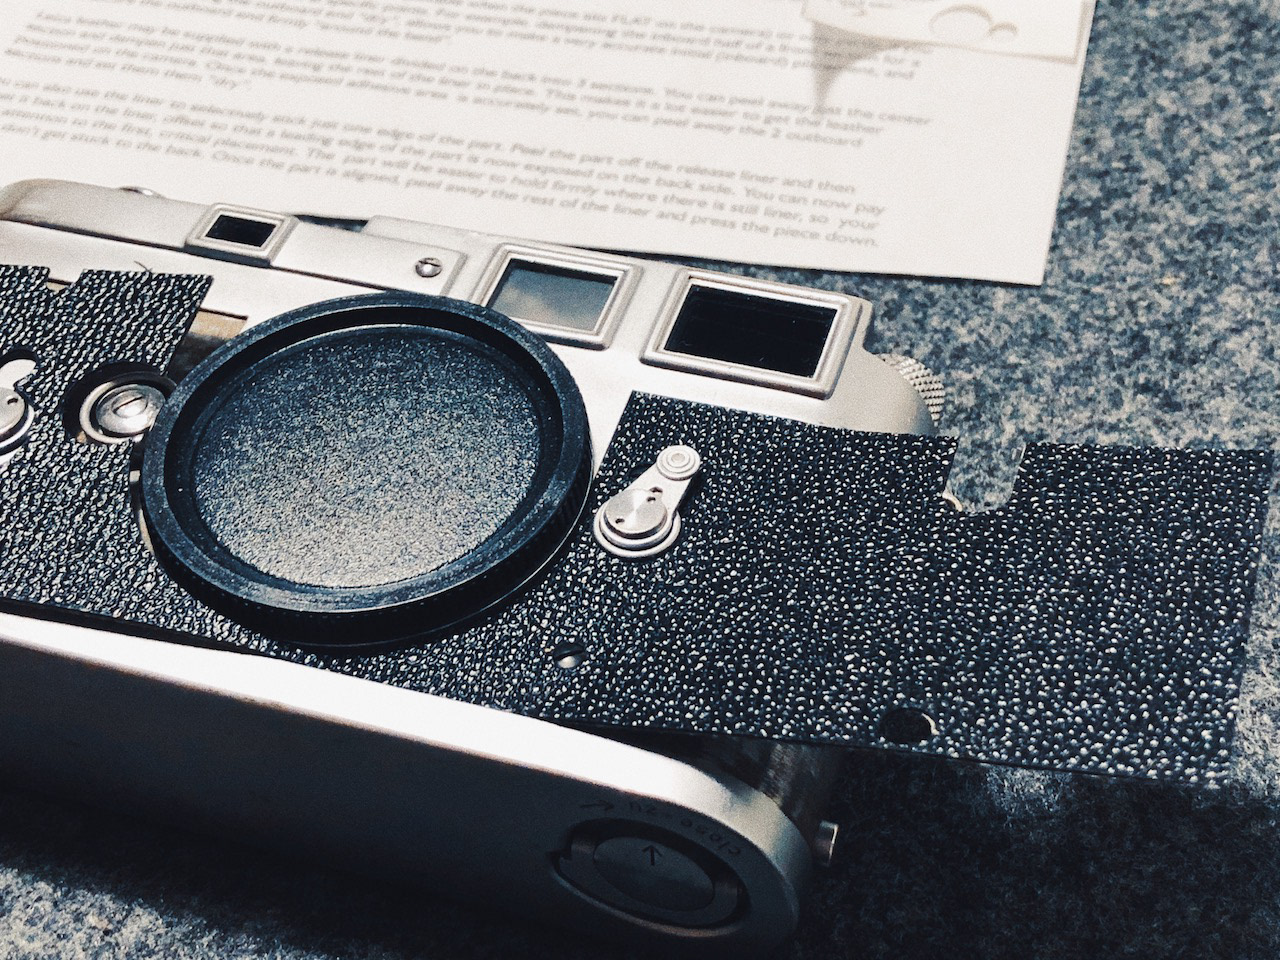
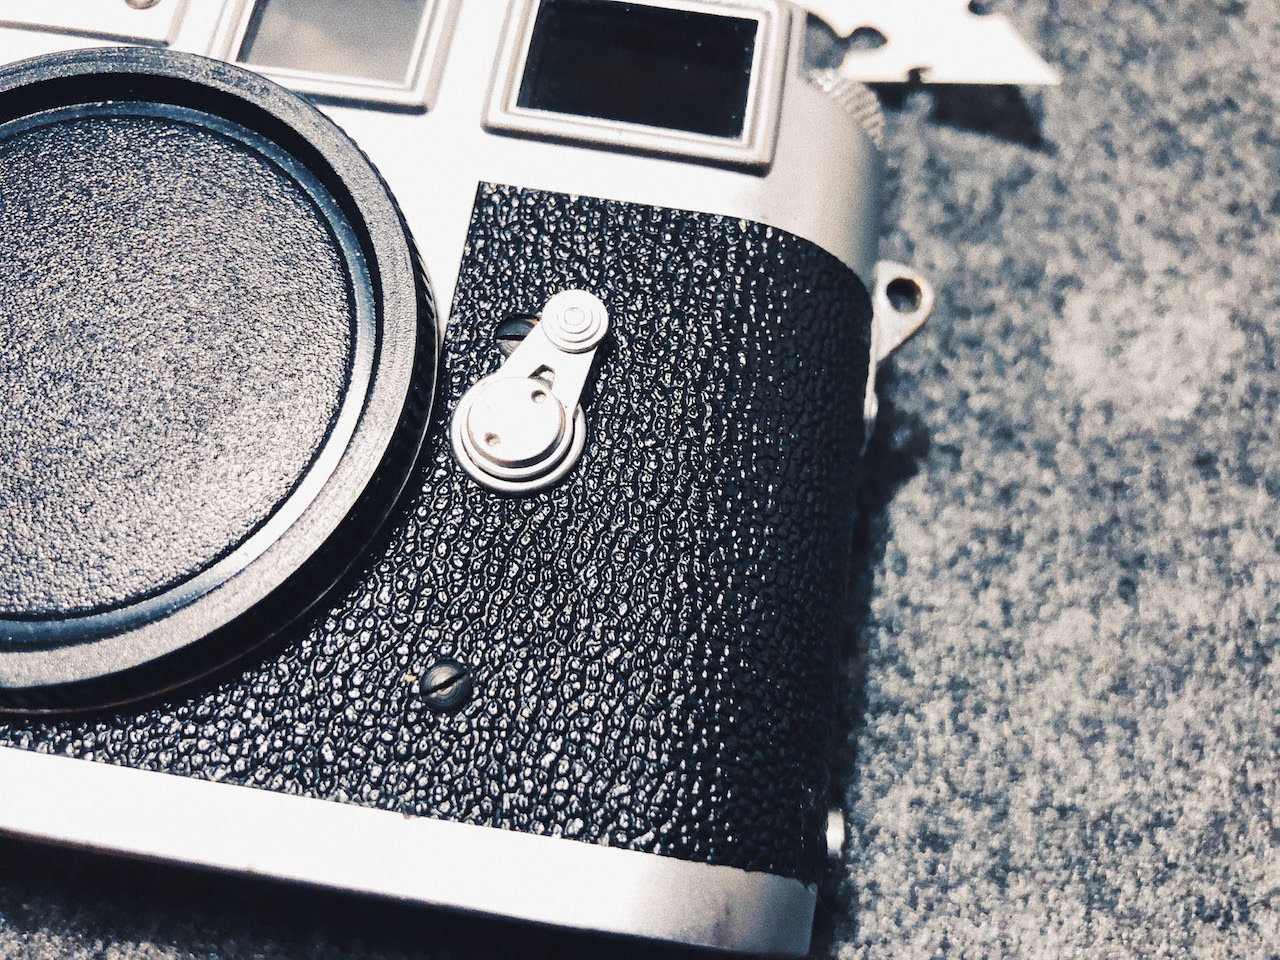
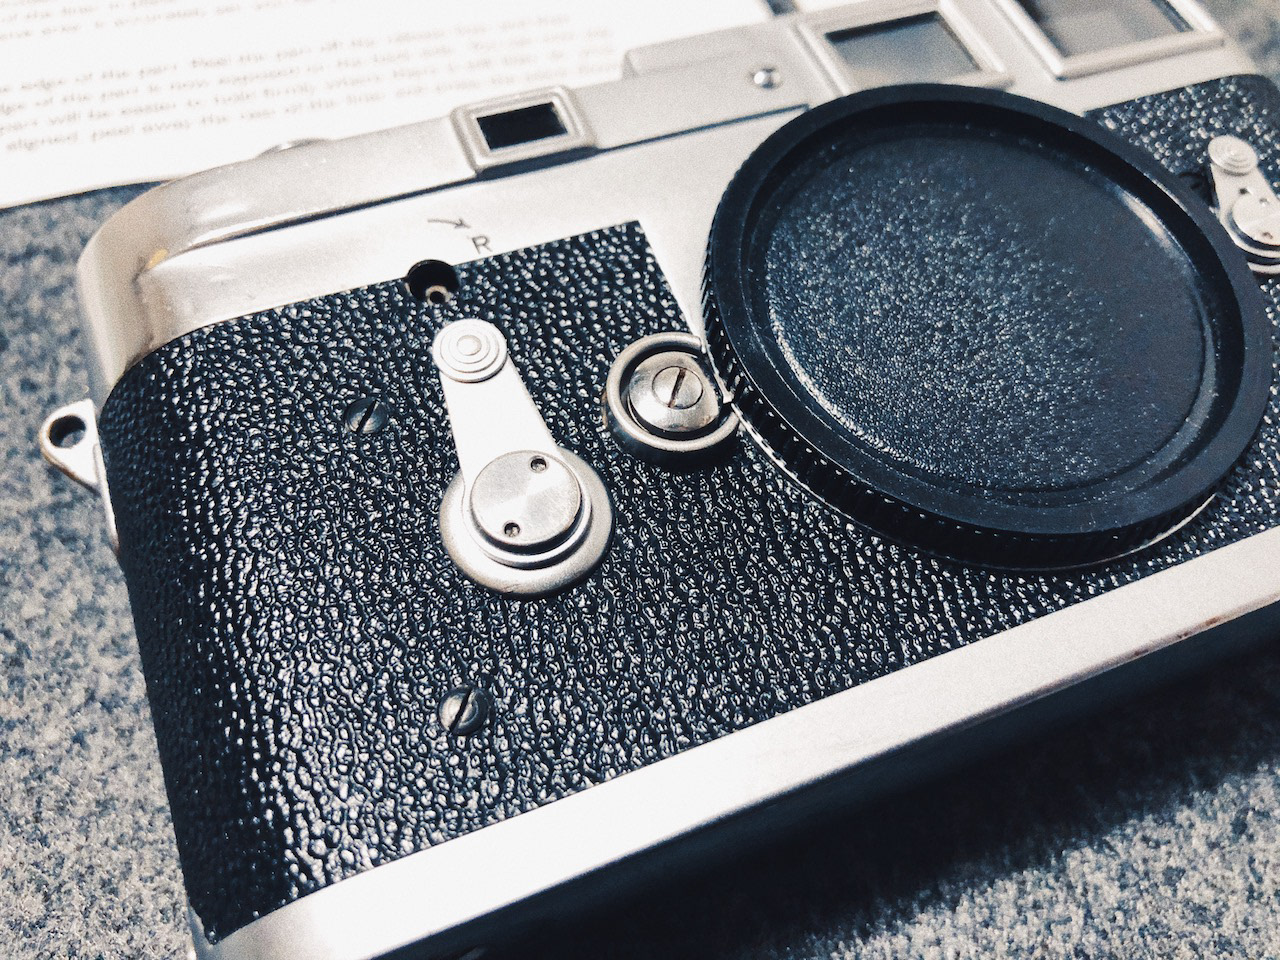

Once the leather was in place only some small pieces were left.
I ordered sync-port covers, a new film indicator and a plastic Eyepiece Guard from DAG. Until today, I'm still looking for a decent Quick Loading Kit to make the upgrade perfect.