I did it again. Well, actually I've never done a Leica restoration this size, but like with my M8 and M9 the leathering was an important step towards a great result.
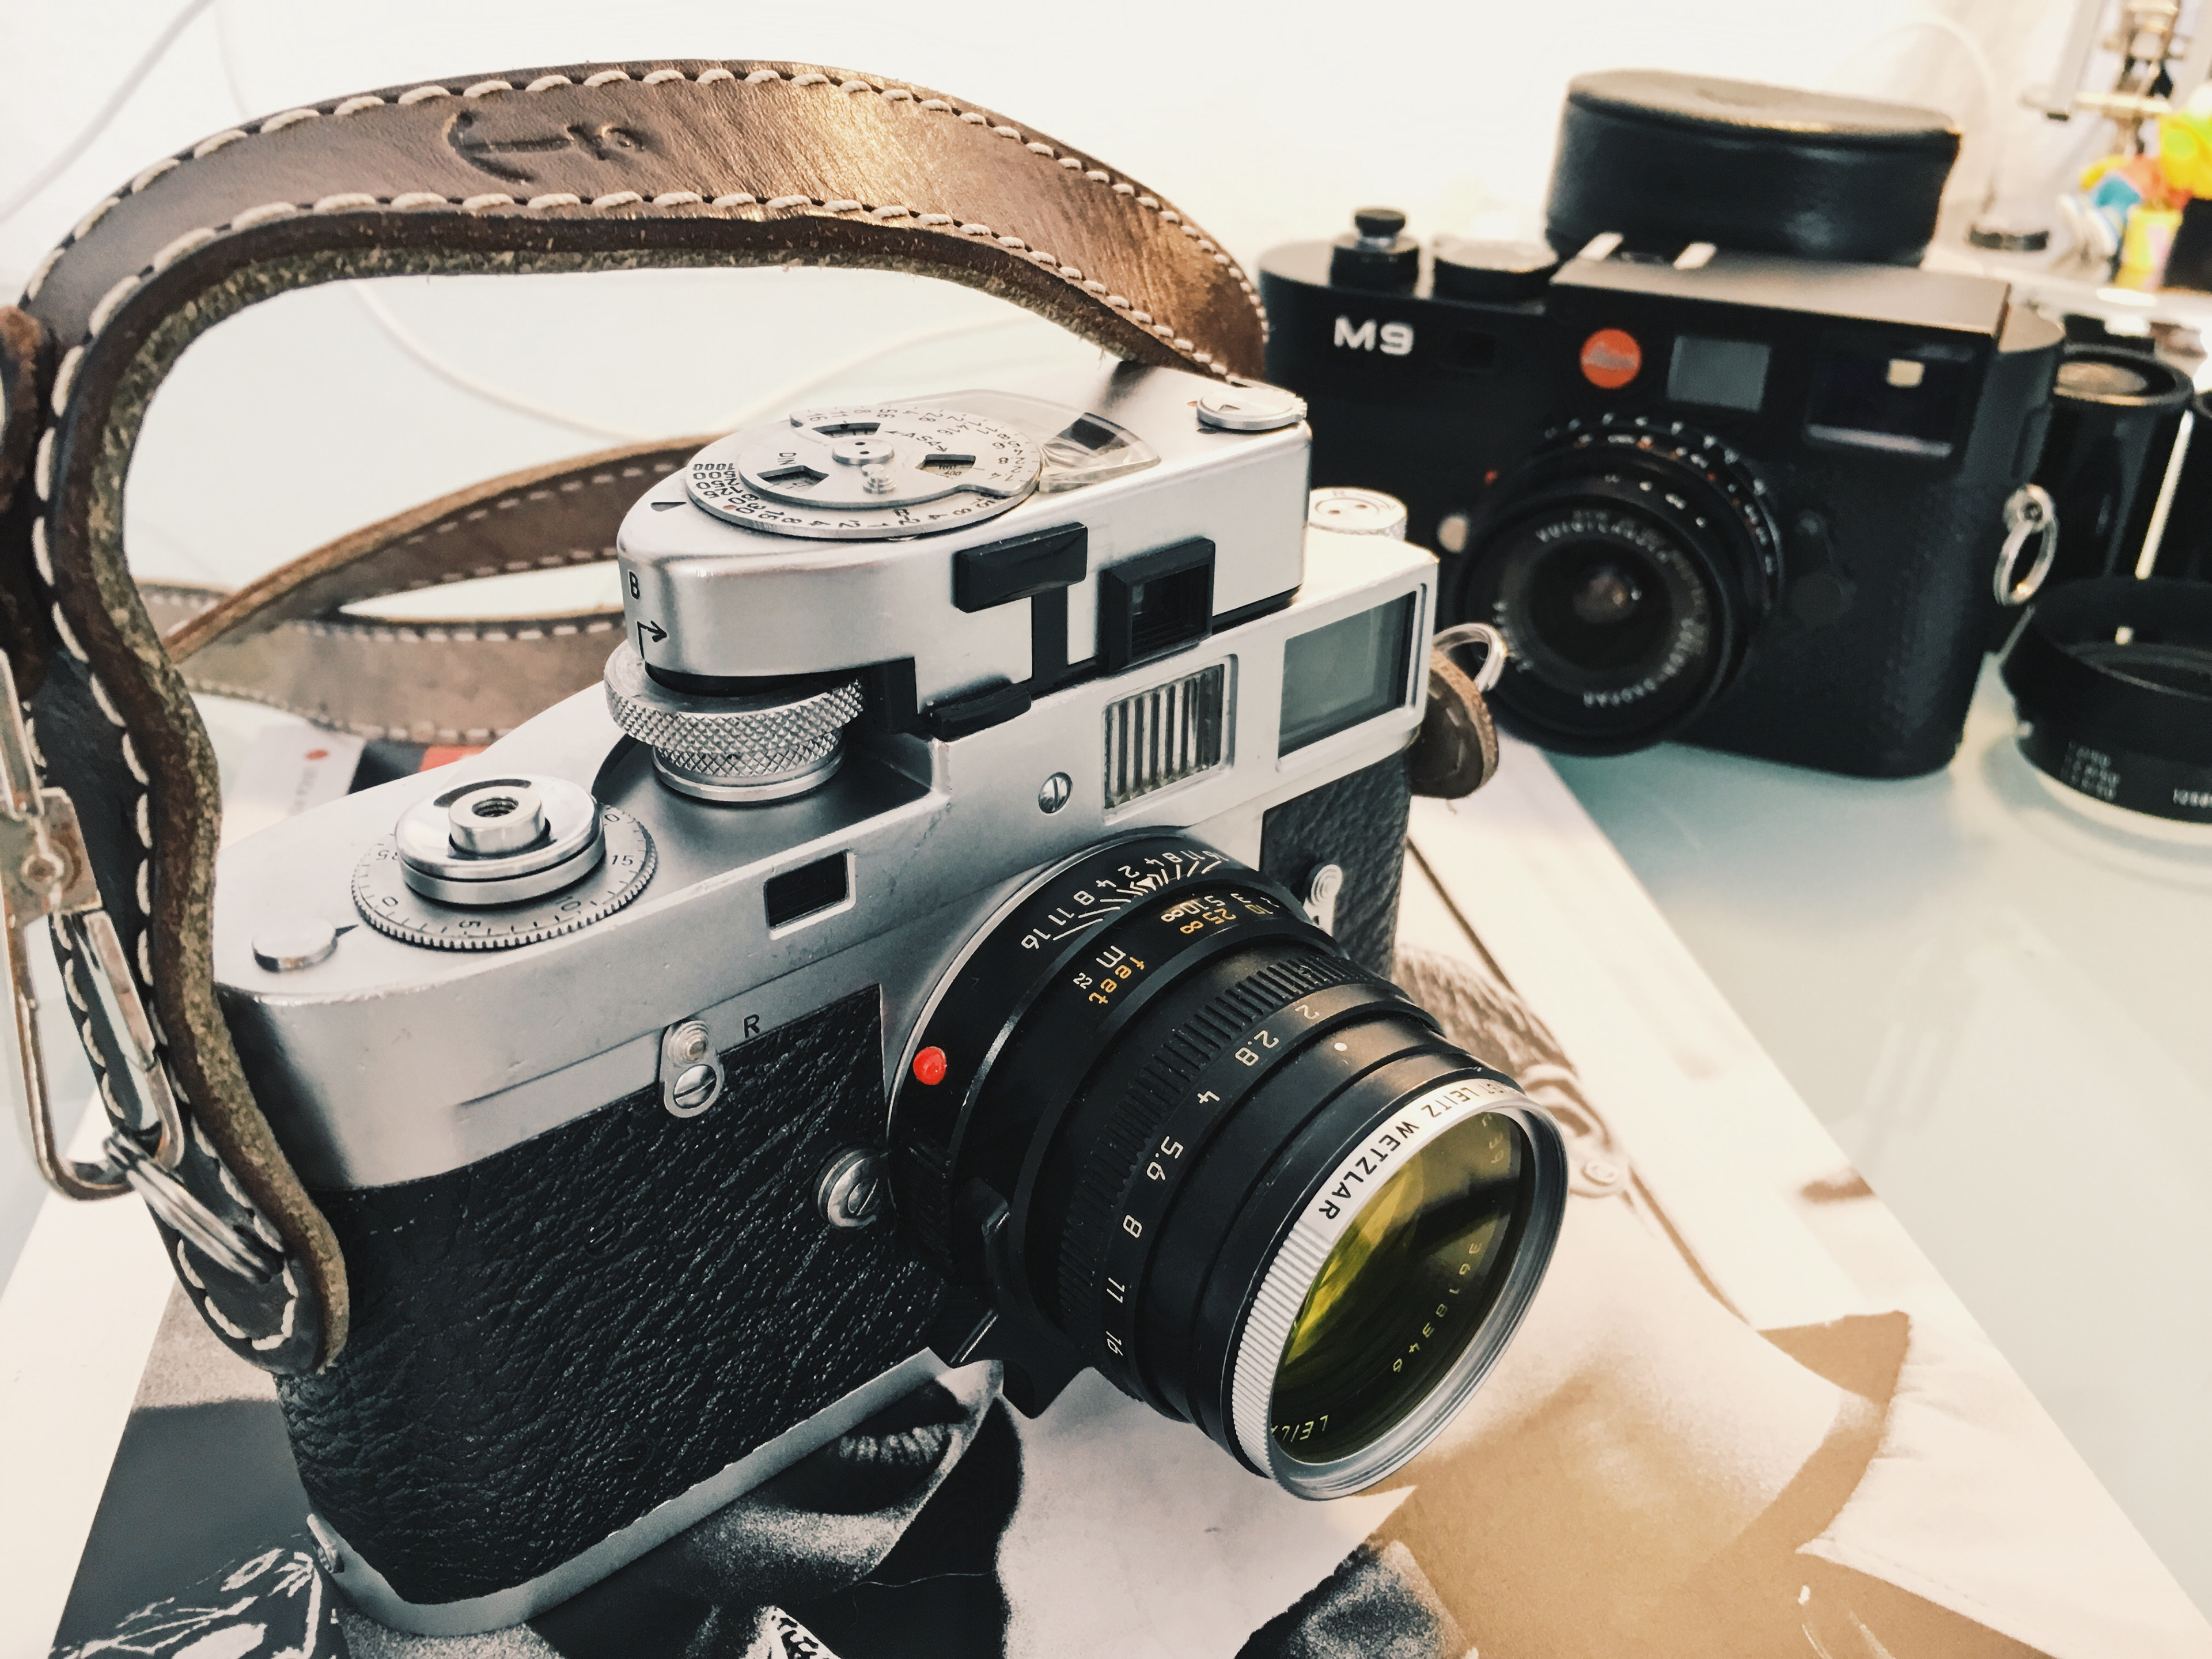
Alright, let's face it, by now I'm completely into the Leica Range-Finder world, and so it was a natural step buying a classic film M at some point. Over the last months I watched all online platforms for good offers. From ebay, to Meister Camera, and even Reddit I compared offers of M3, M2, M4, M4-2 and M4-P and quickly got a feeling of differences, conditions and price tendencies.
Finally, I found an offer I was interested in, not because it was the perfect camera without any marks or without any issues, but it was a project I could handle myself, learn about the camera, and completely make it to my camera... and yes, the price good and so contacted the owner.
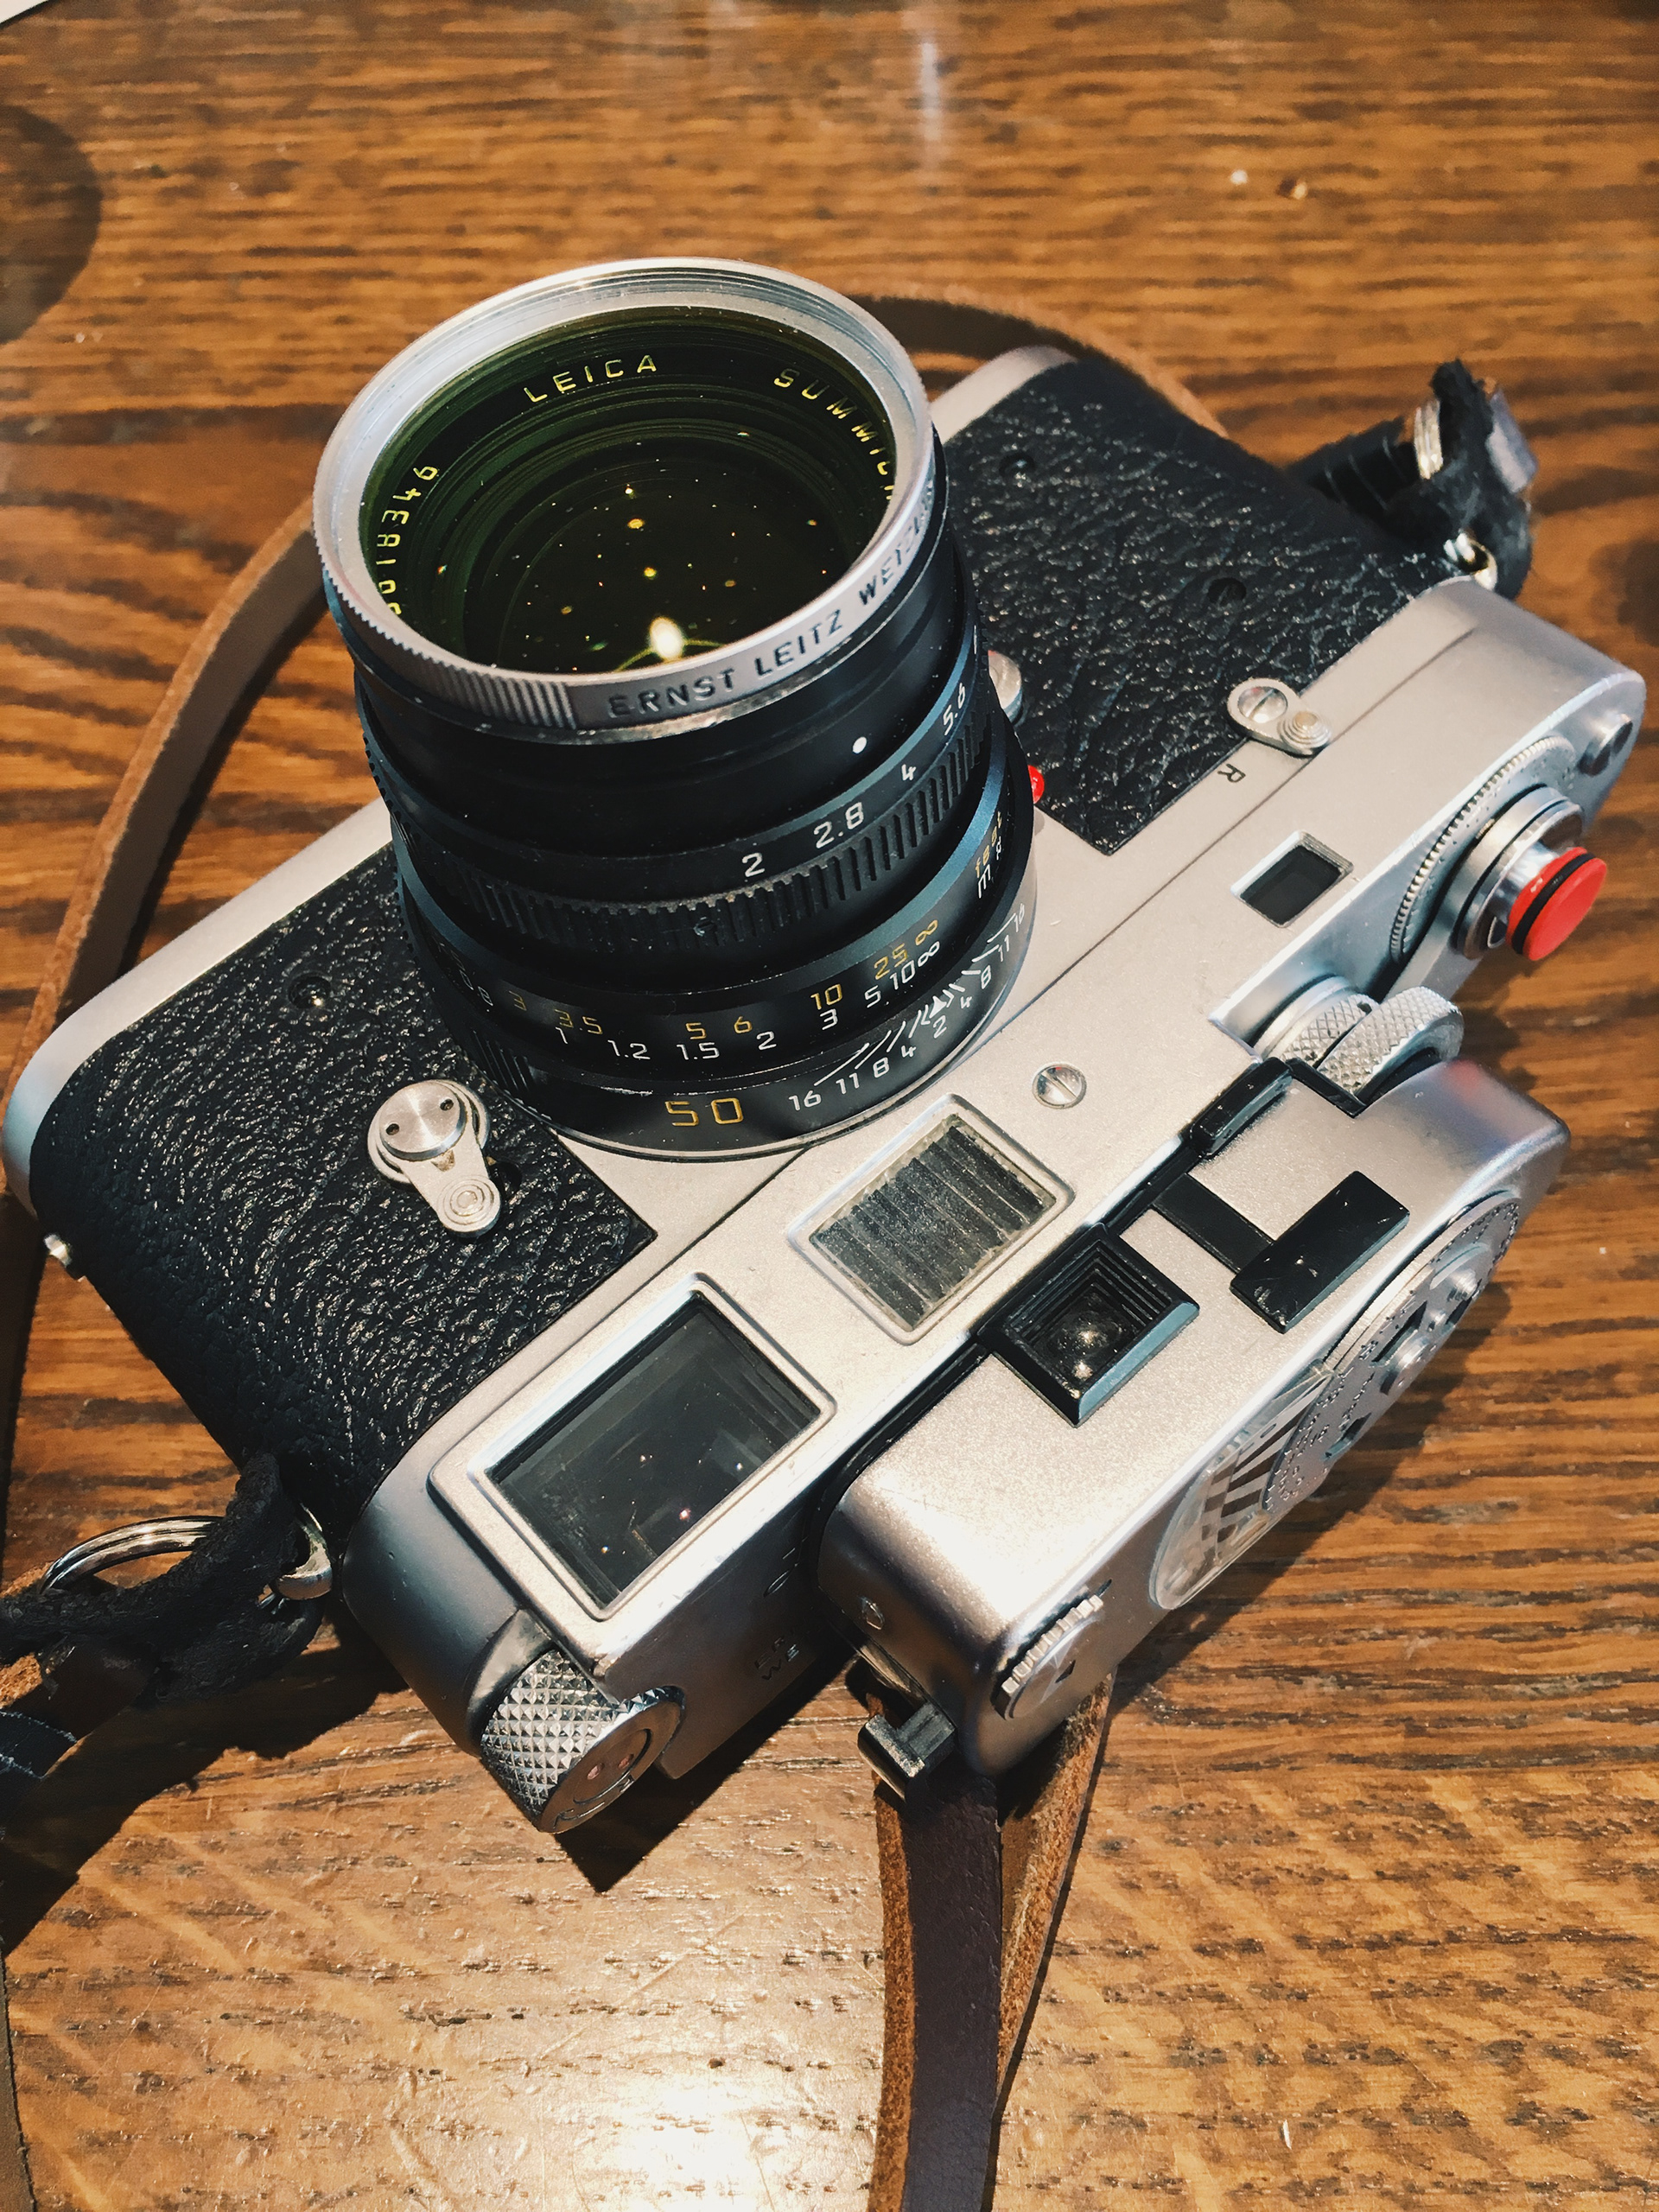
It was a Leica M2 from 1959 without self-timer 😍
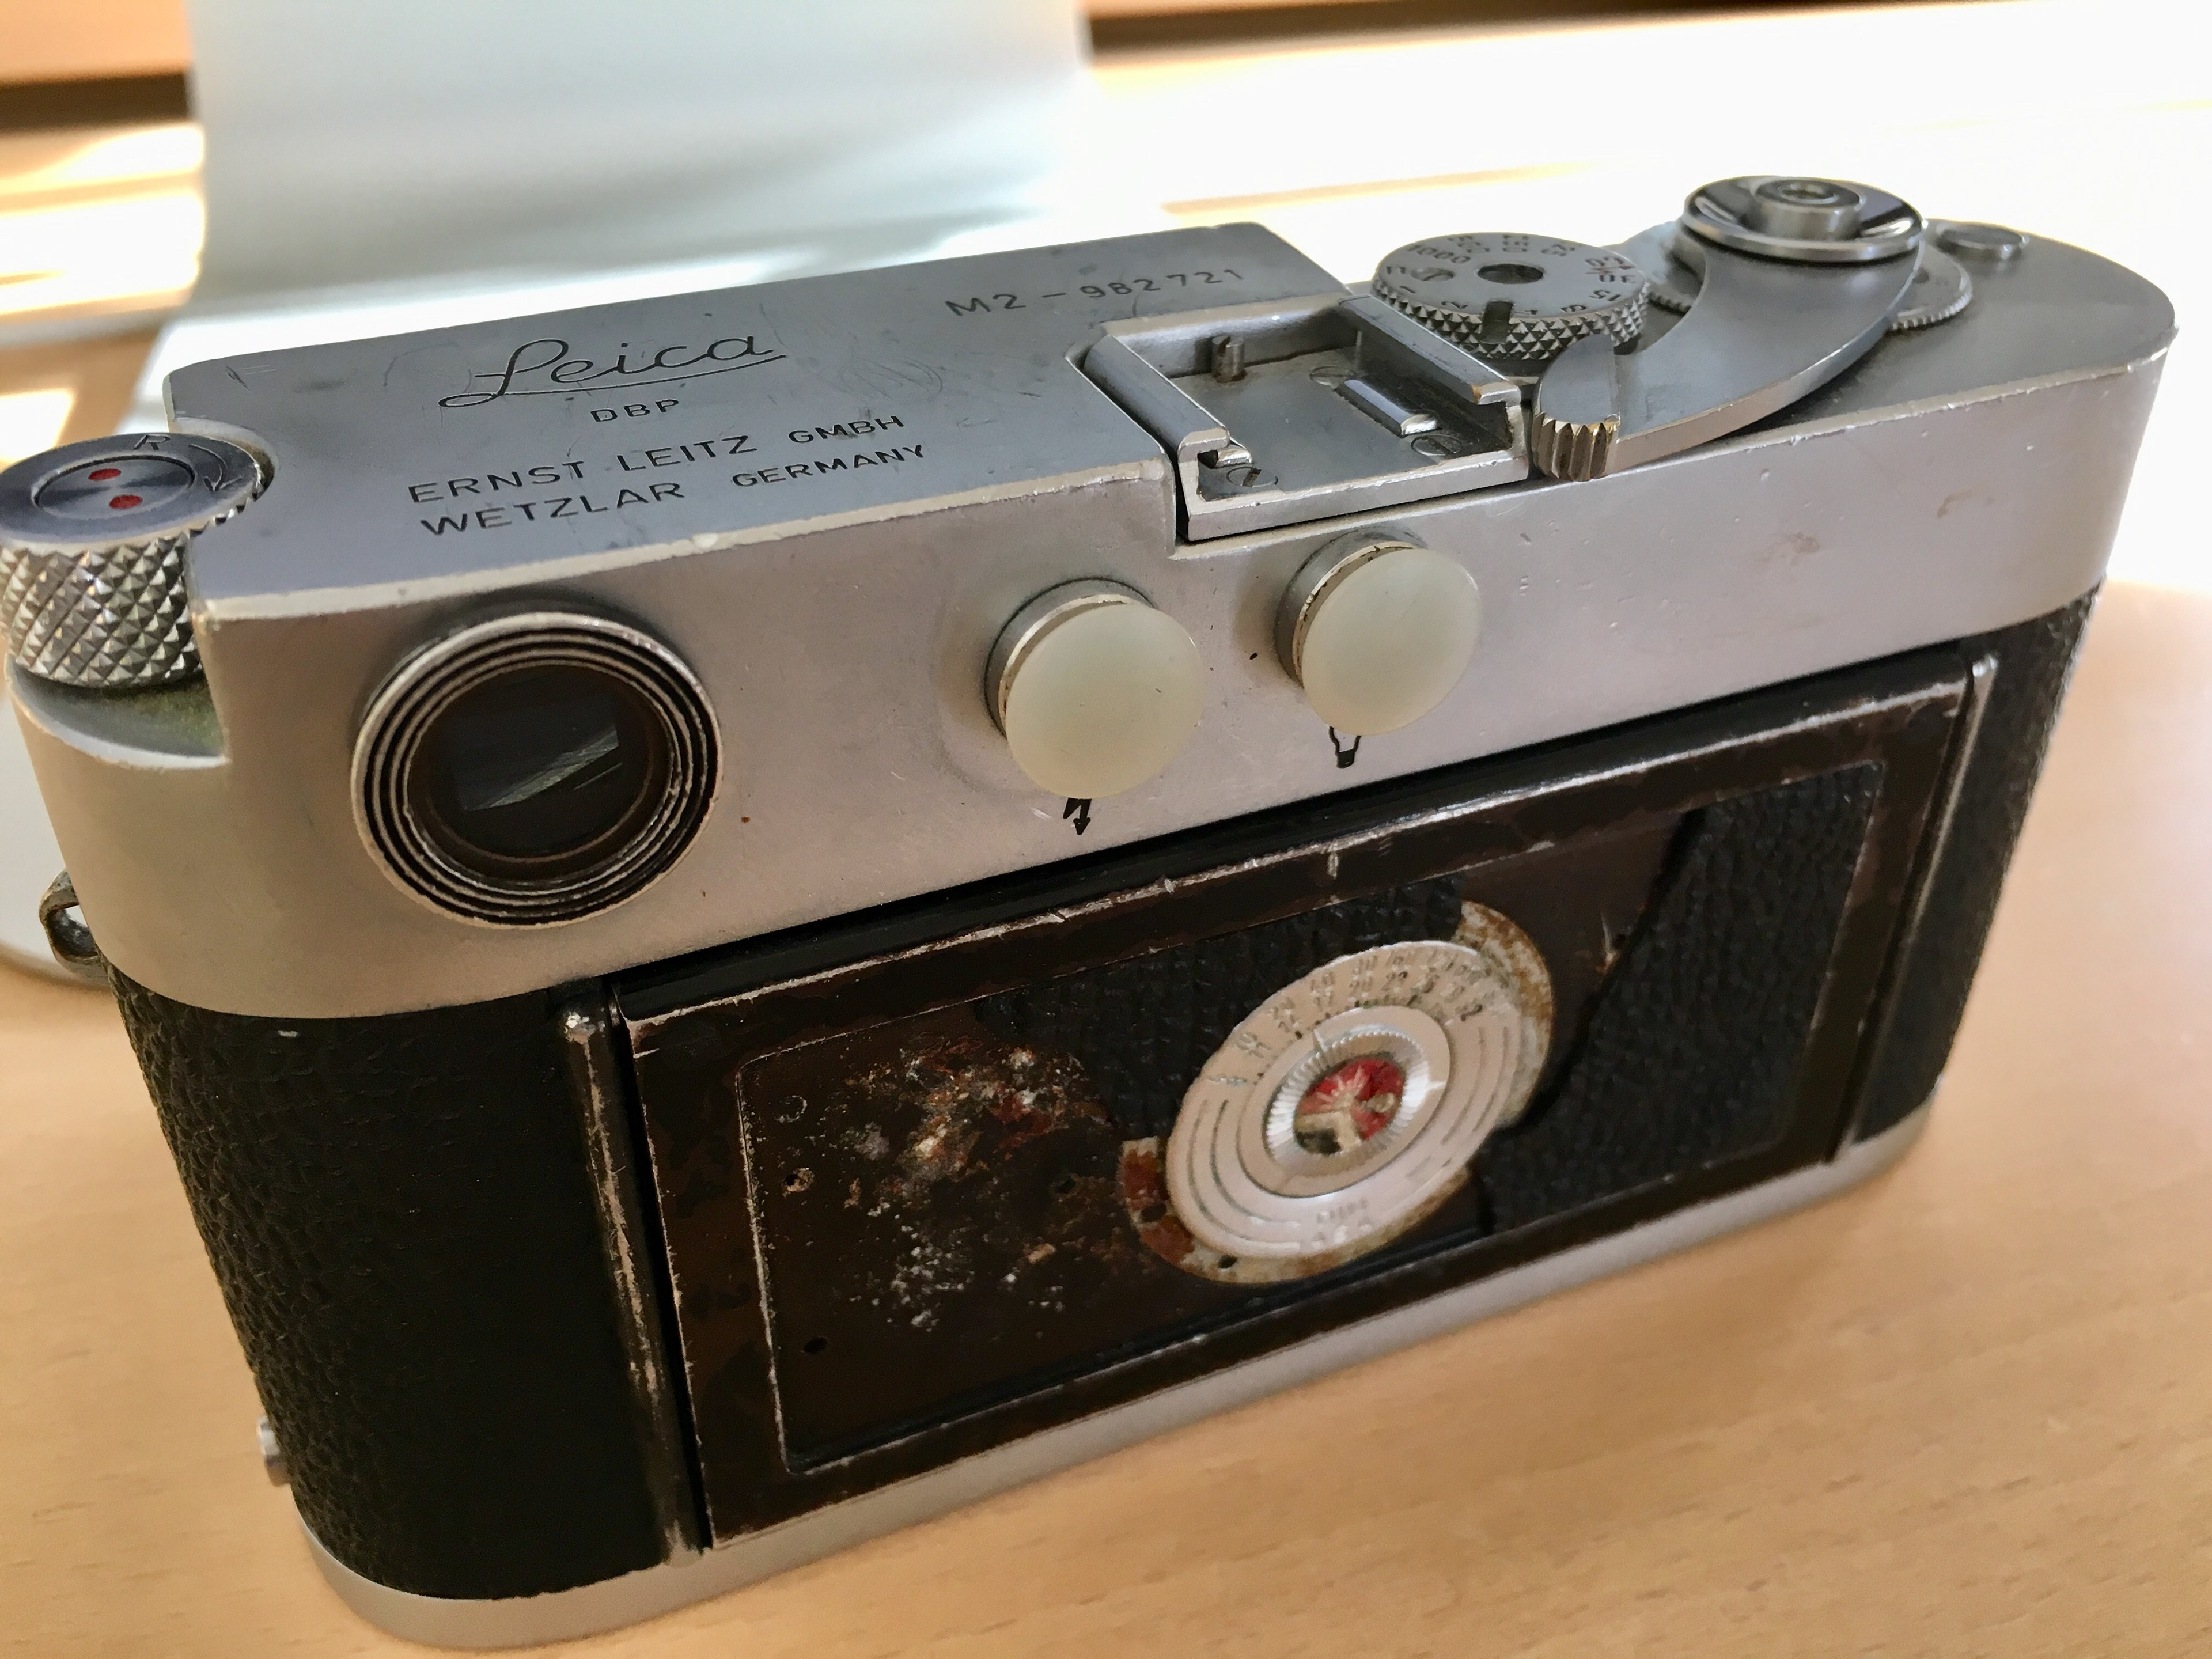

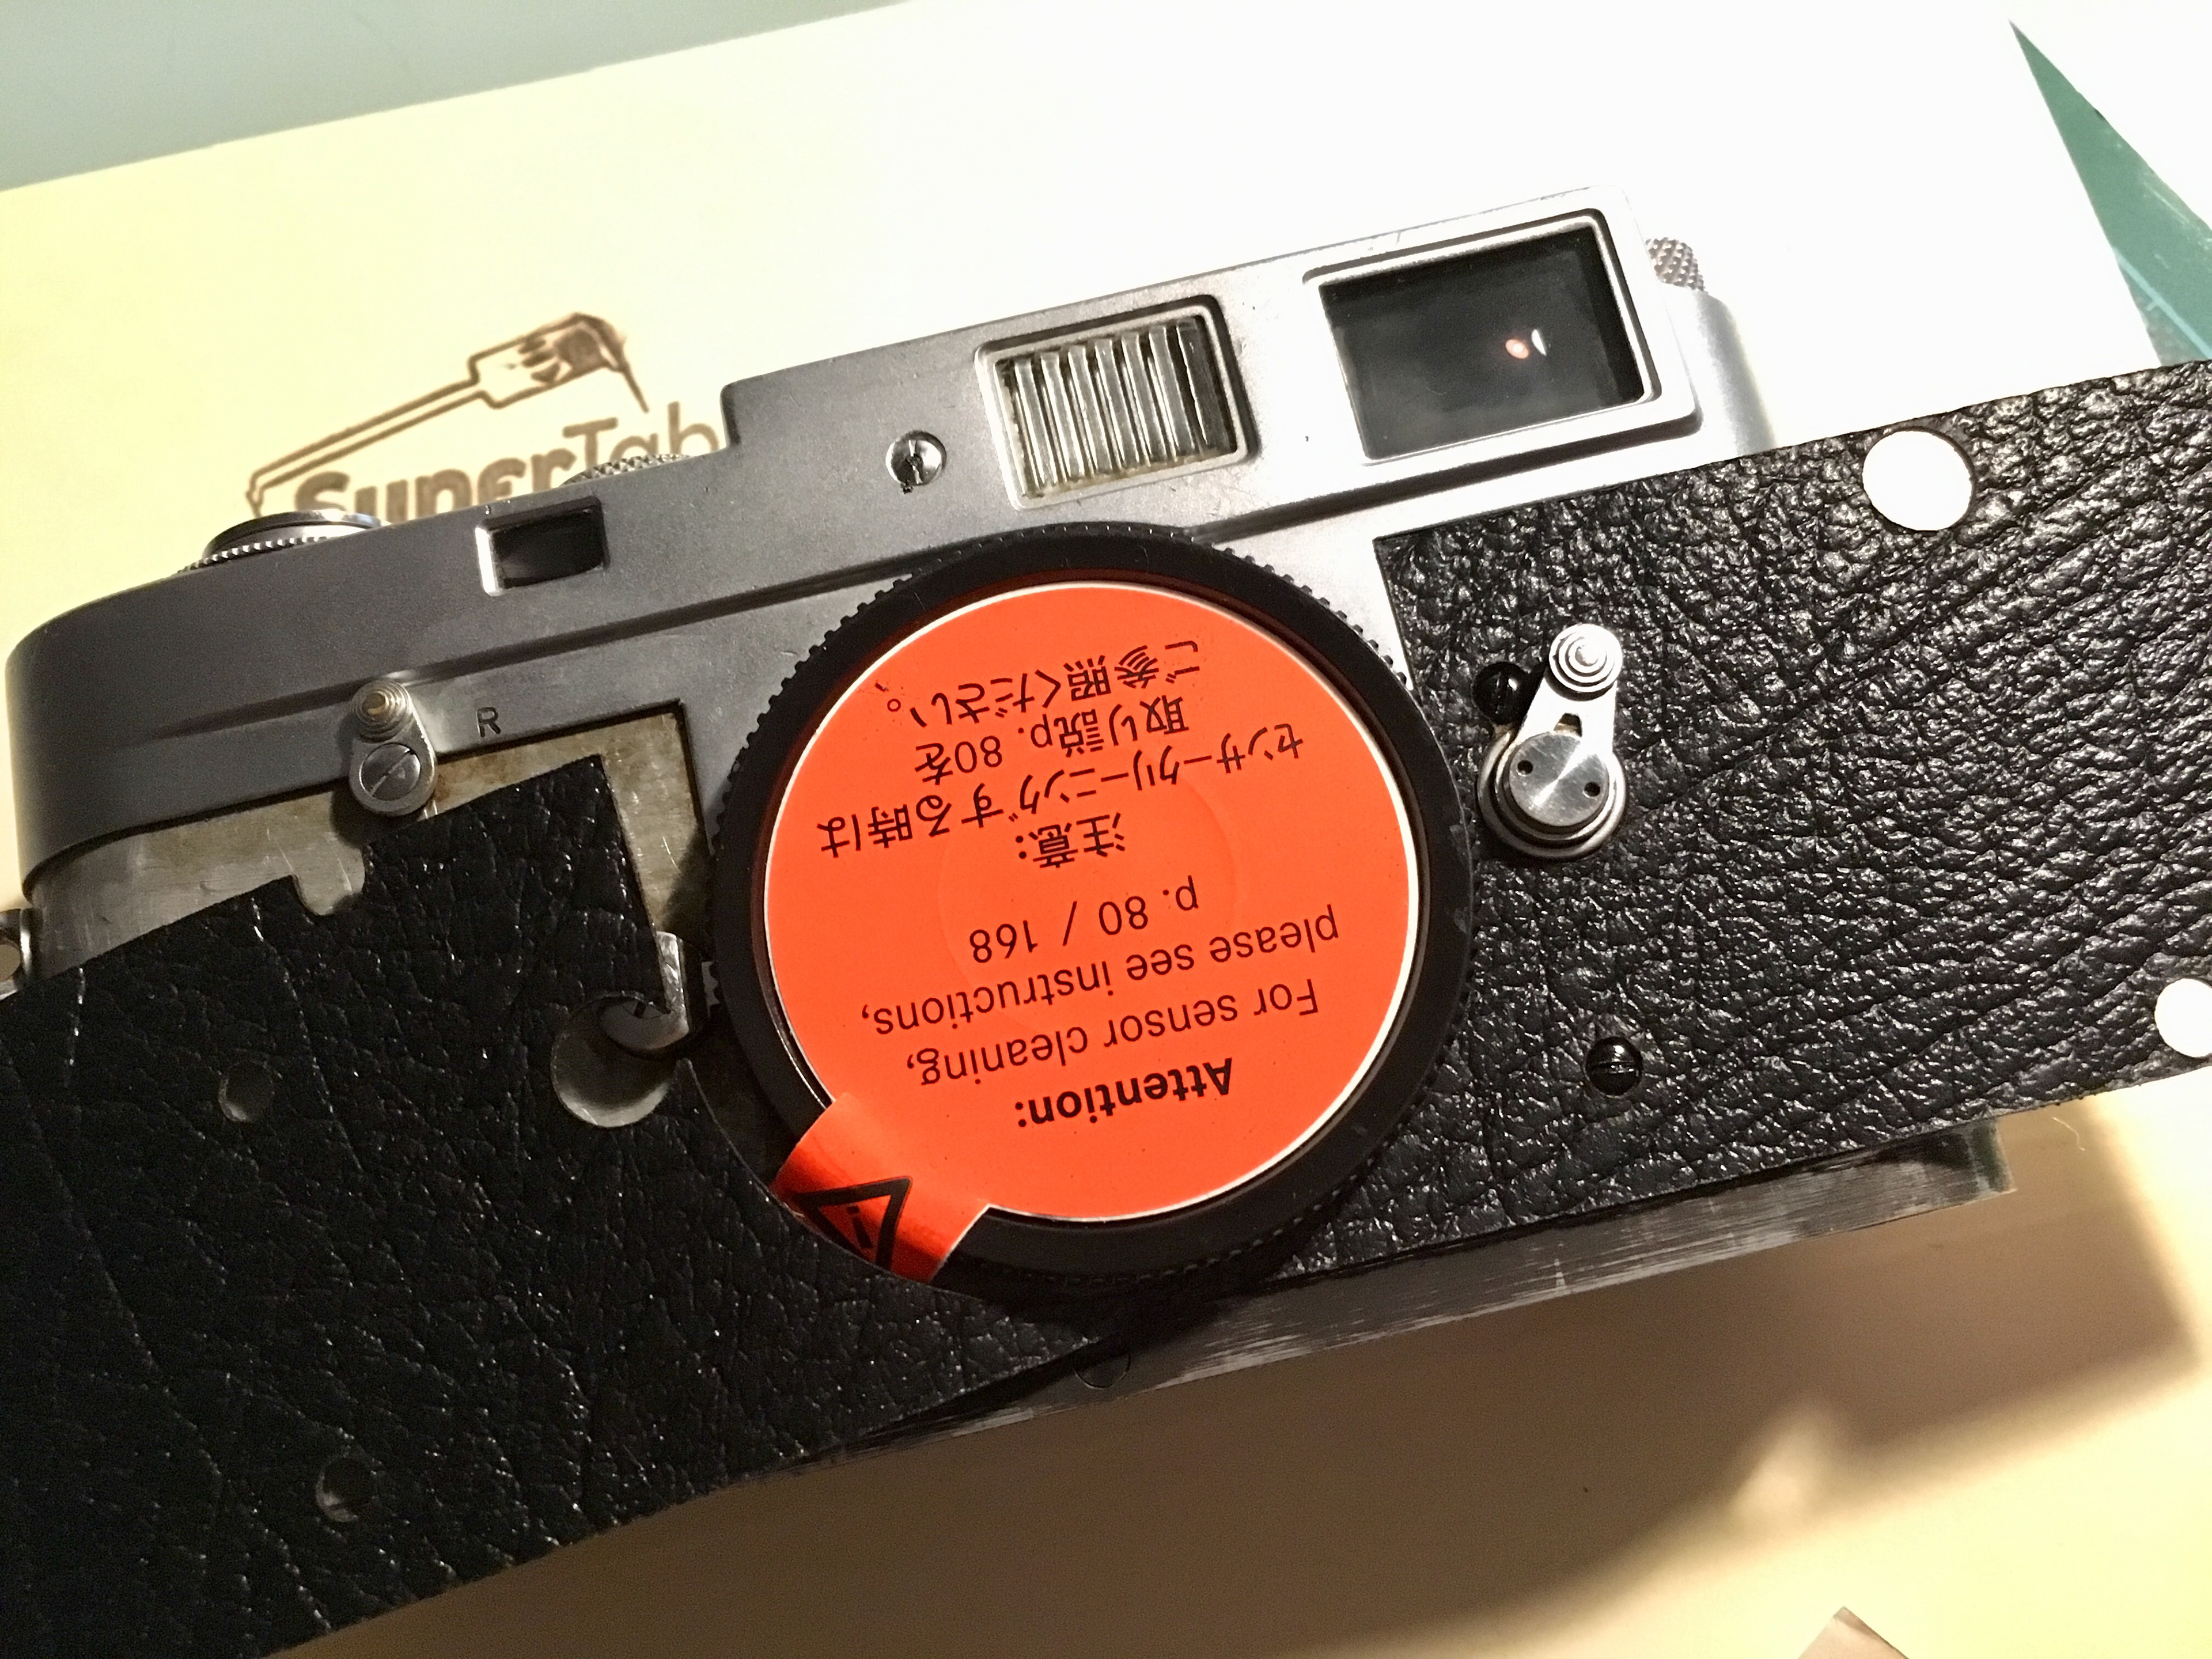
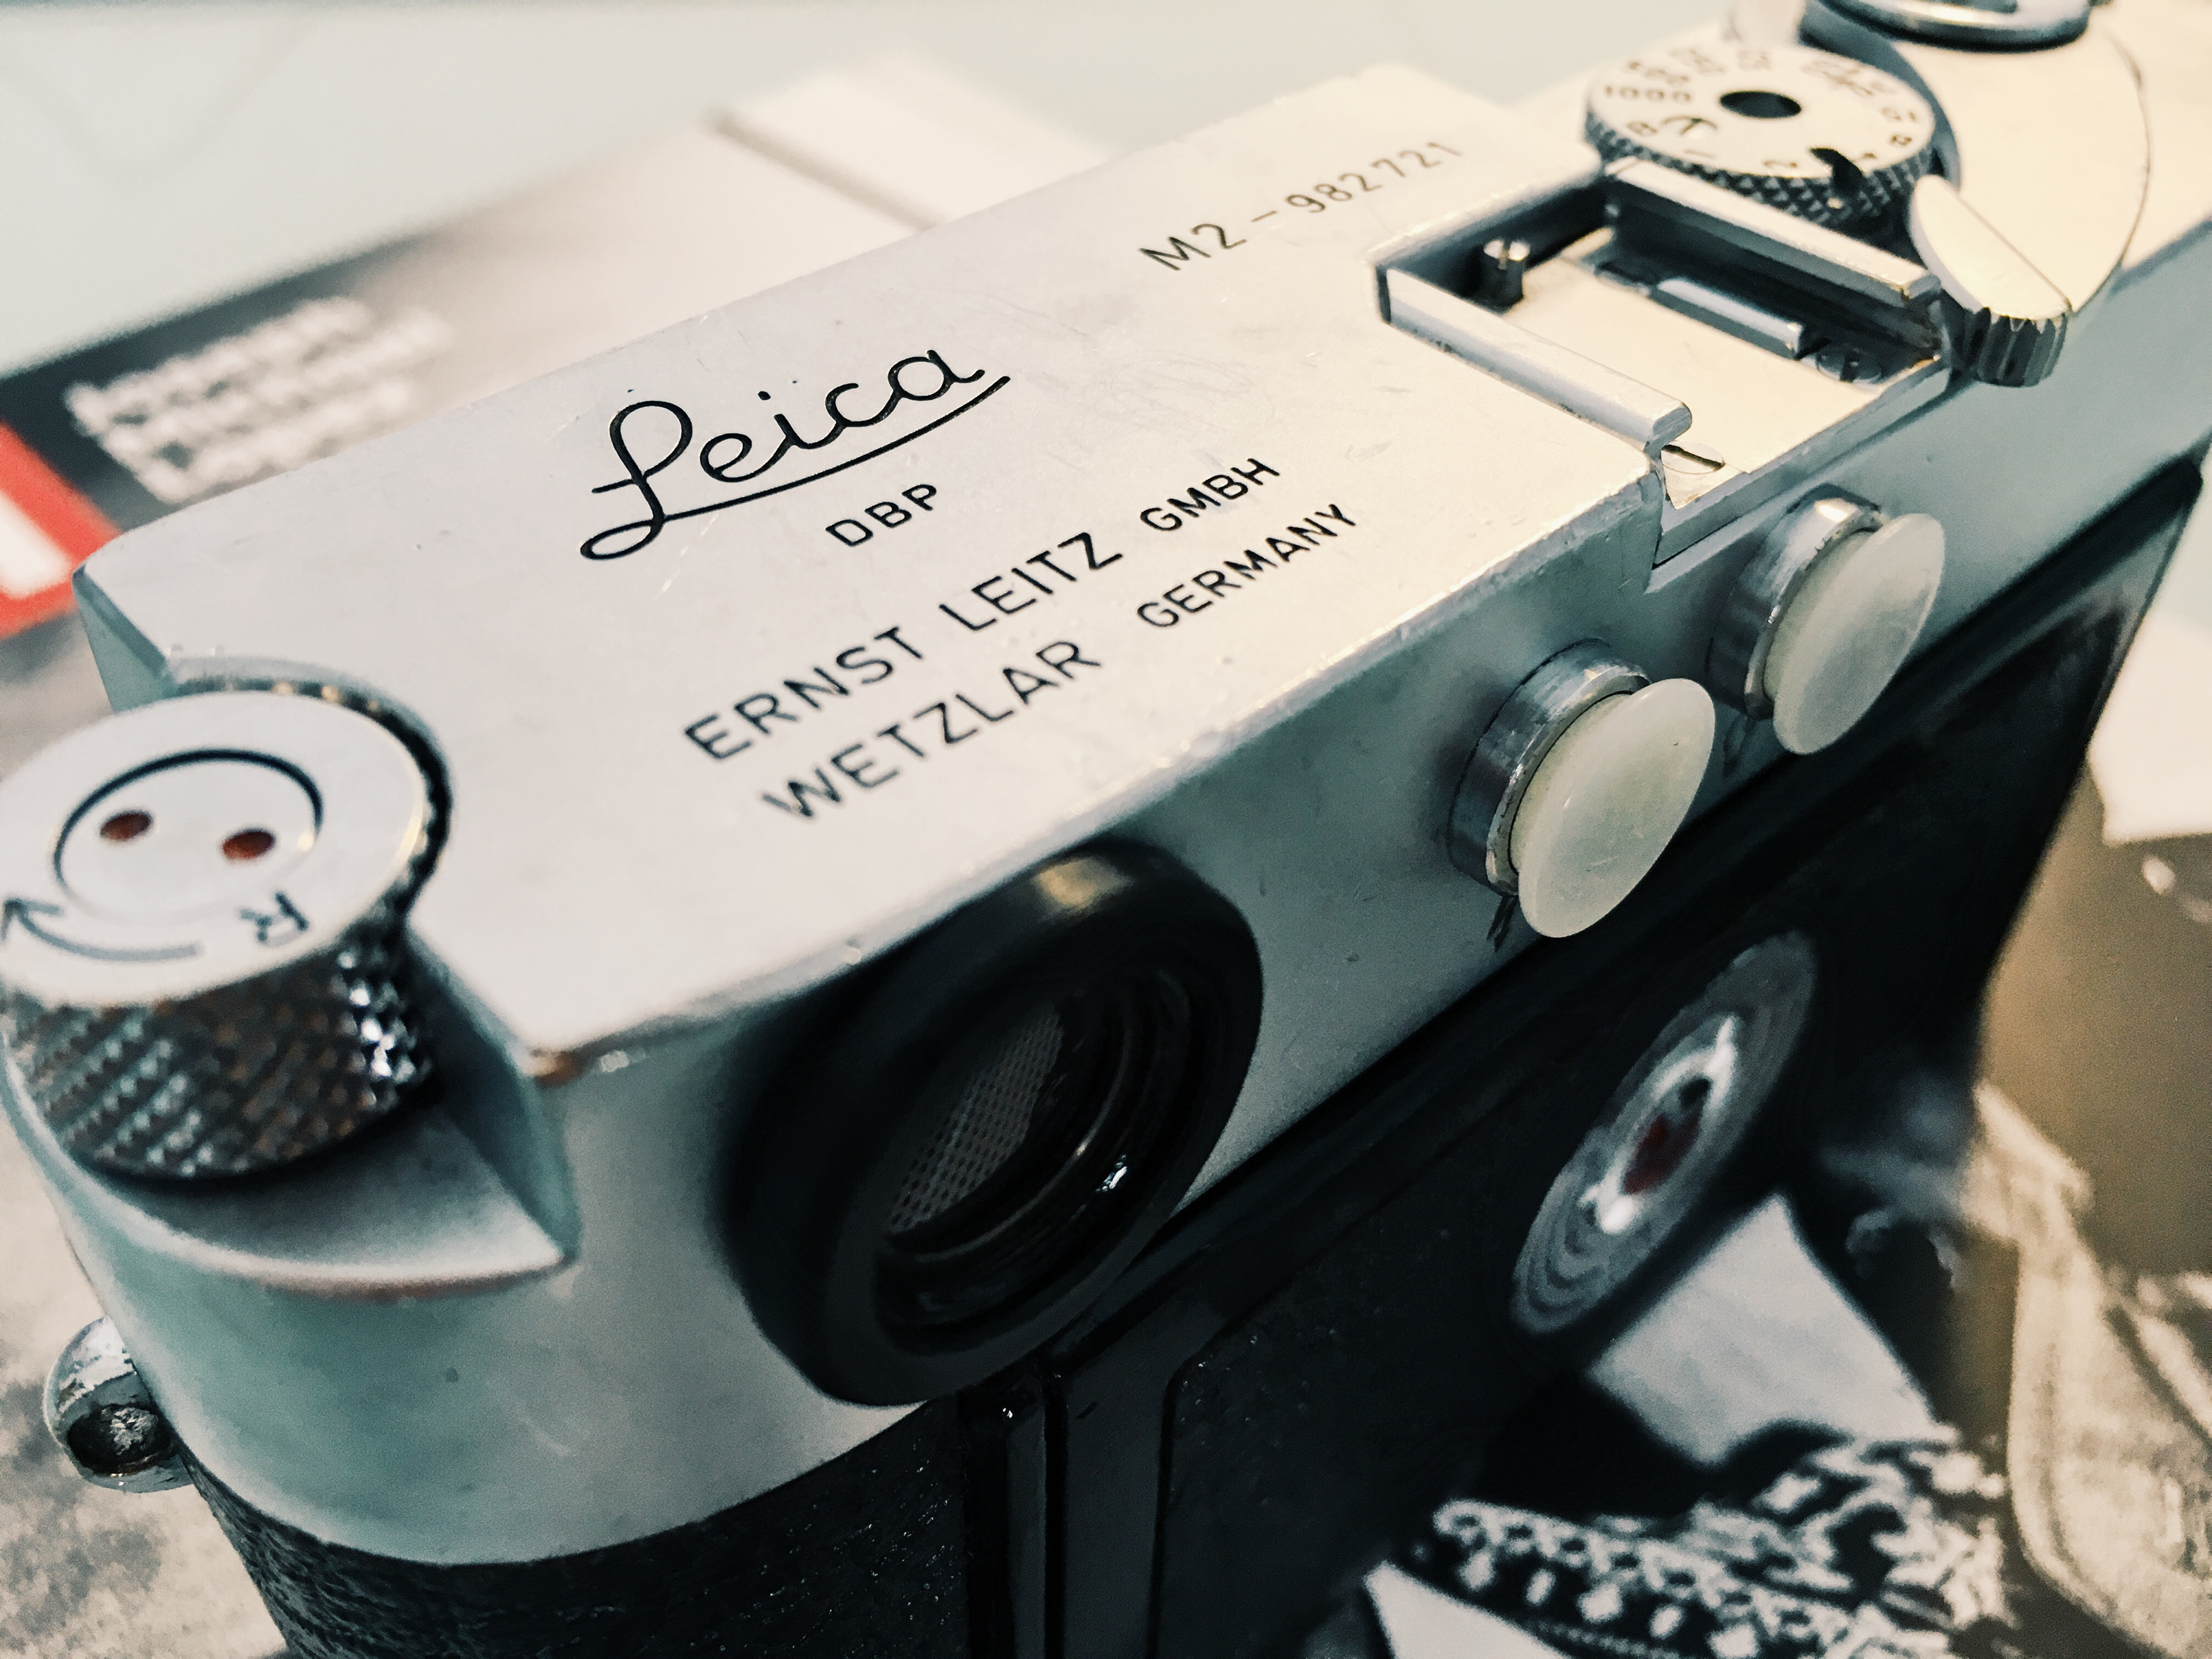
Above is the camera just minutes after the package arrived at my office. I attached the 50mm Summicron-M and started checking basic functioning (e.g. shutter times, curtain closure).
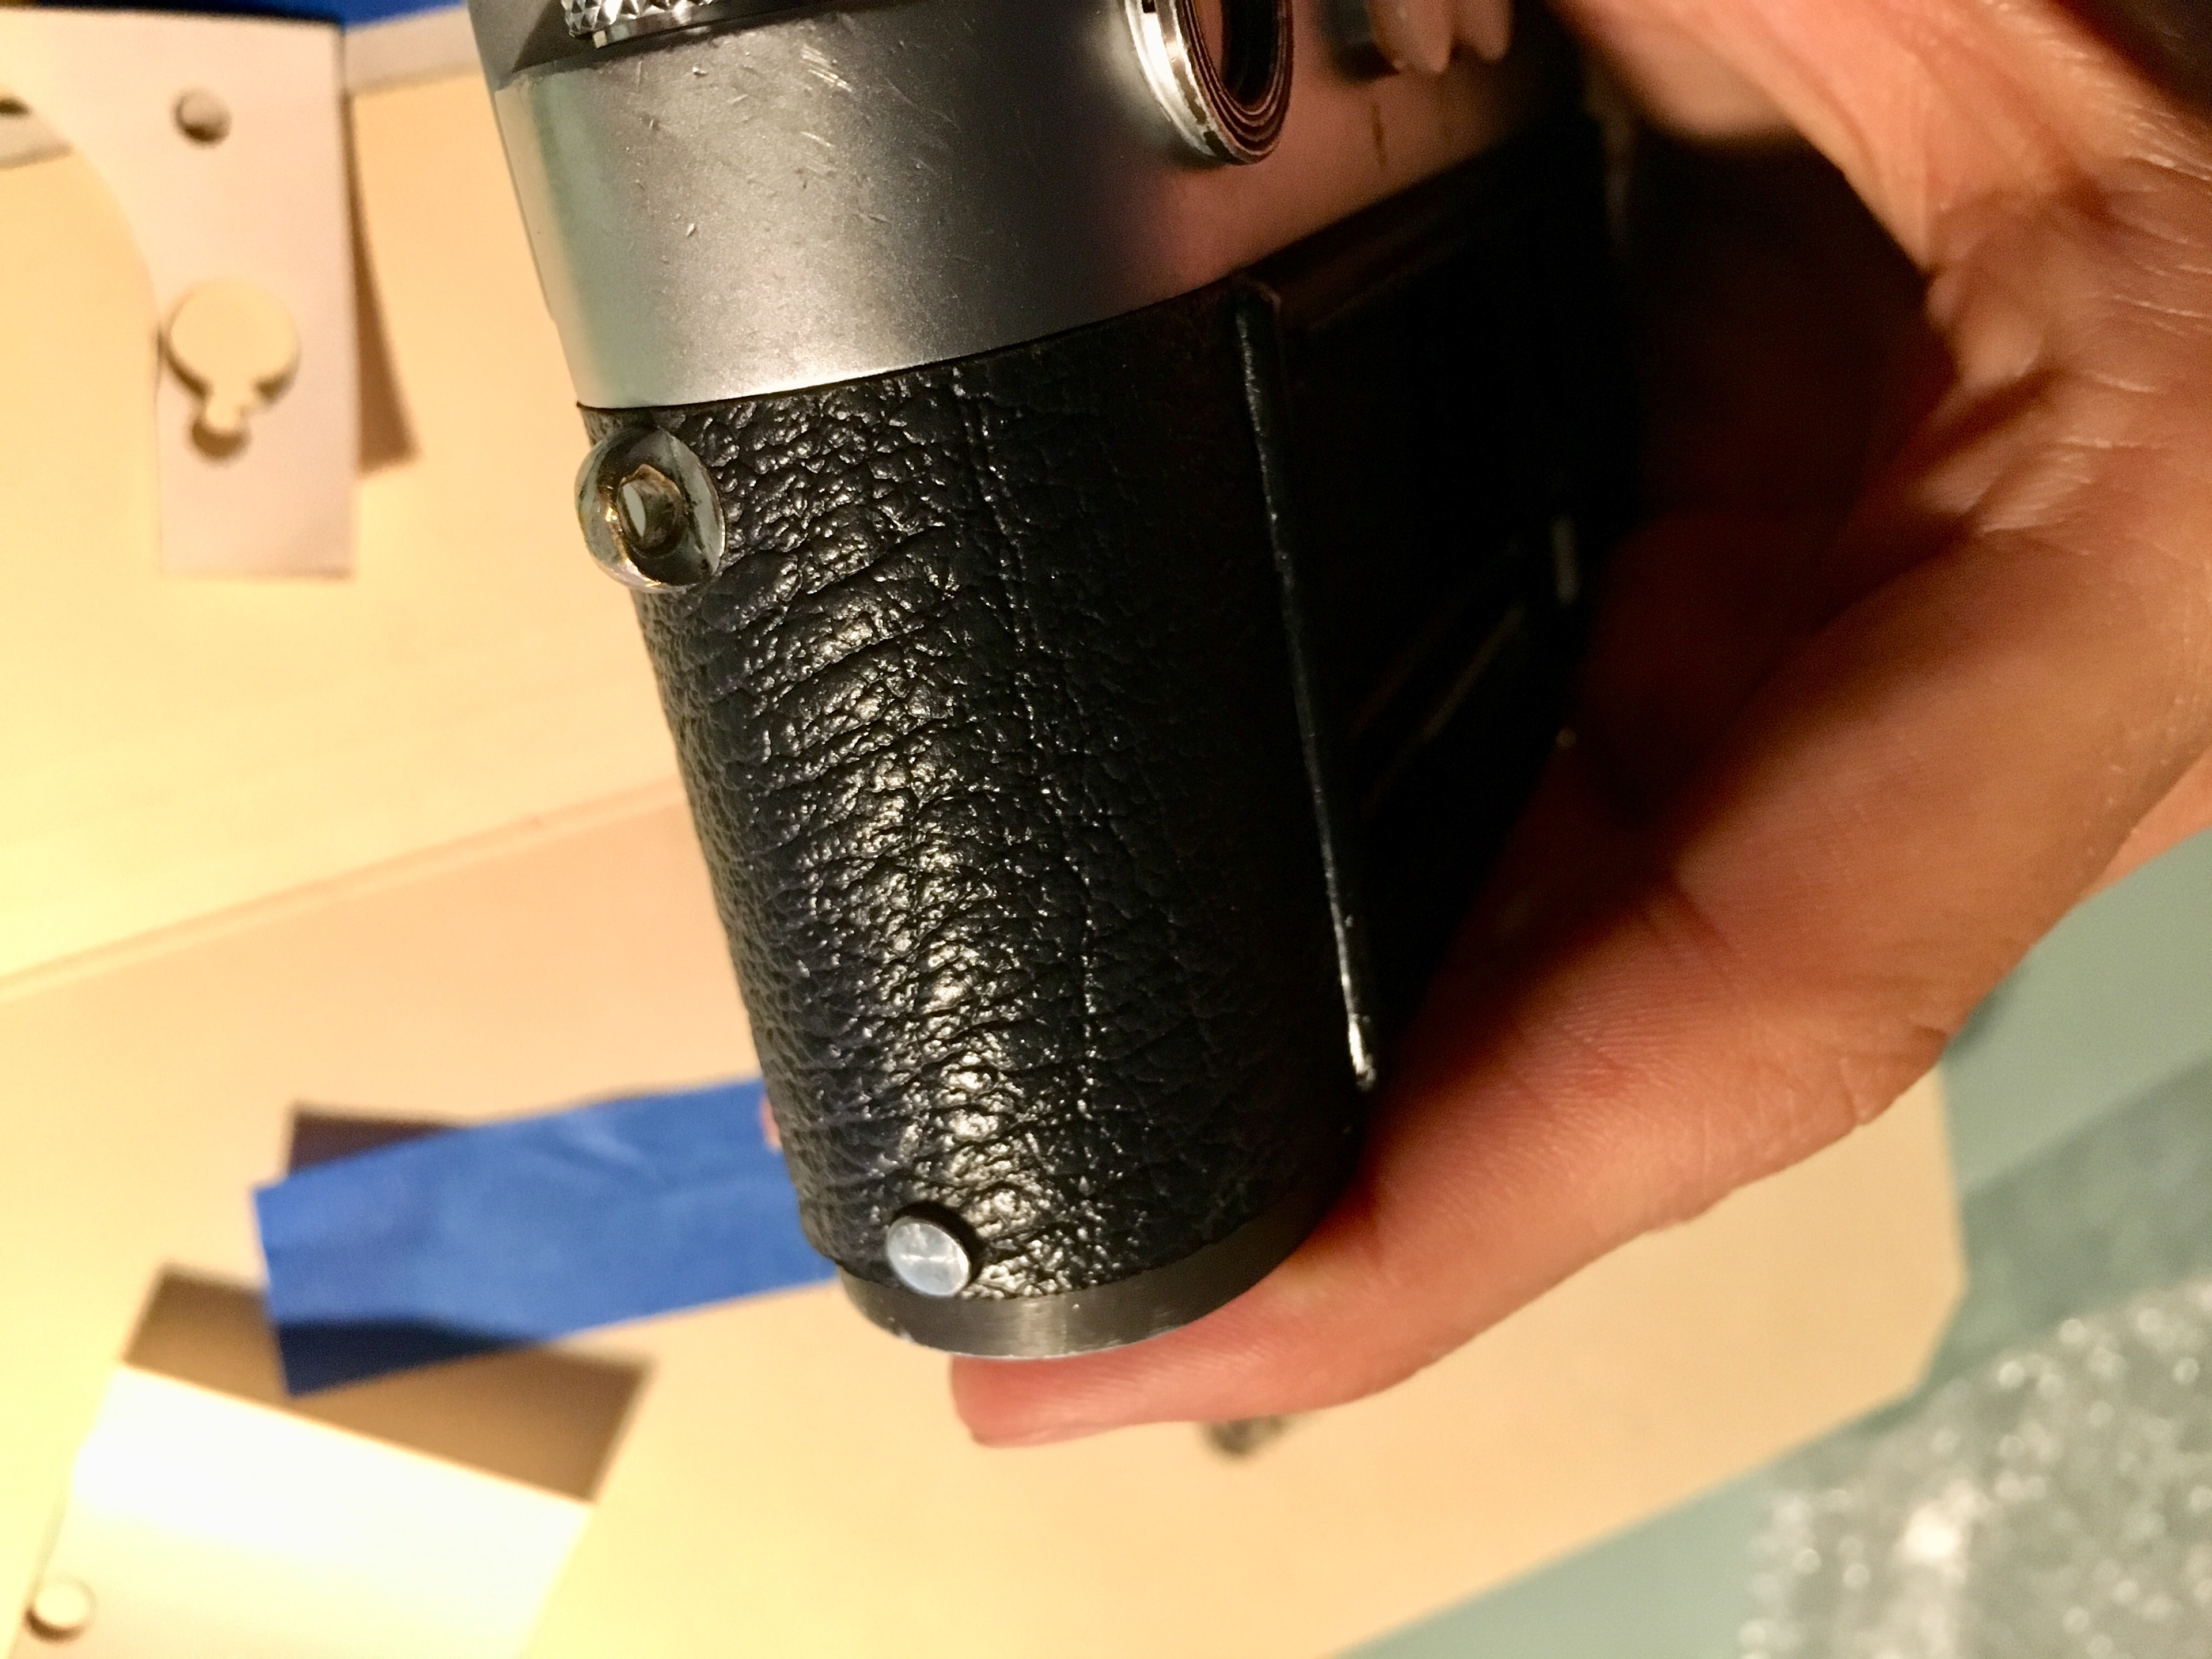
It wasn't as bad as I suspected. Long shutter times where slightly off, the view finder wasn't clear and the cosmetics where in pretty bad conditions (broken vulcanite, faded letterings, yellowish dirt on the surface and marks all over the place).
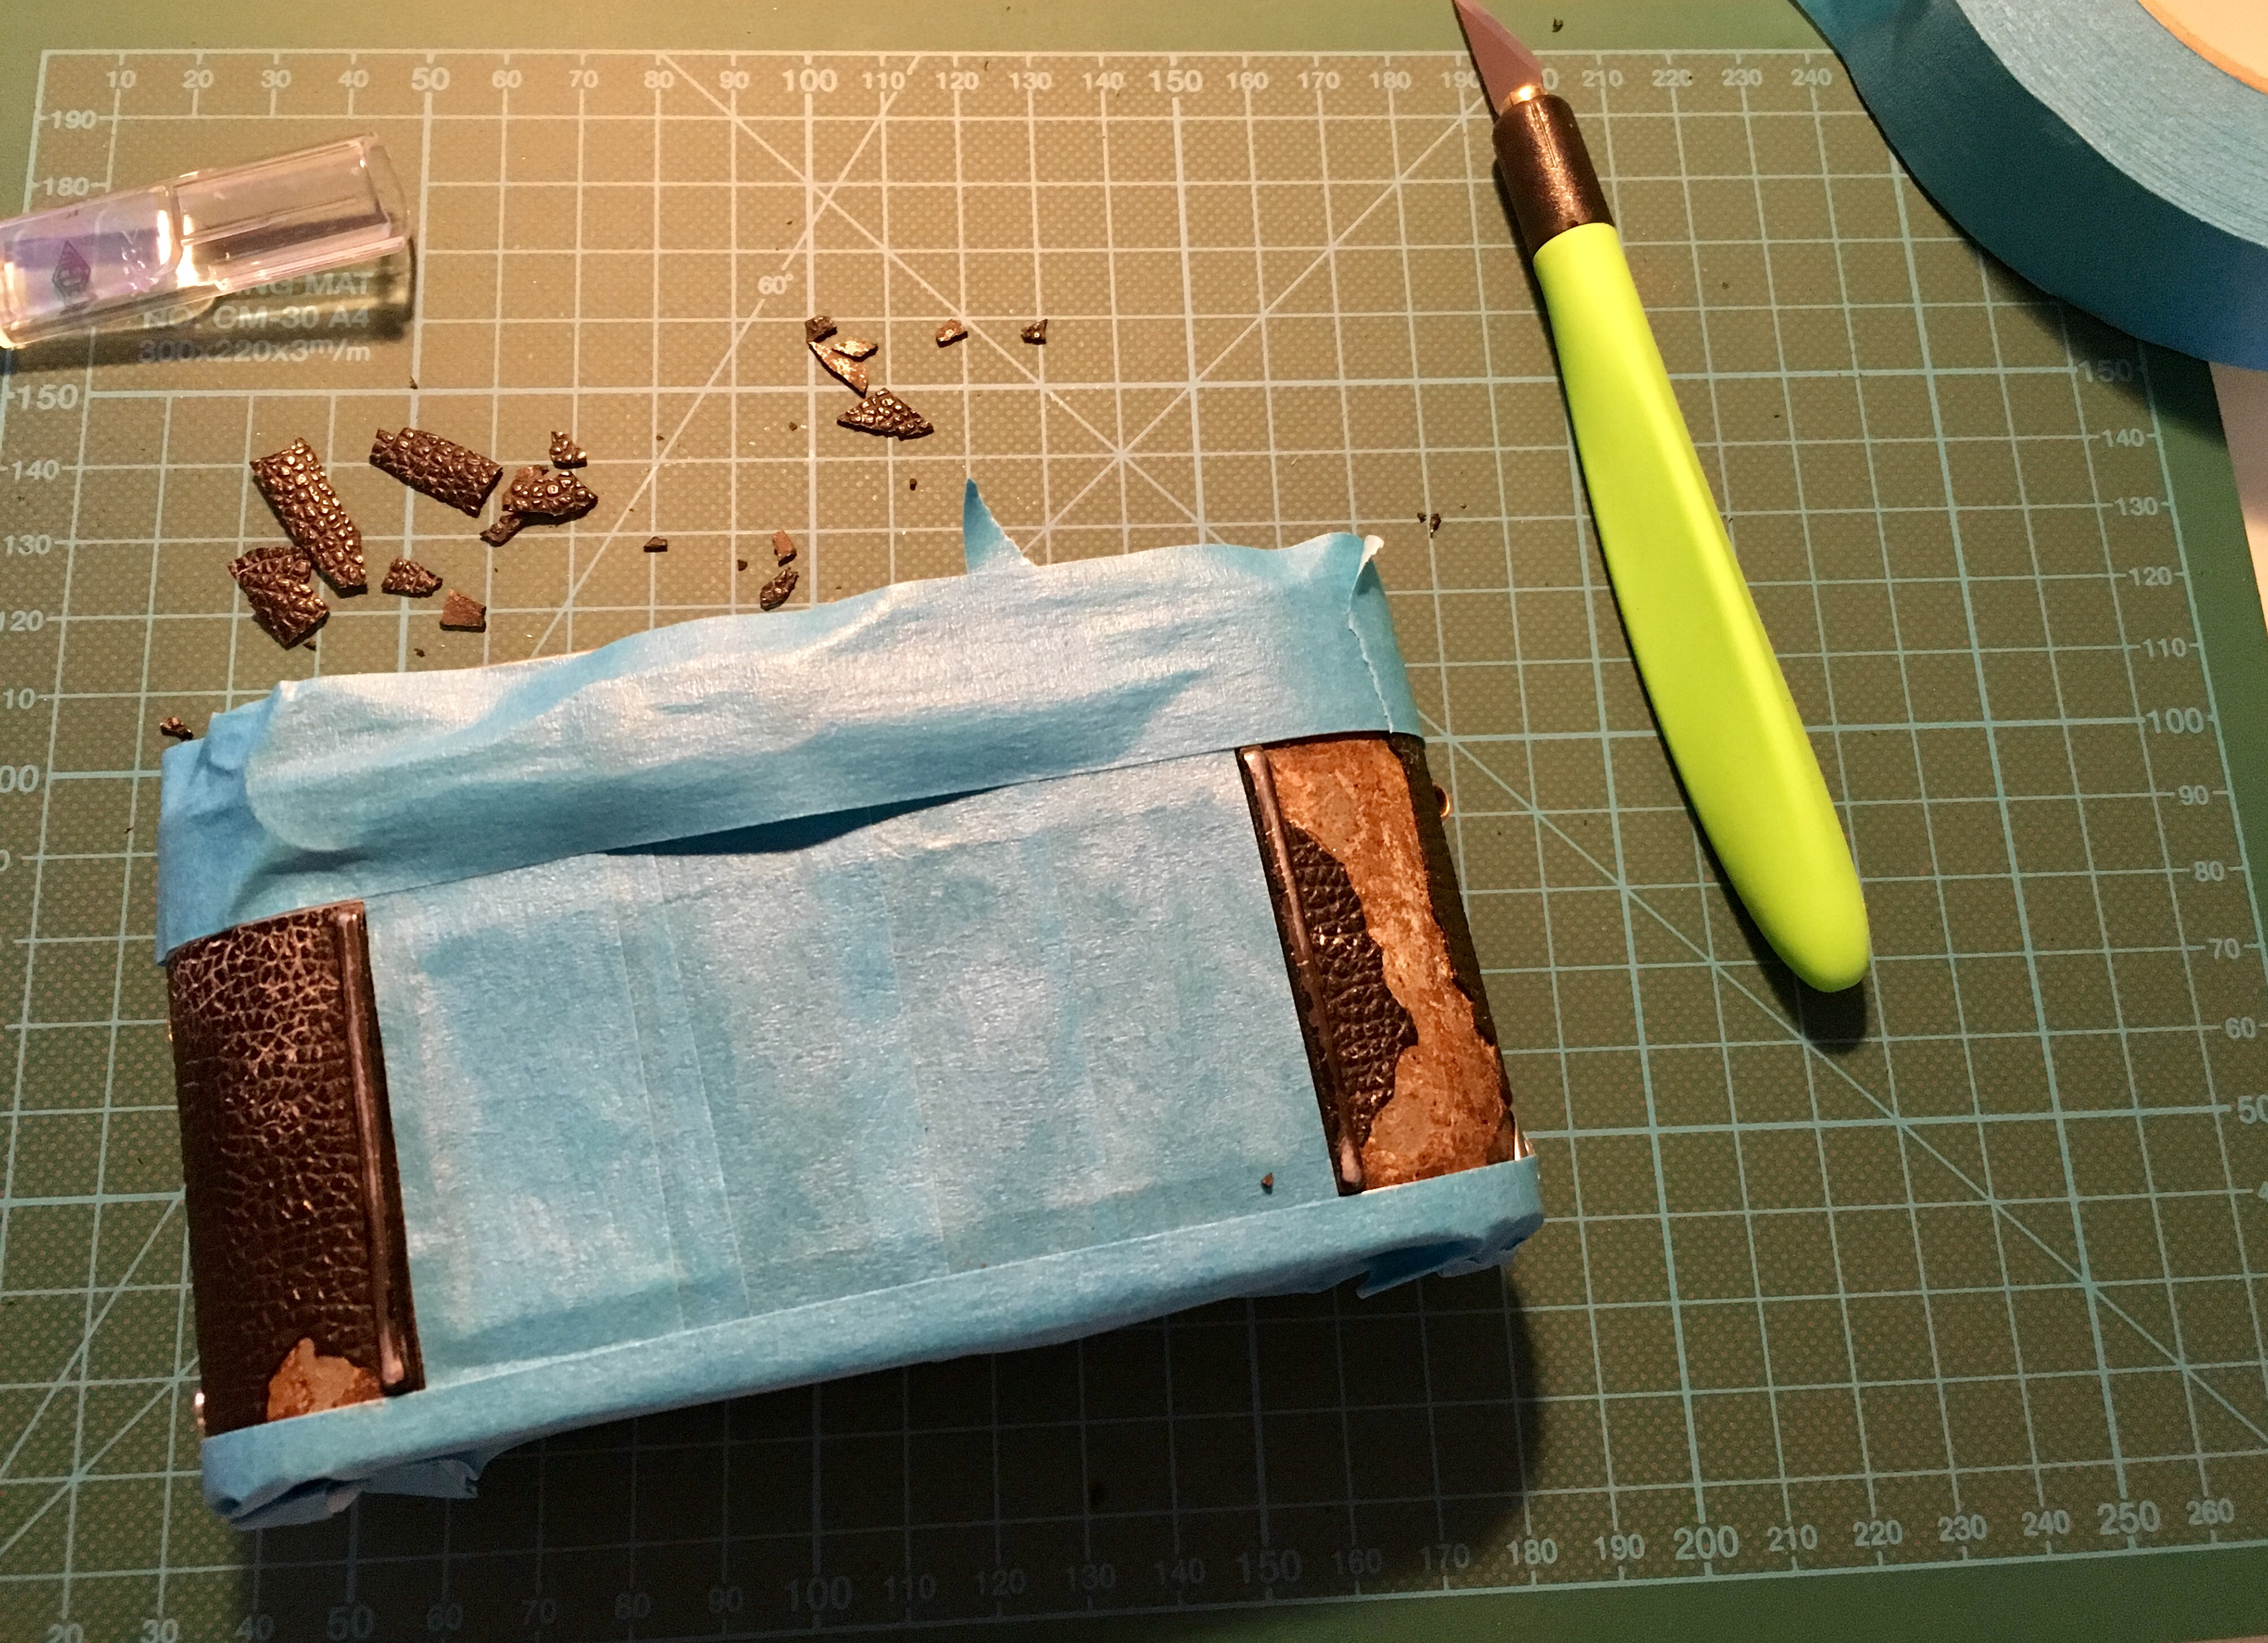
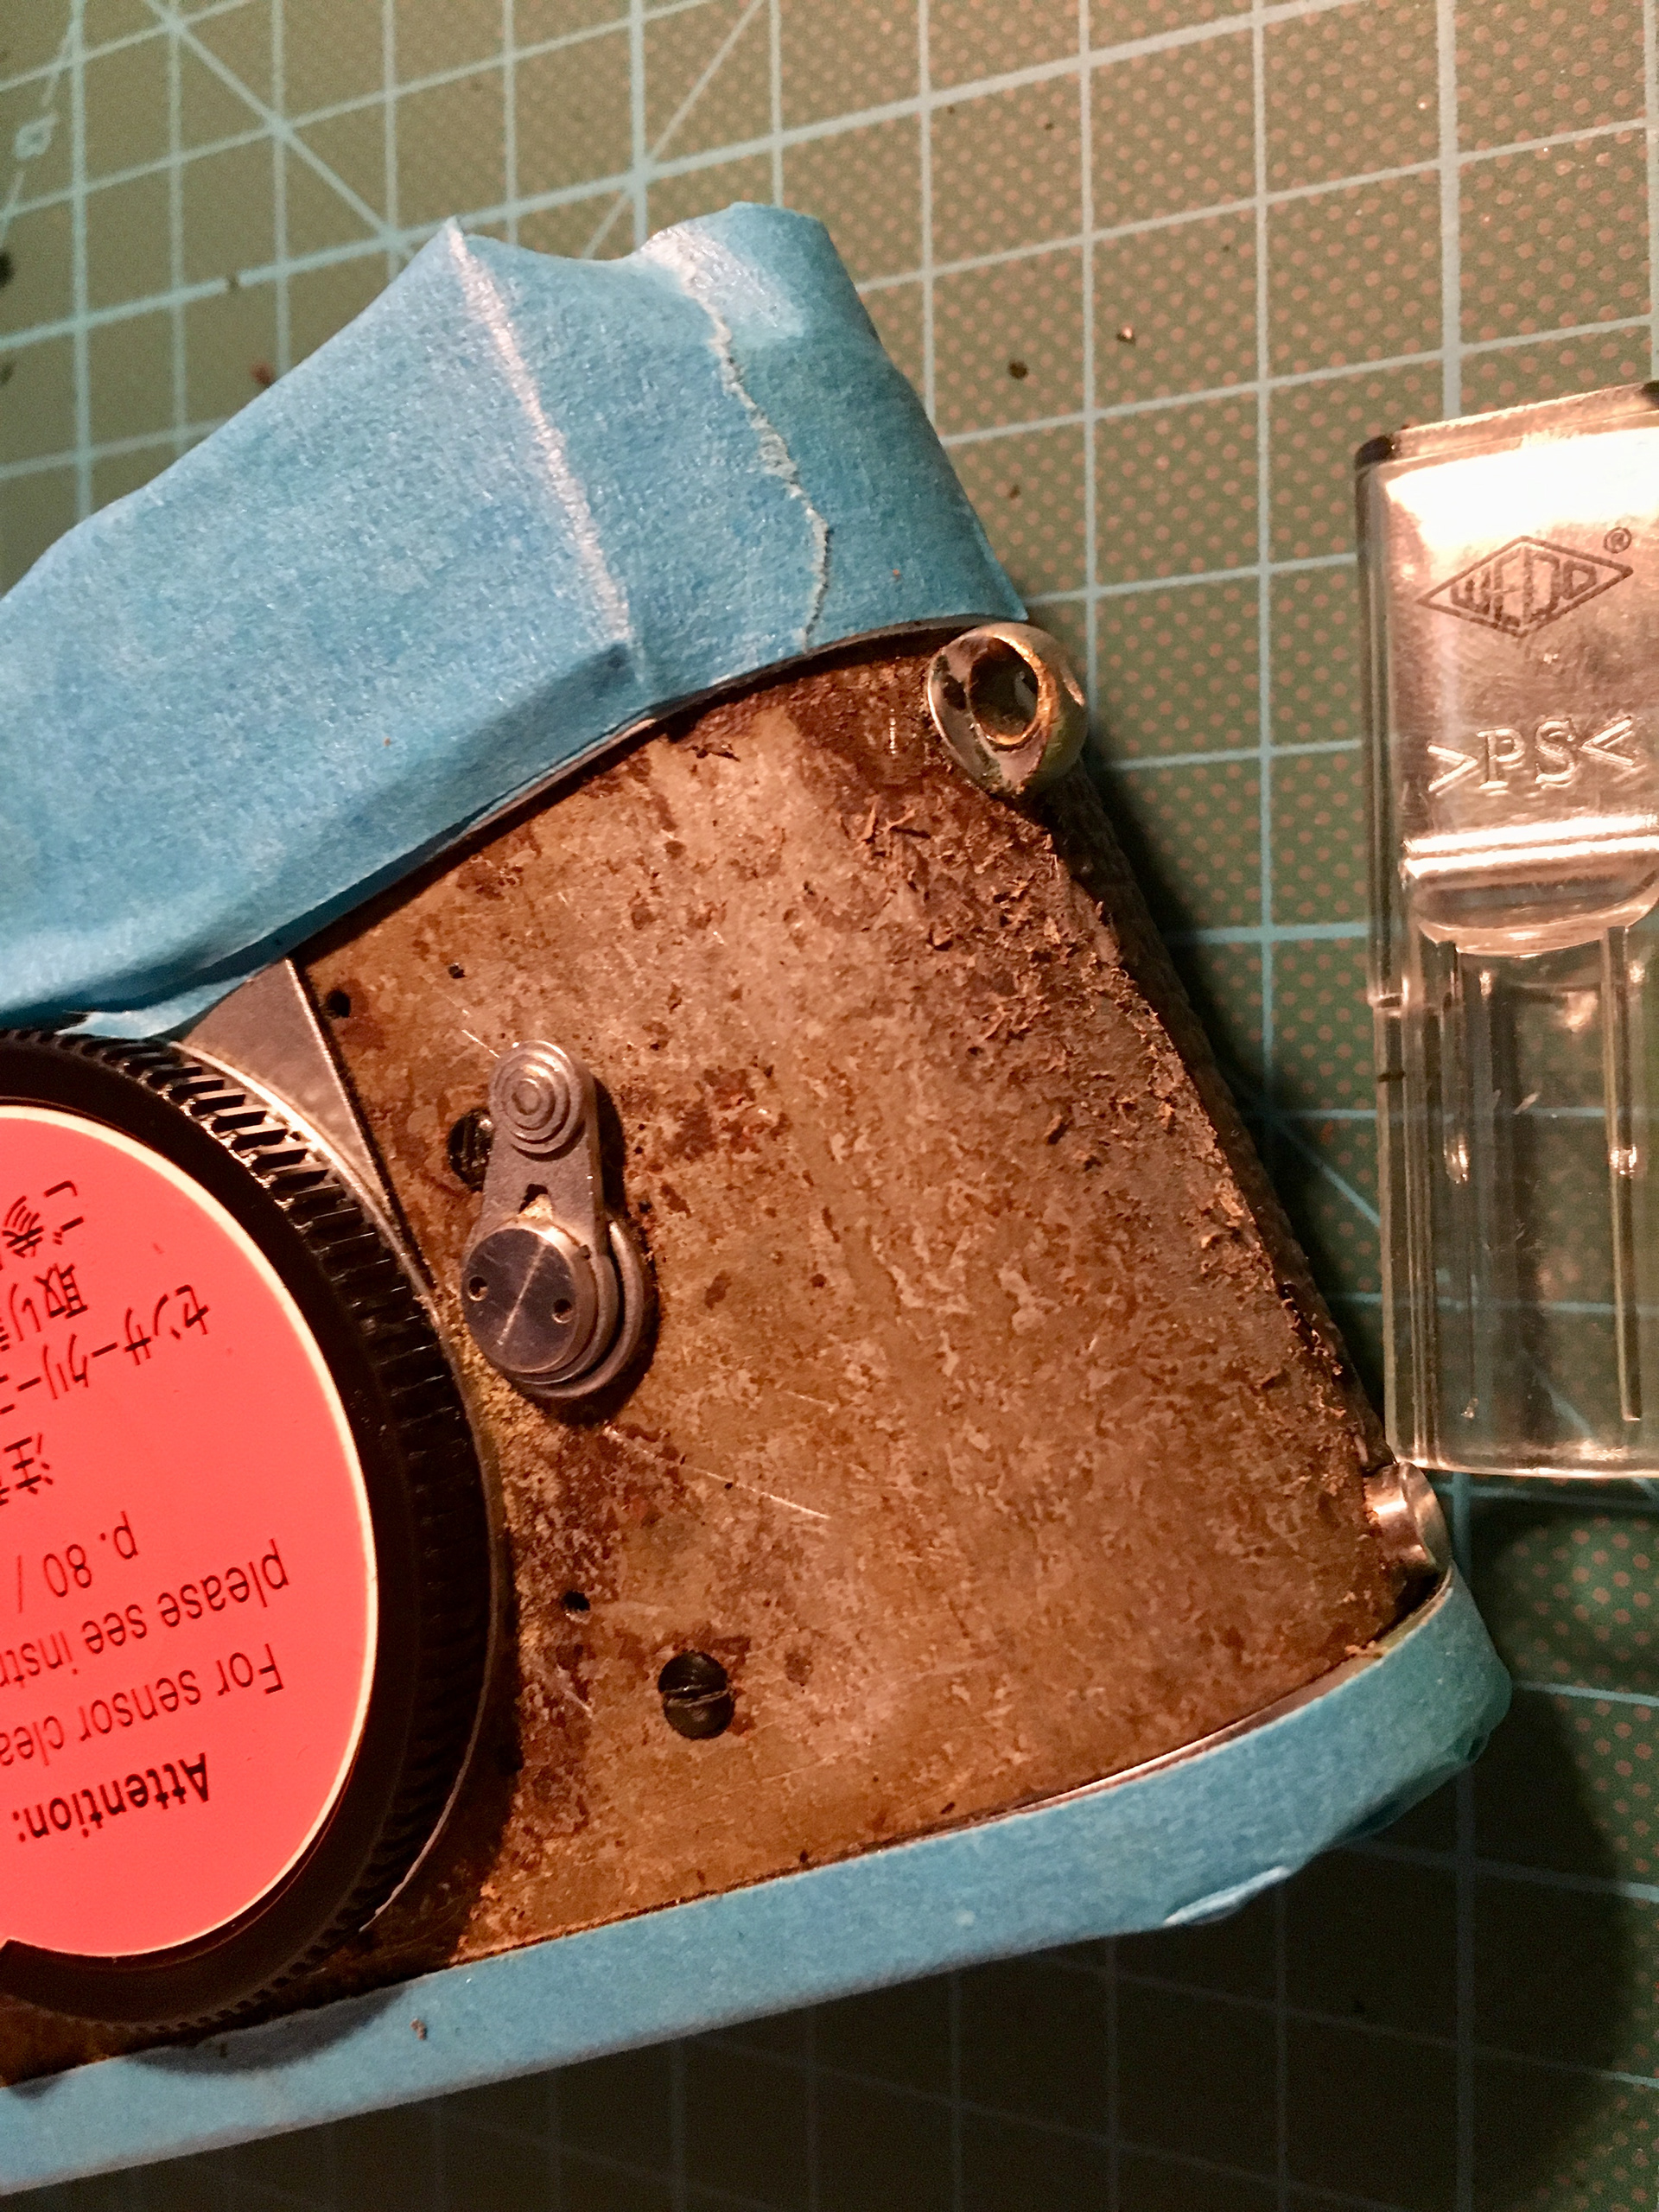

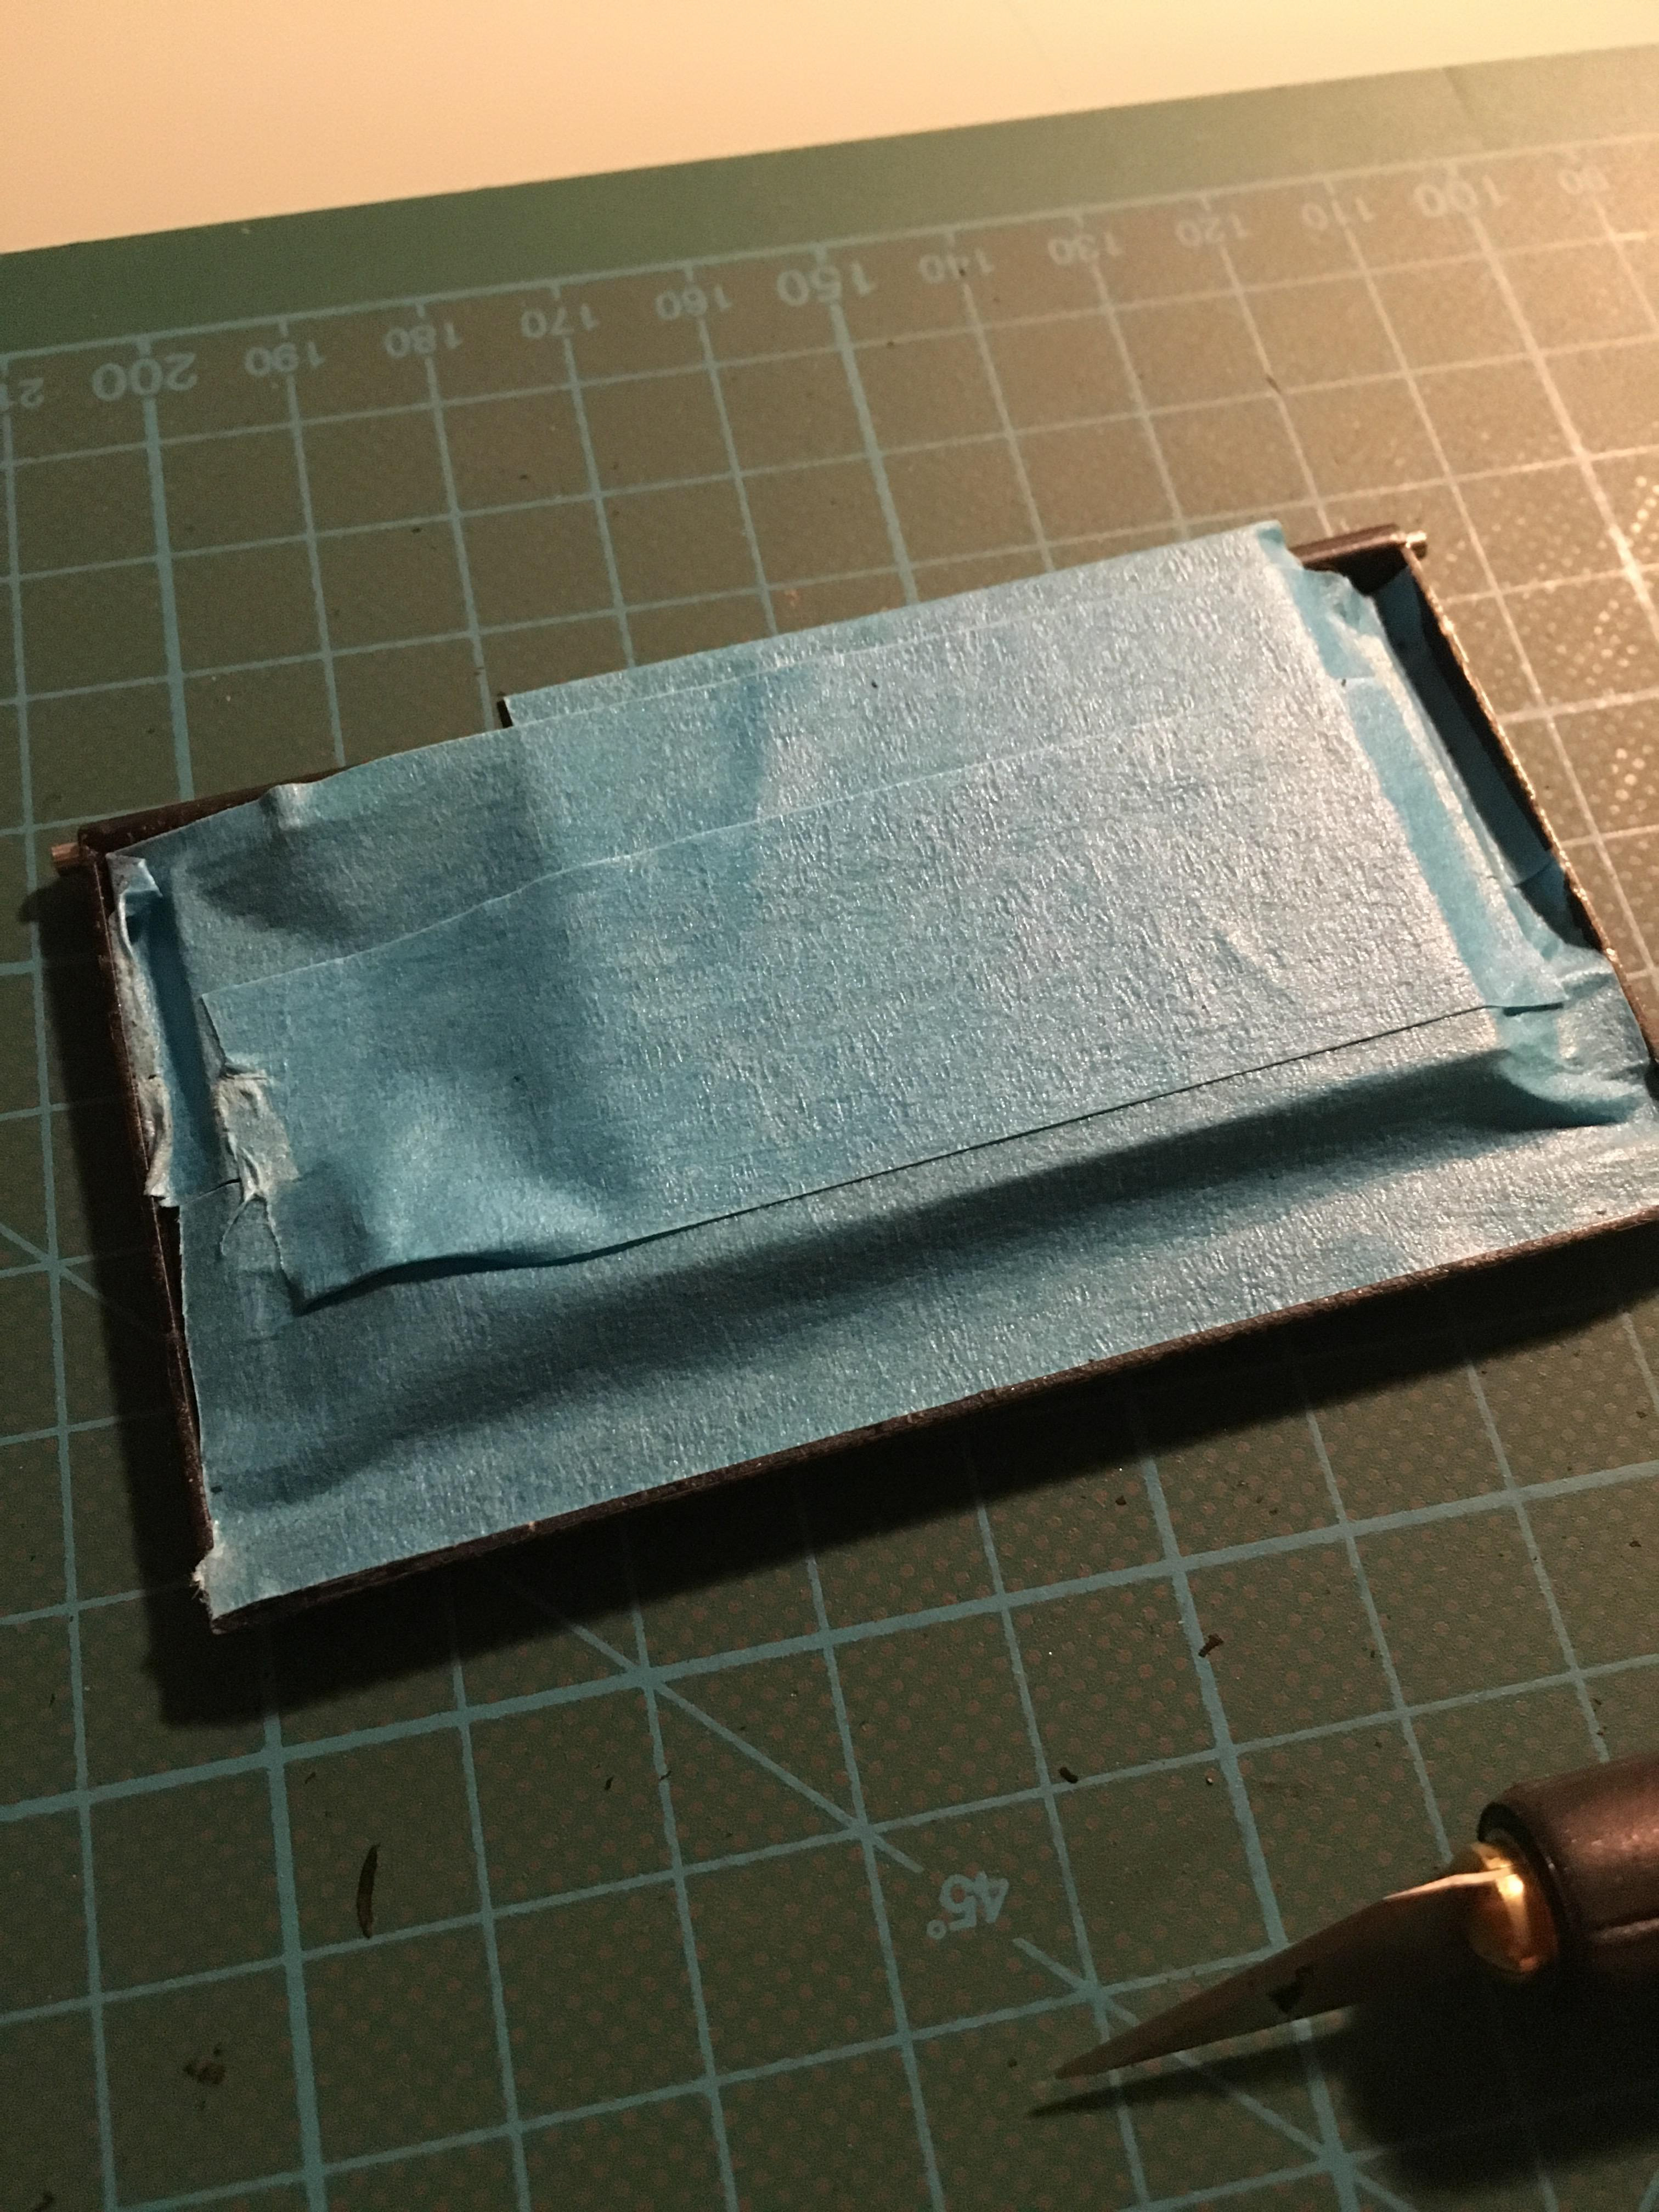
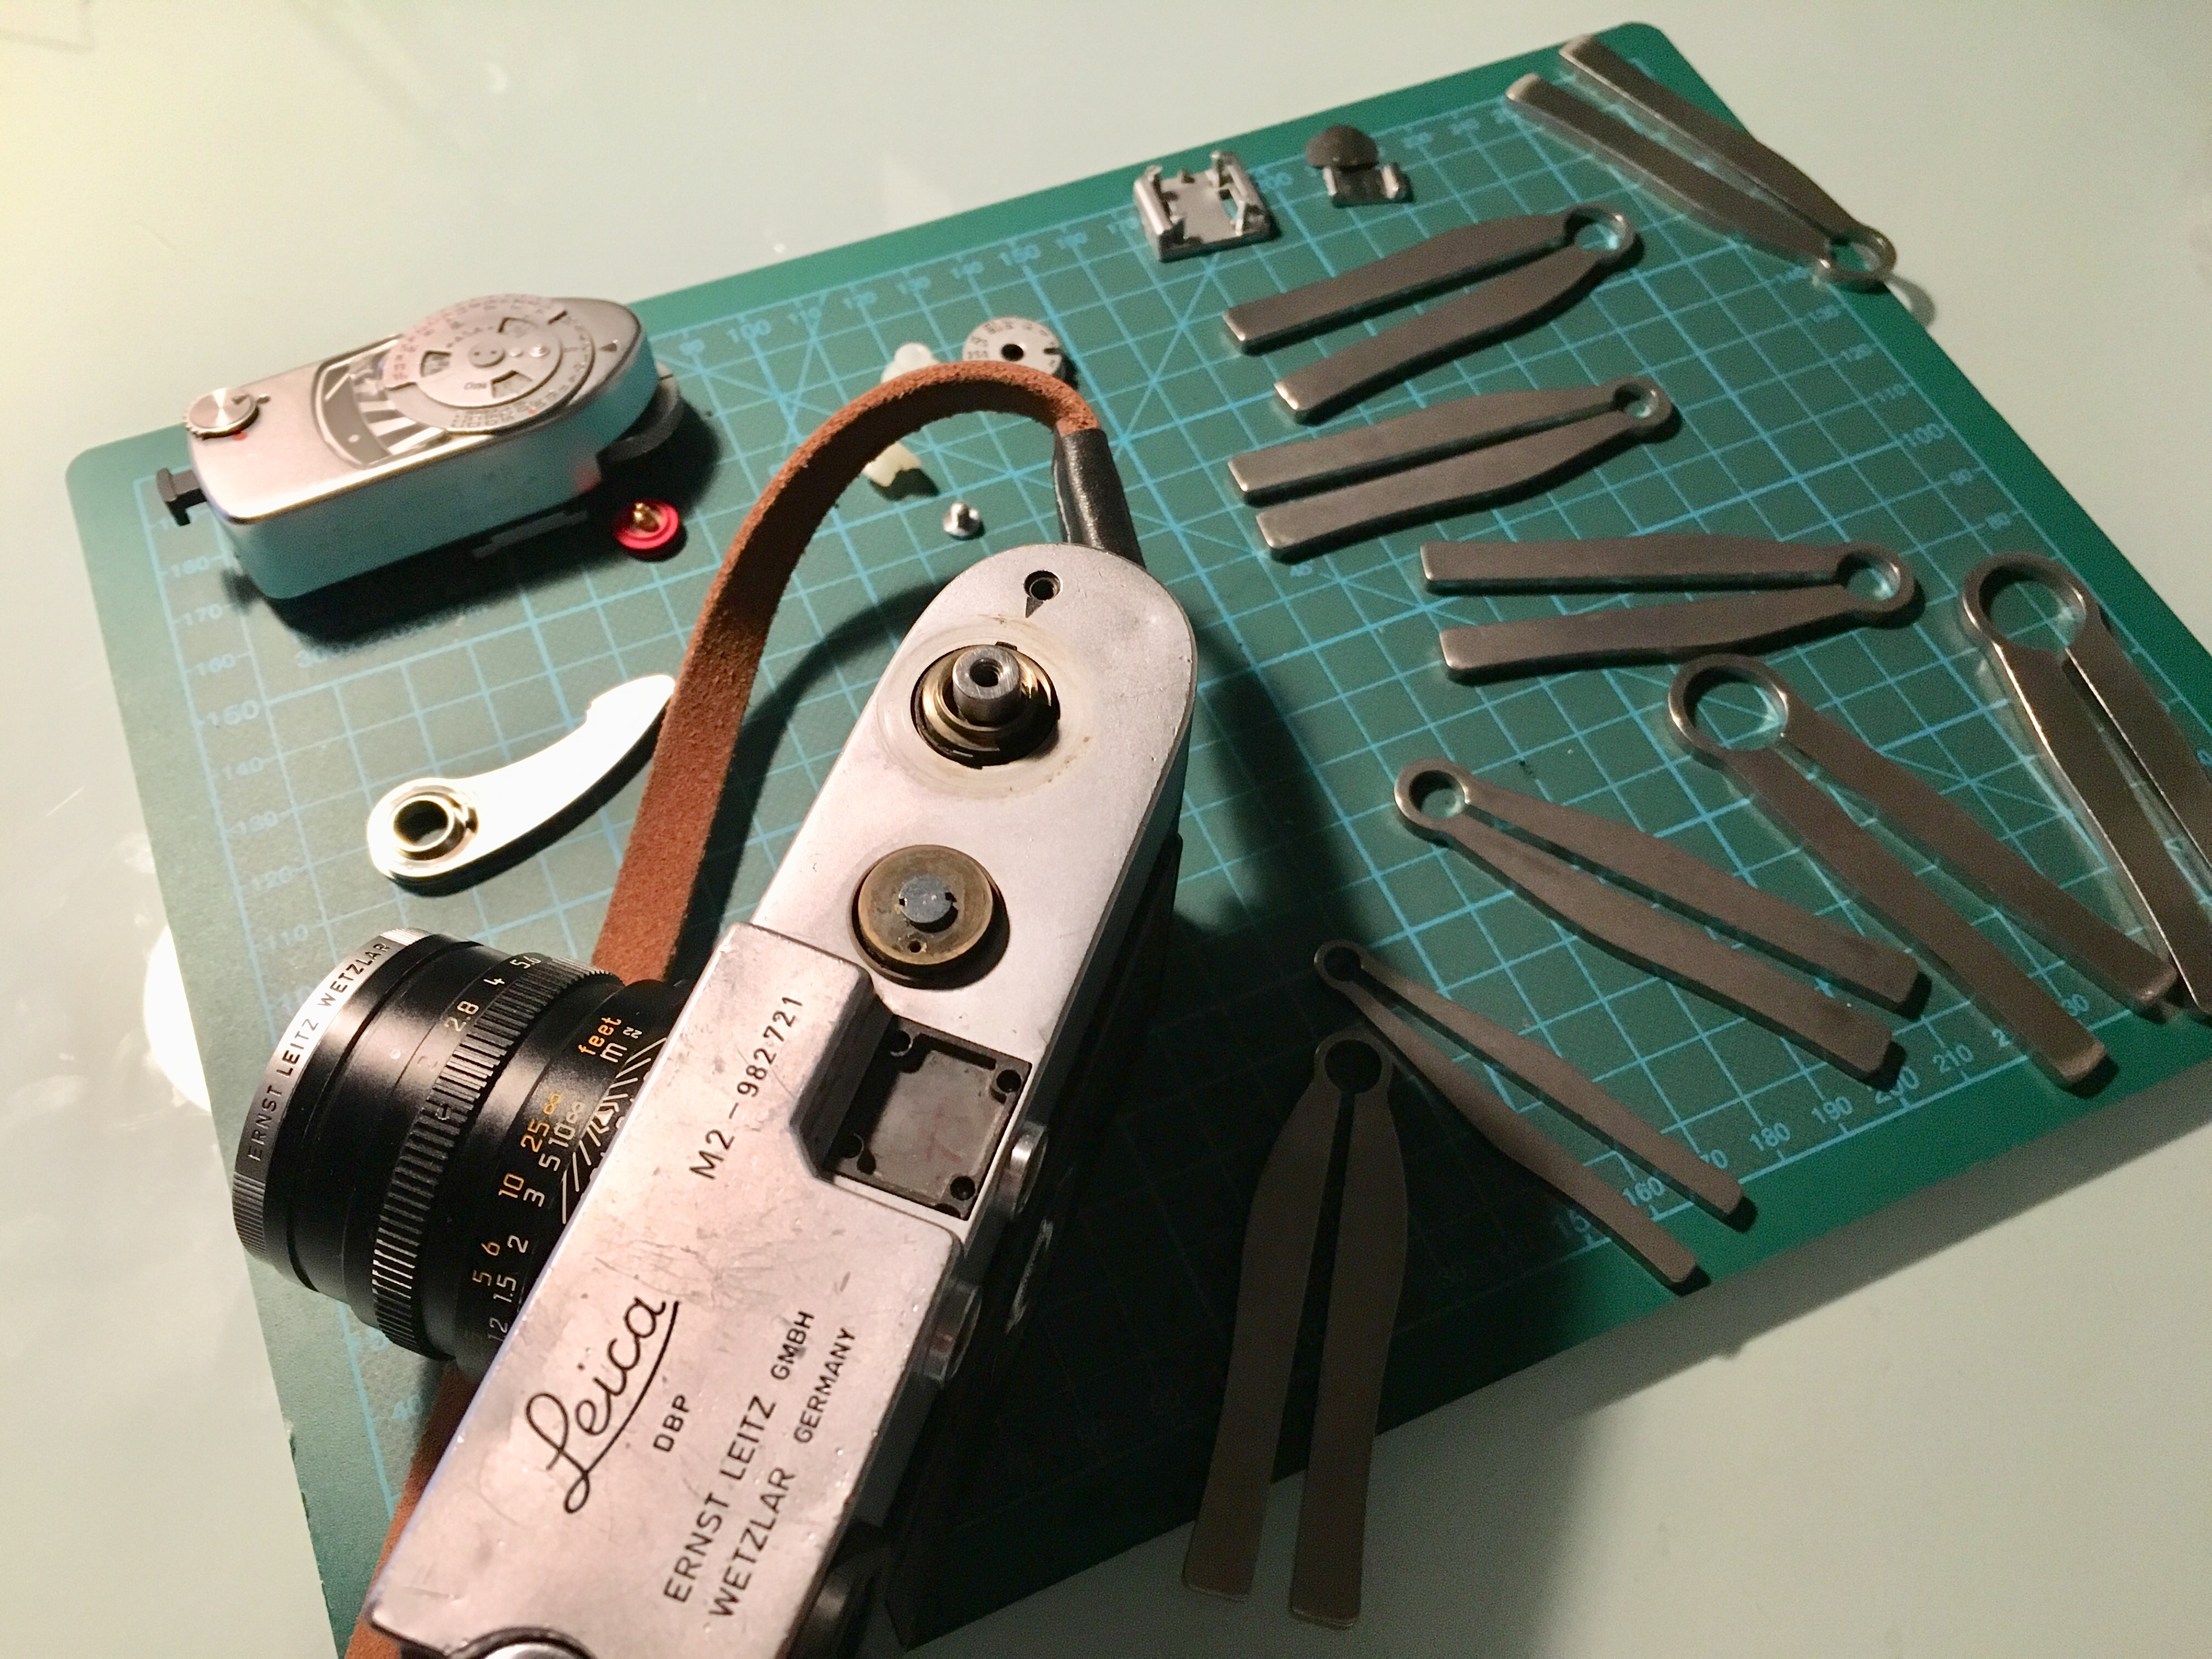
First thing, I did was the removal of the 50+ years old vulcanite covering as I felt most comfortable with the task.
Ok, removing old, hard plastic from a camera isn't as easy as removing the leather from an M9 or else. The vulcanite come of a small pieces, leaving glue back at the camera. Some parts were easy and I just had to look sharp at it to come of, others really were cut from the surface. It took my two hours to remove everything, removing the glue with a scalpel, and cleaning the surface with nail polish remover.
Th result was quite satisfying.

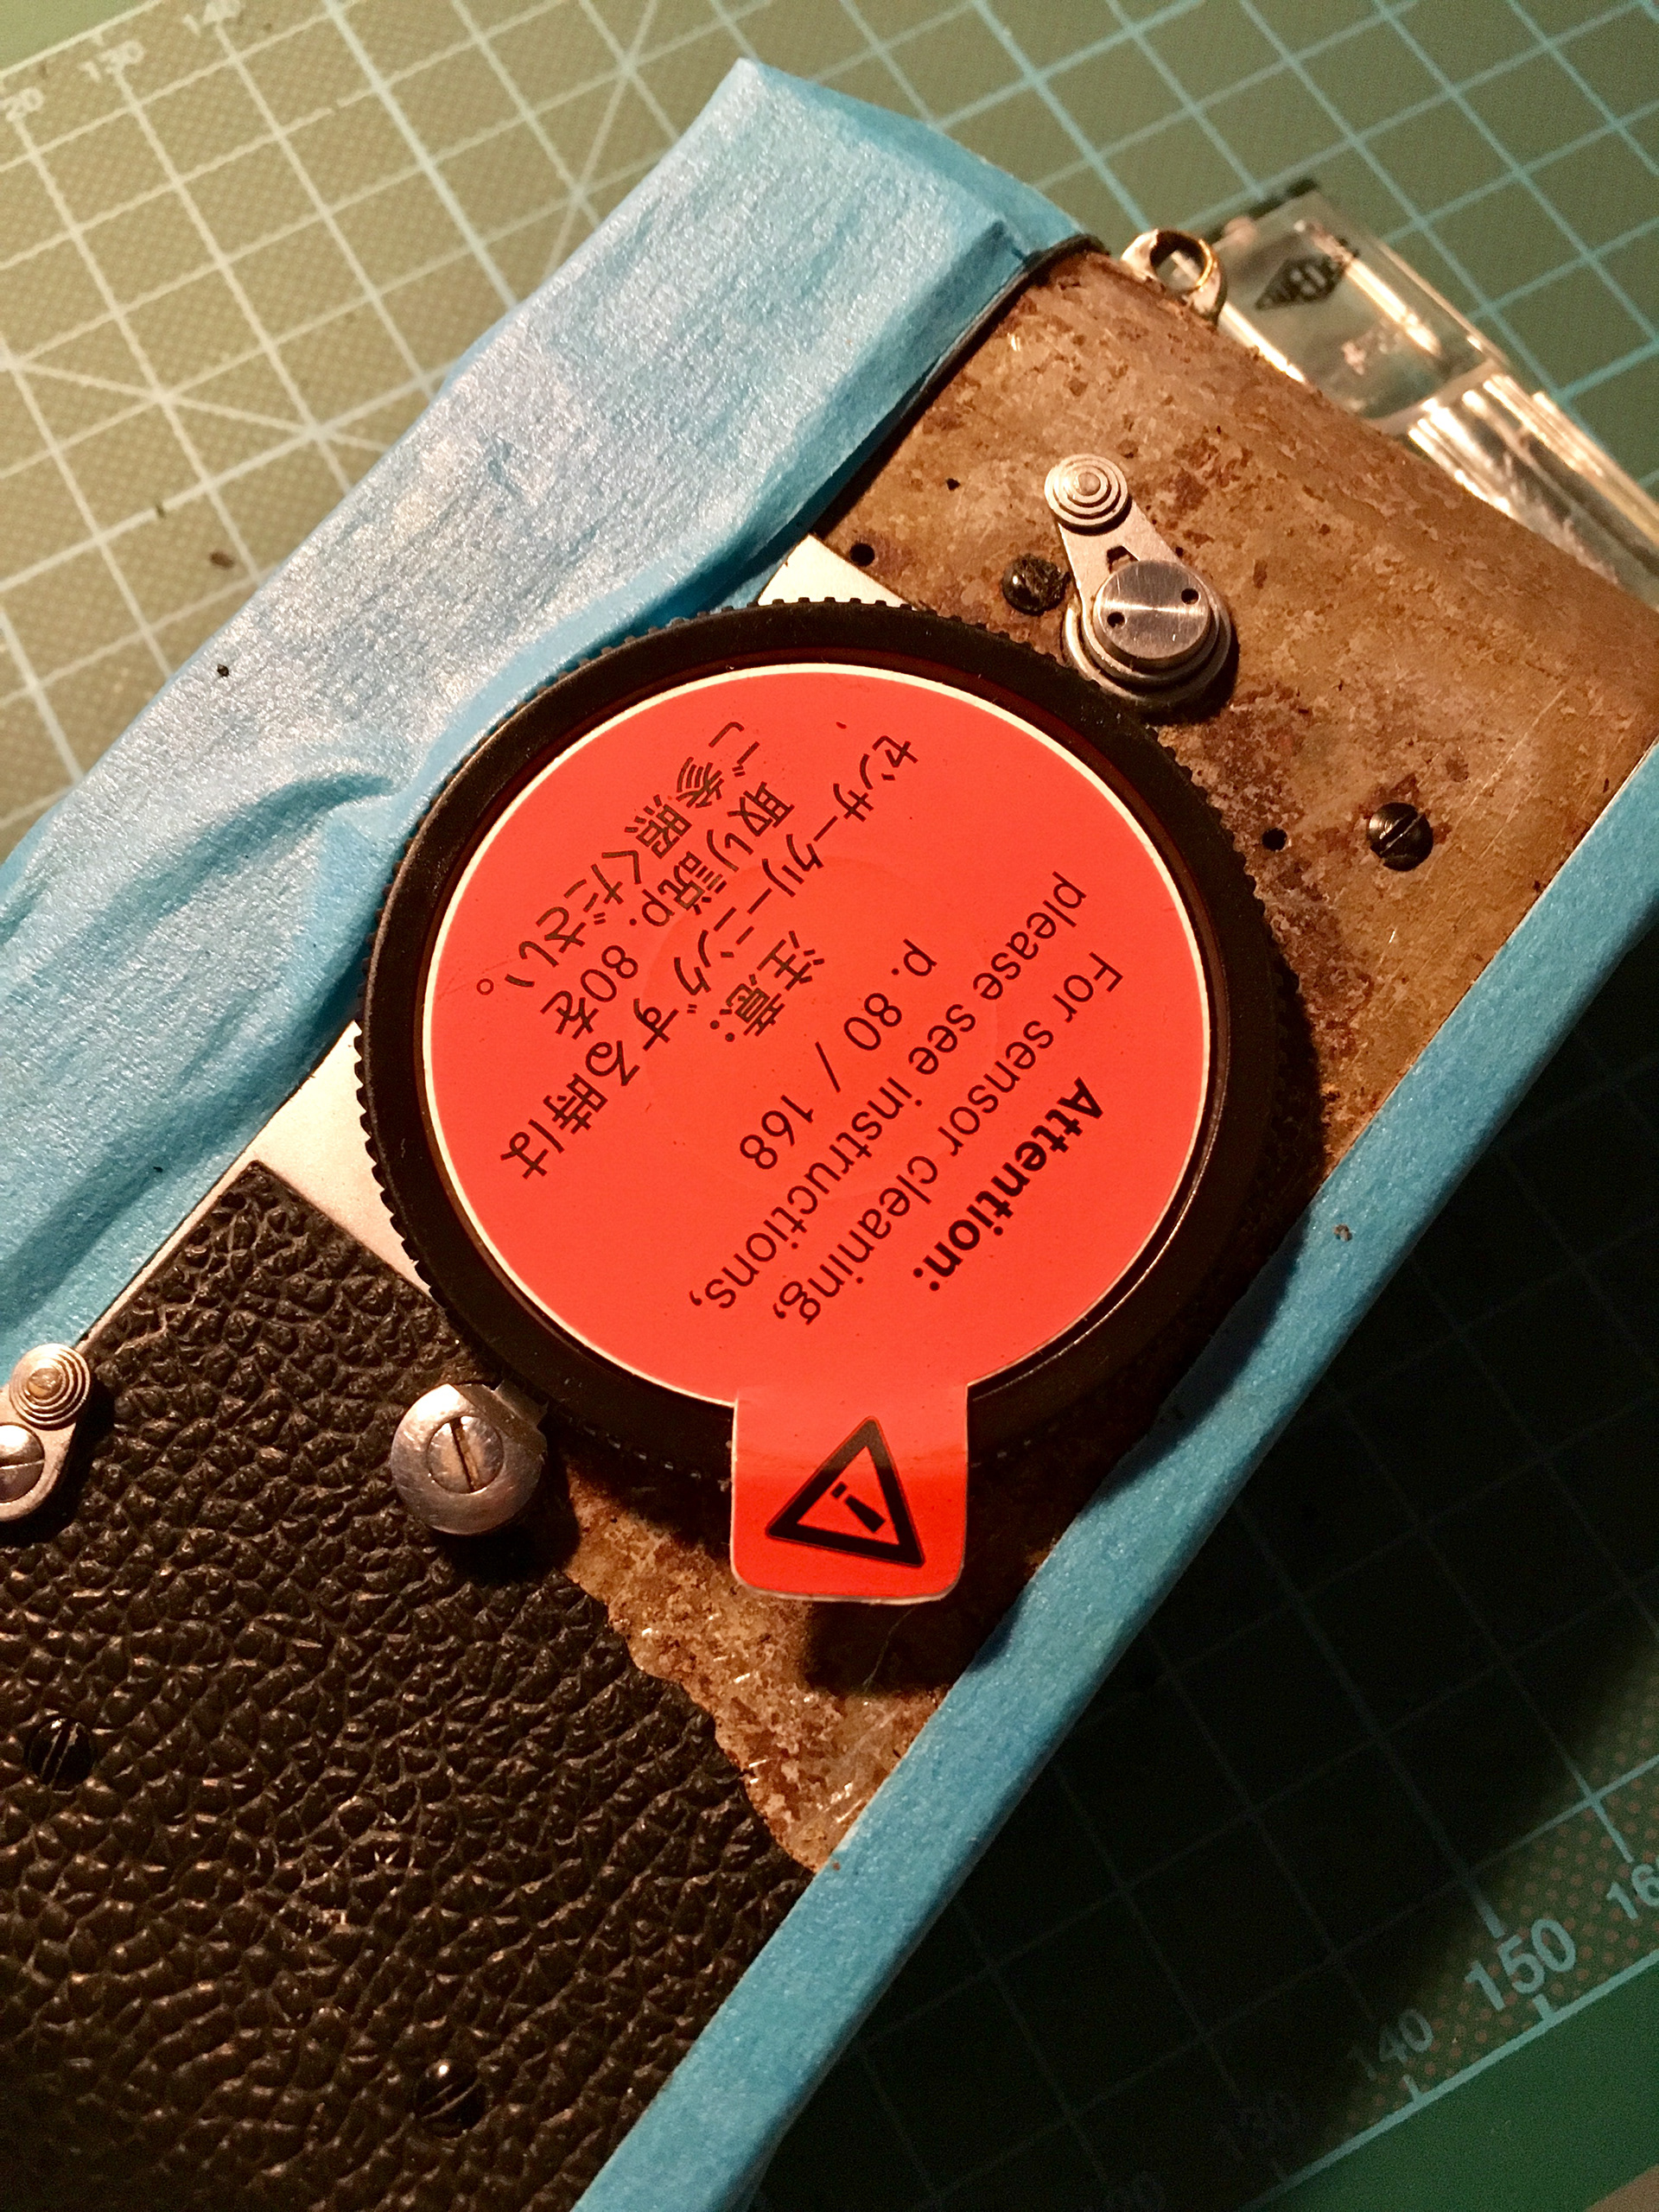
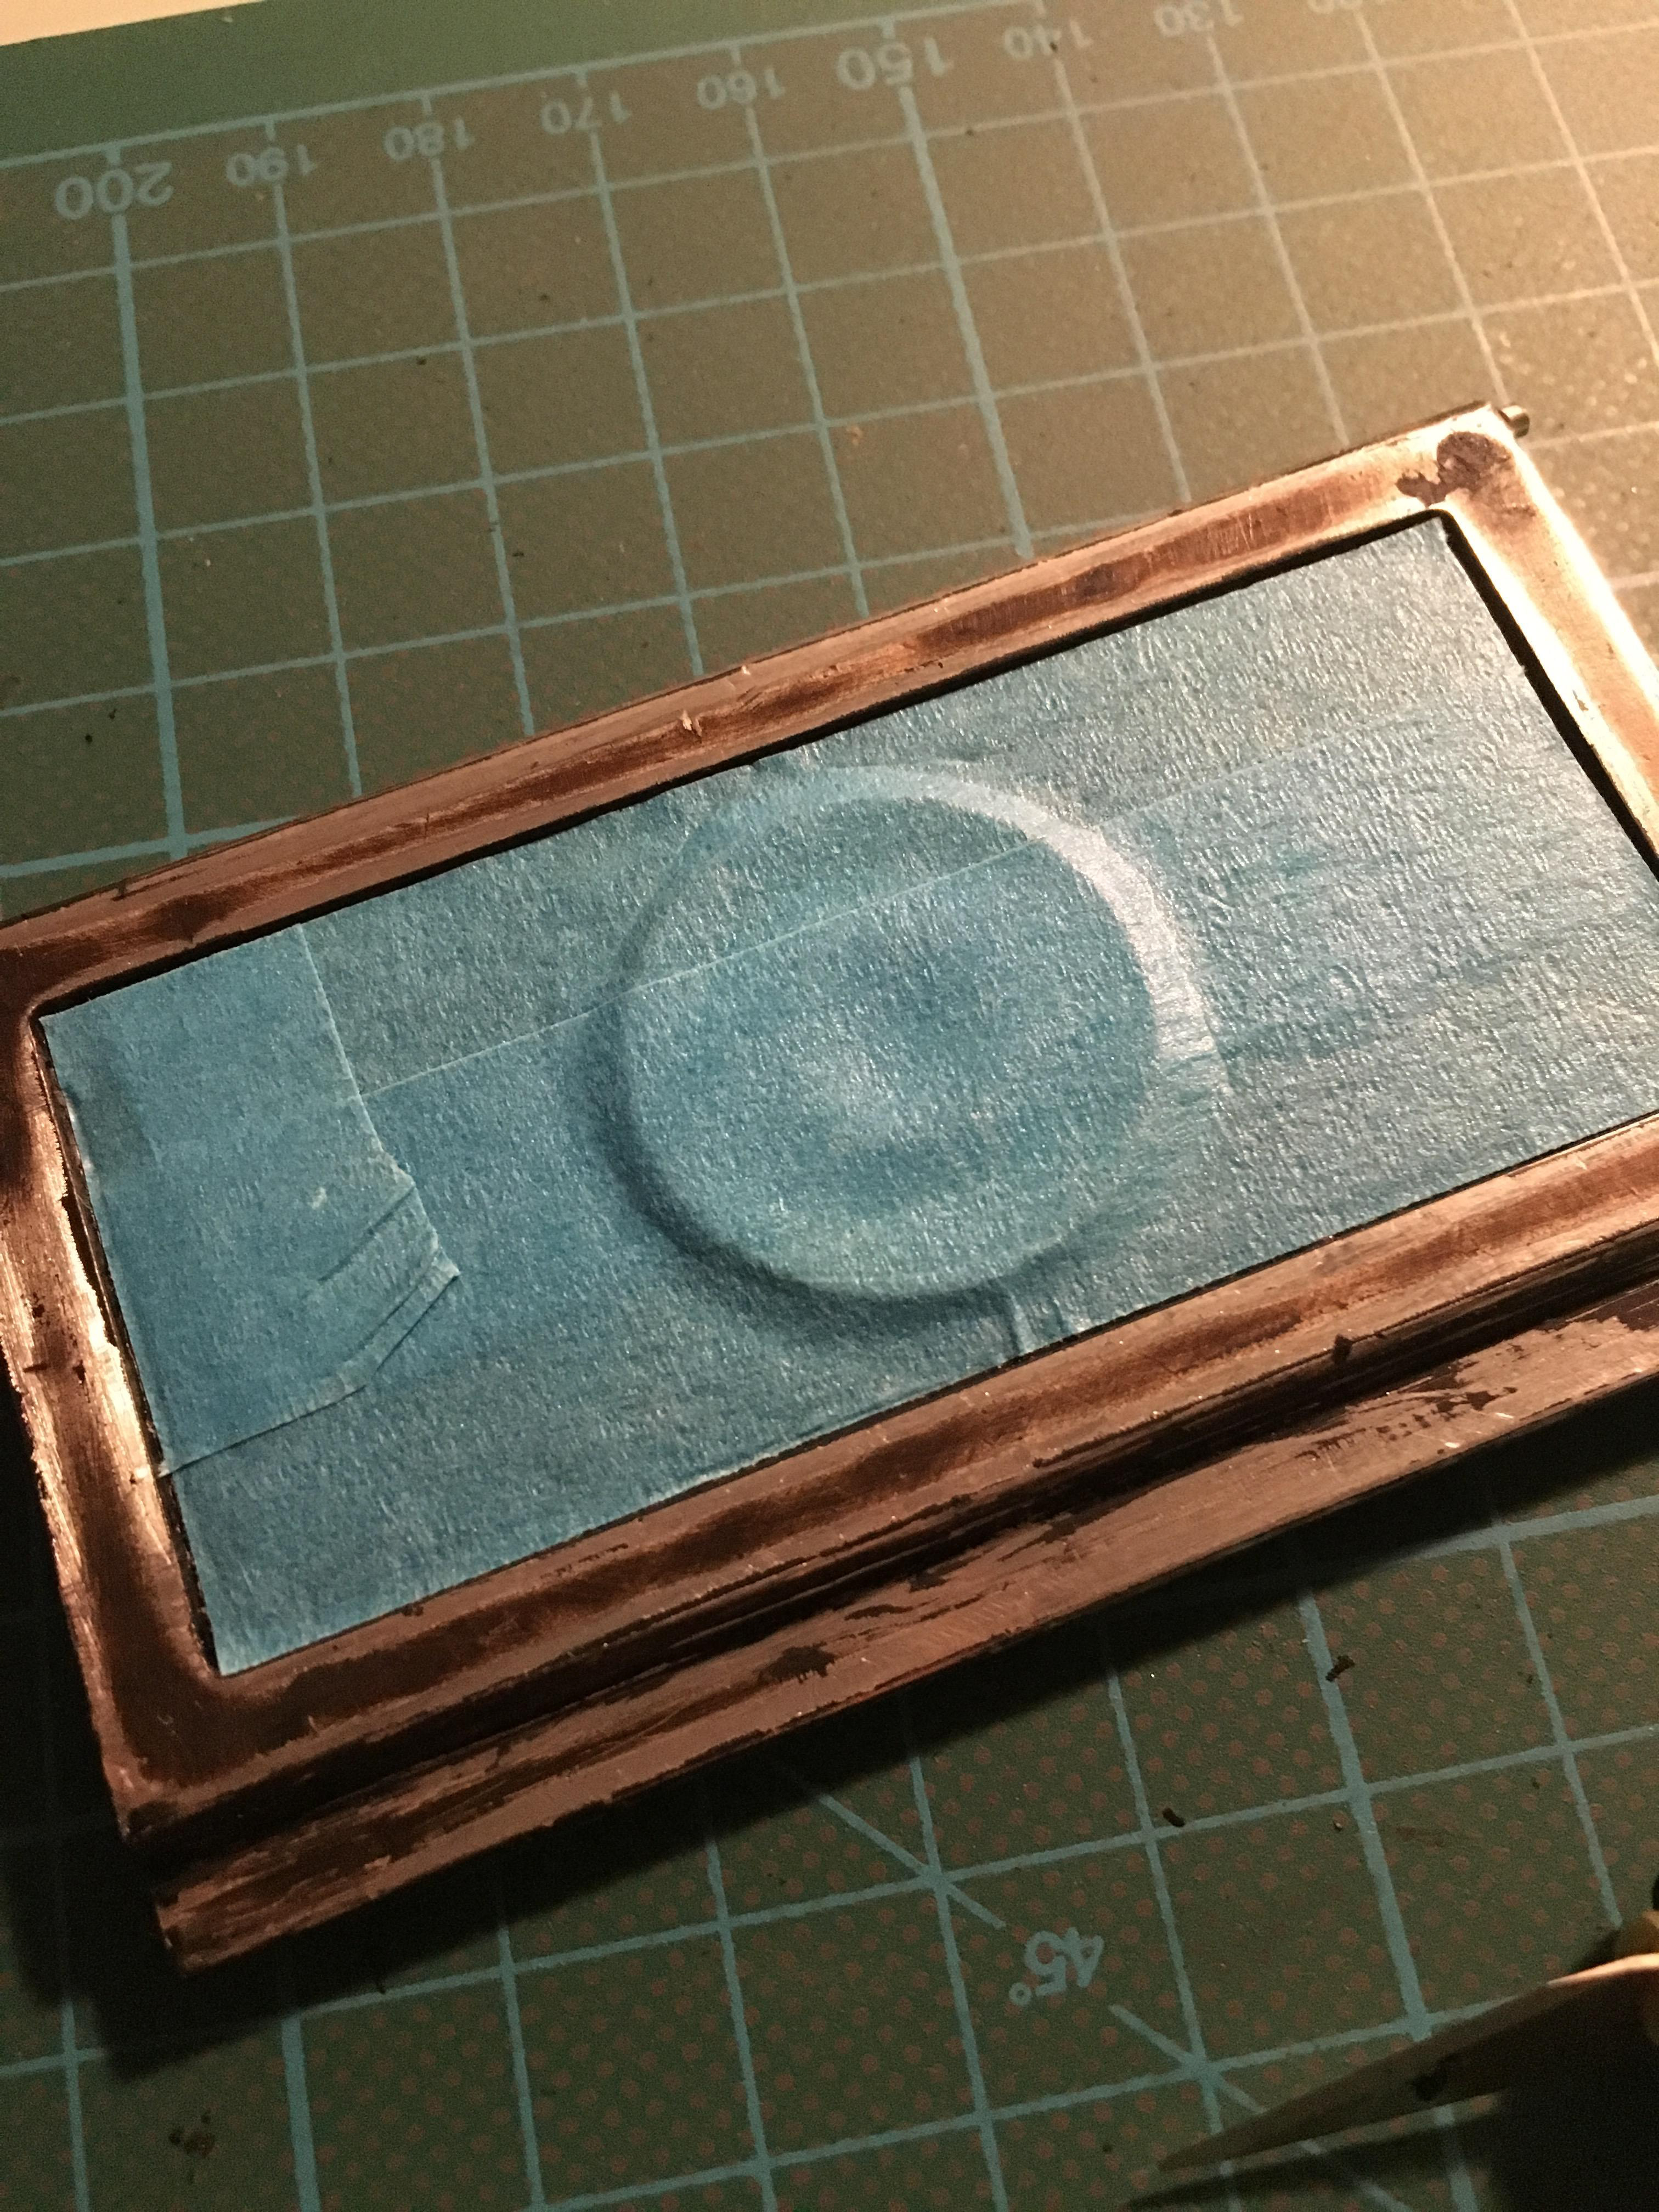
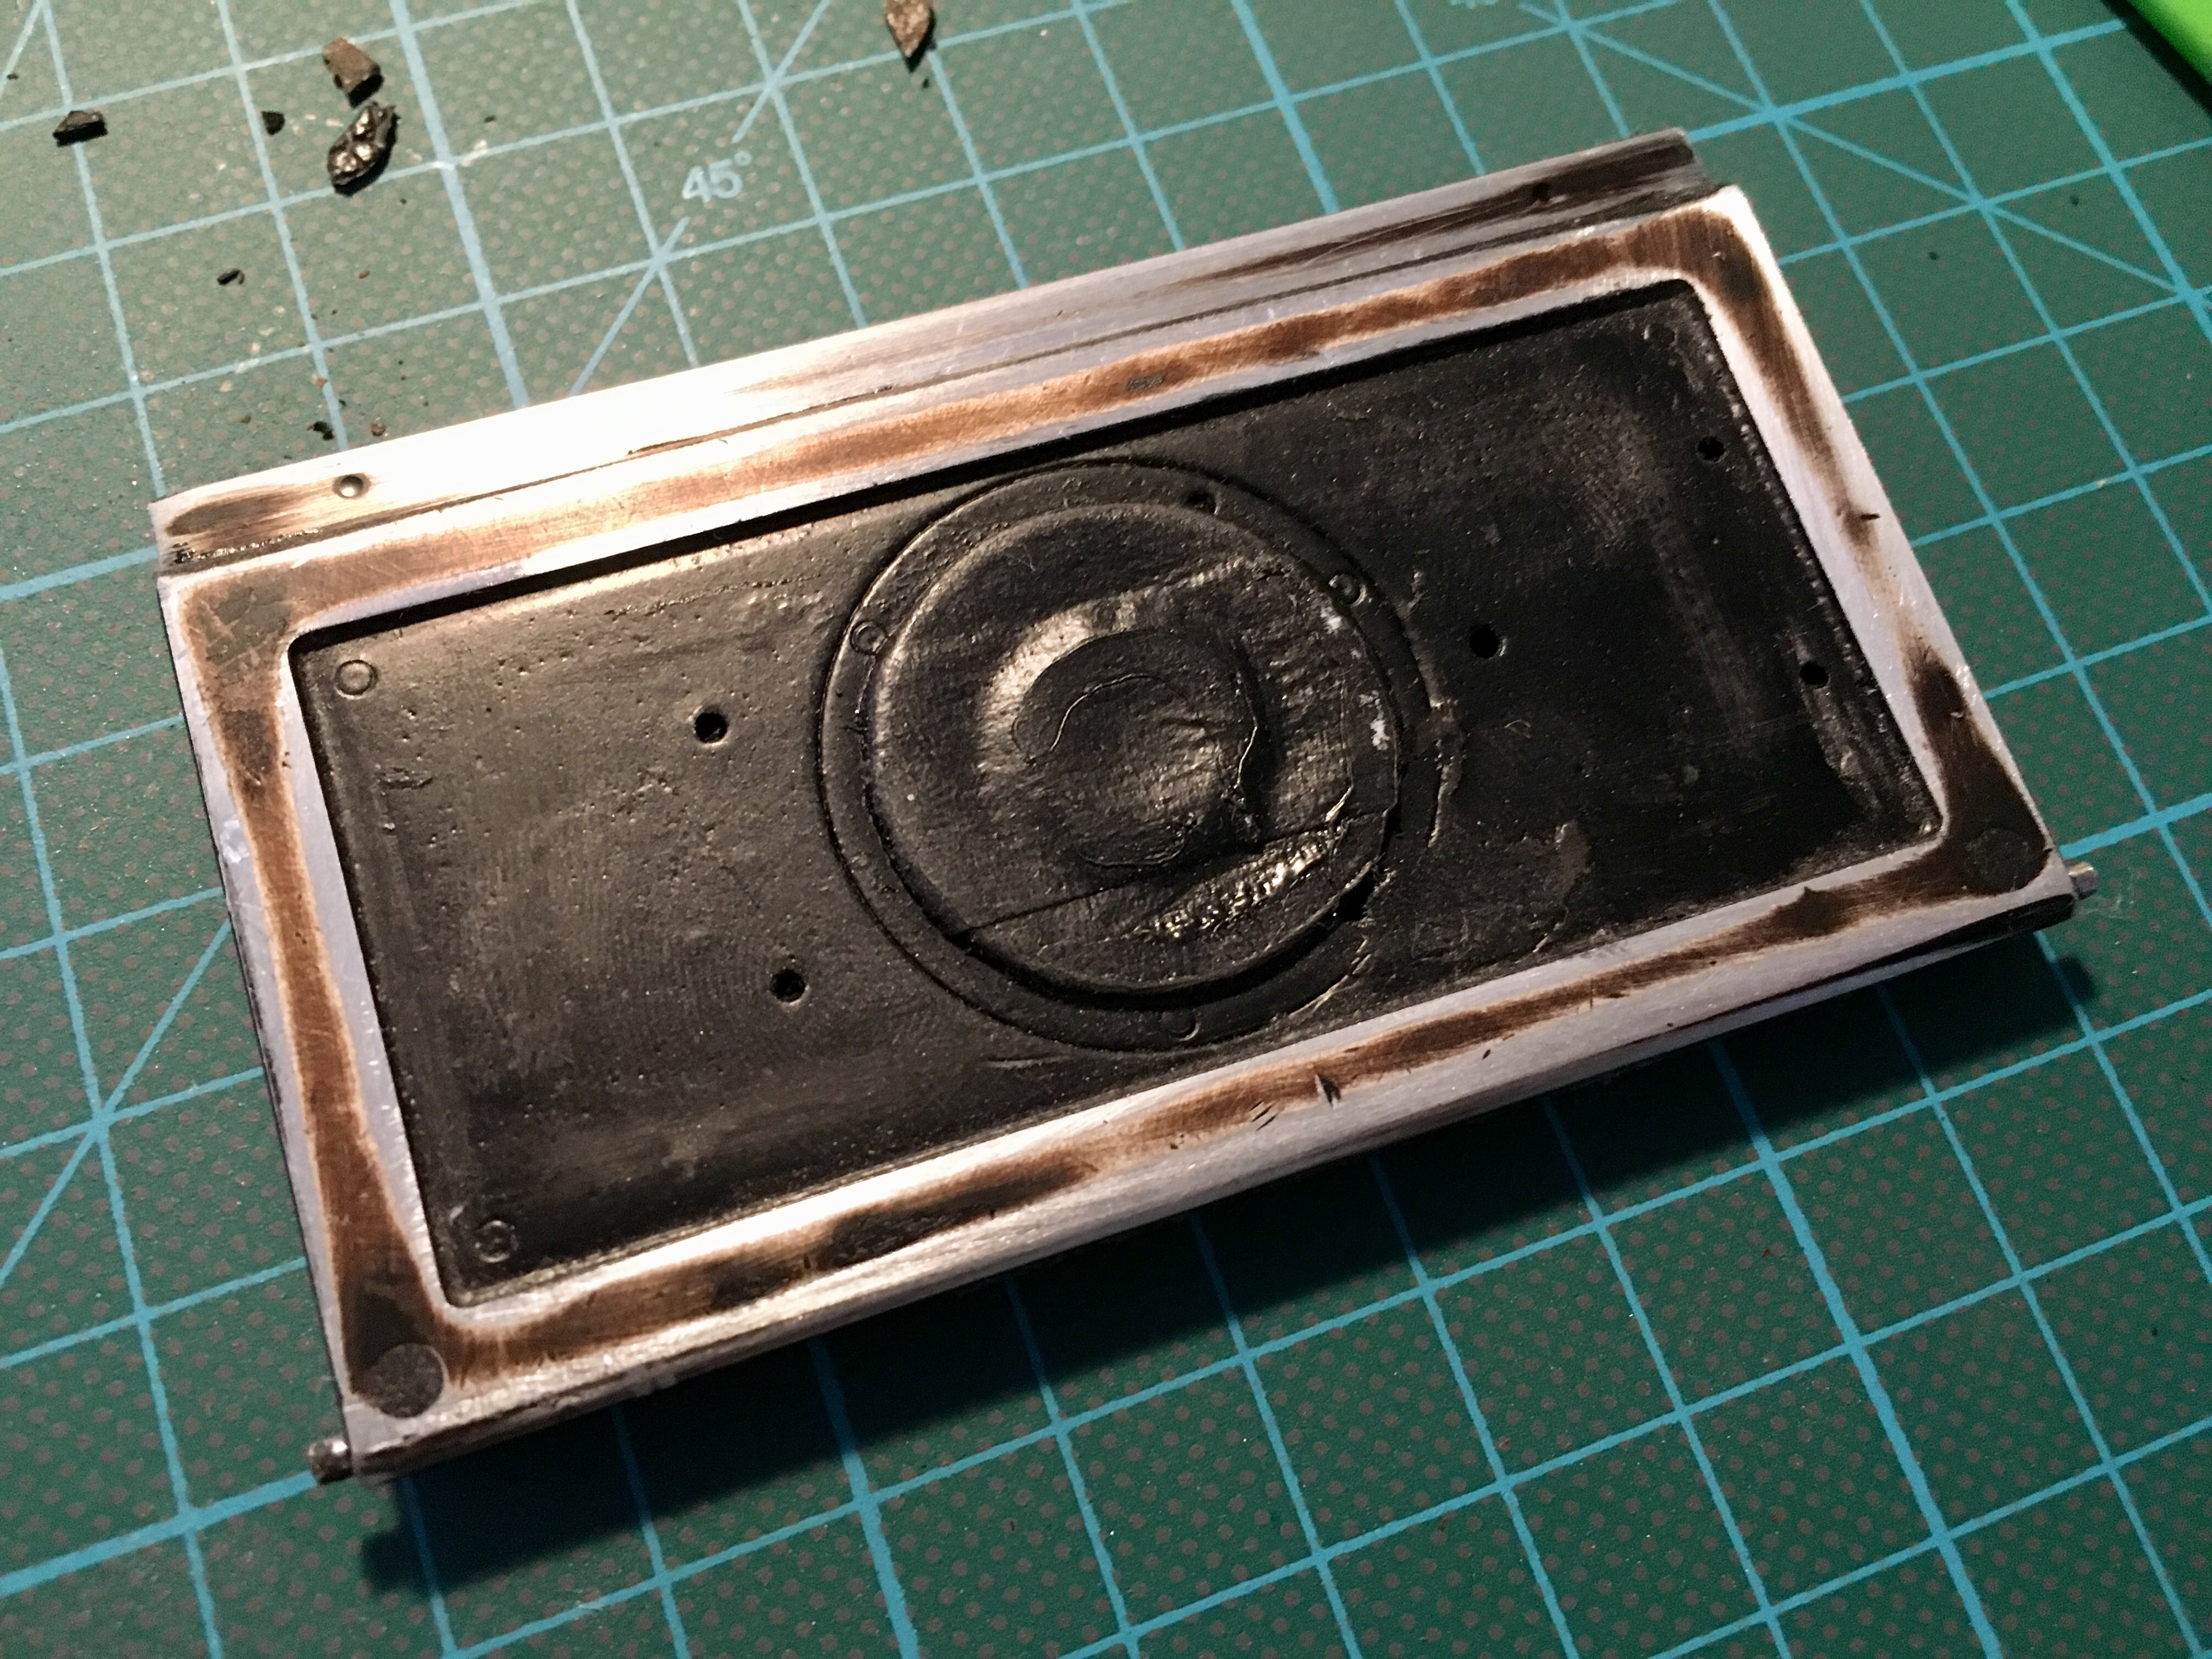
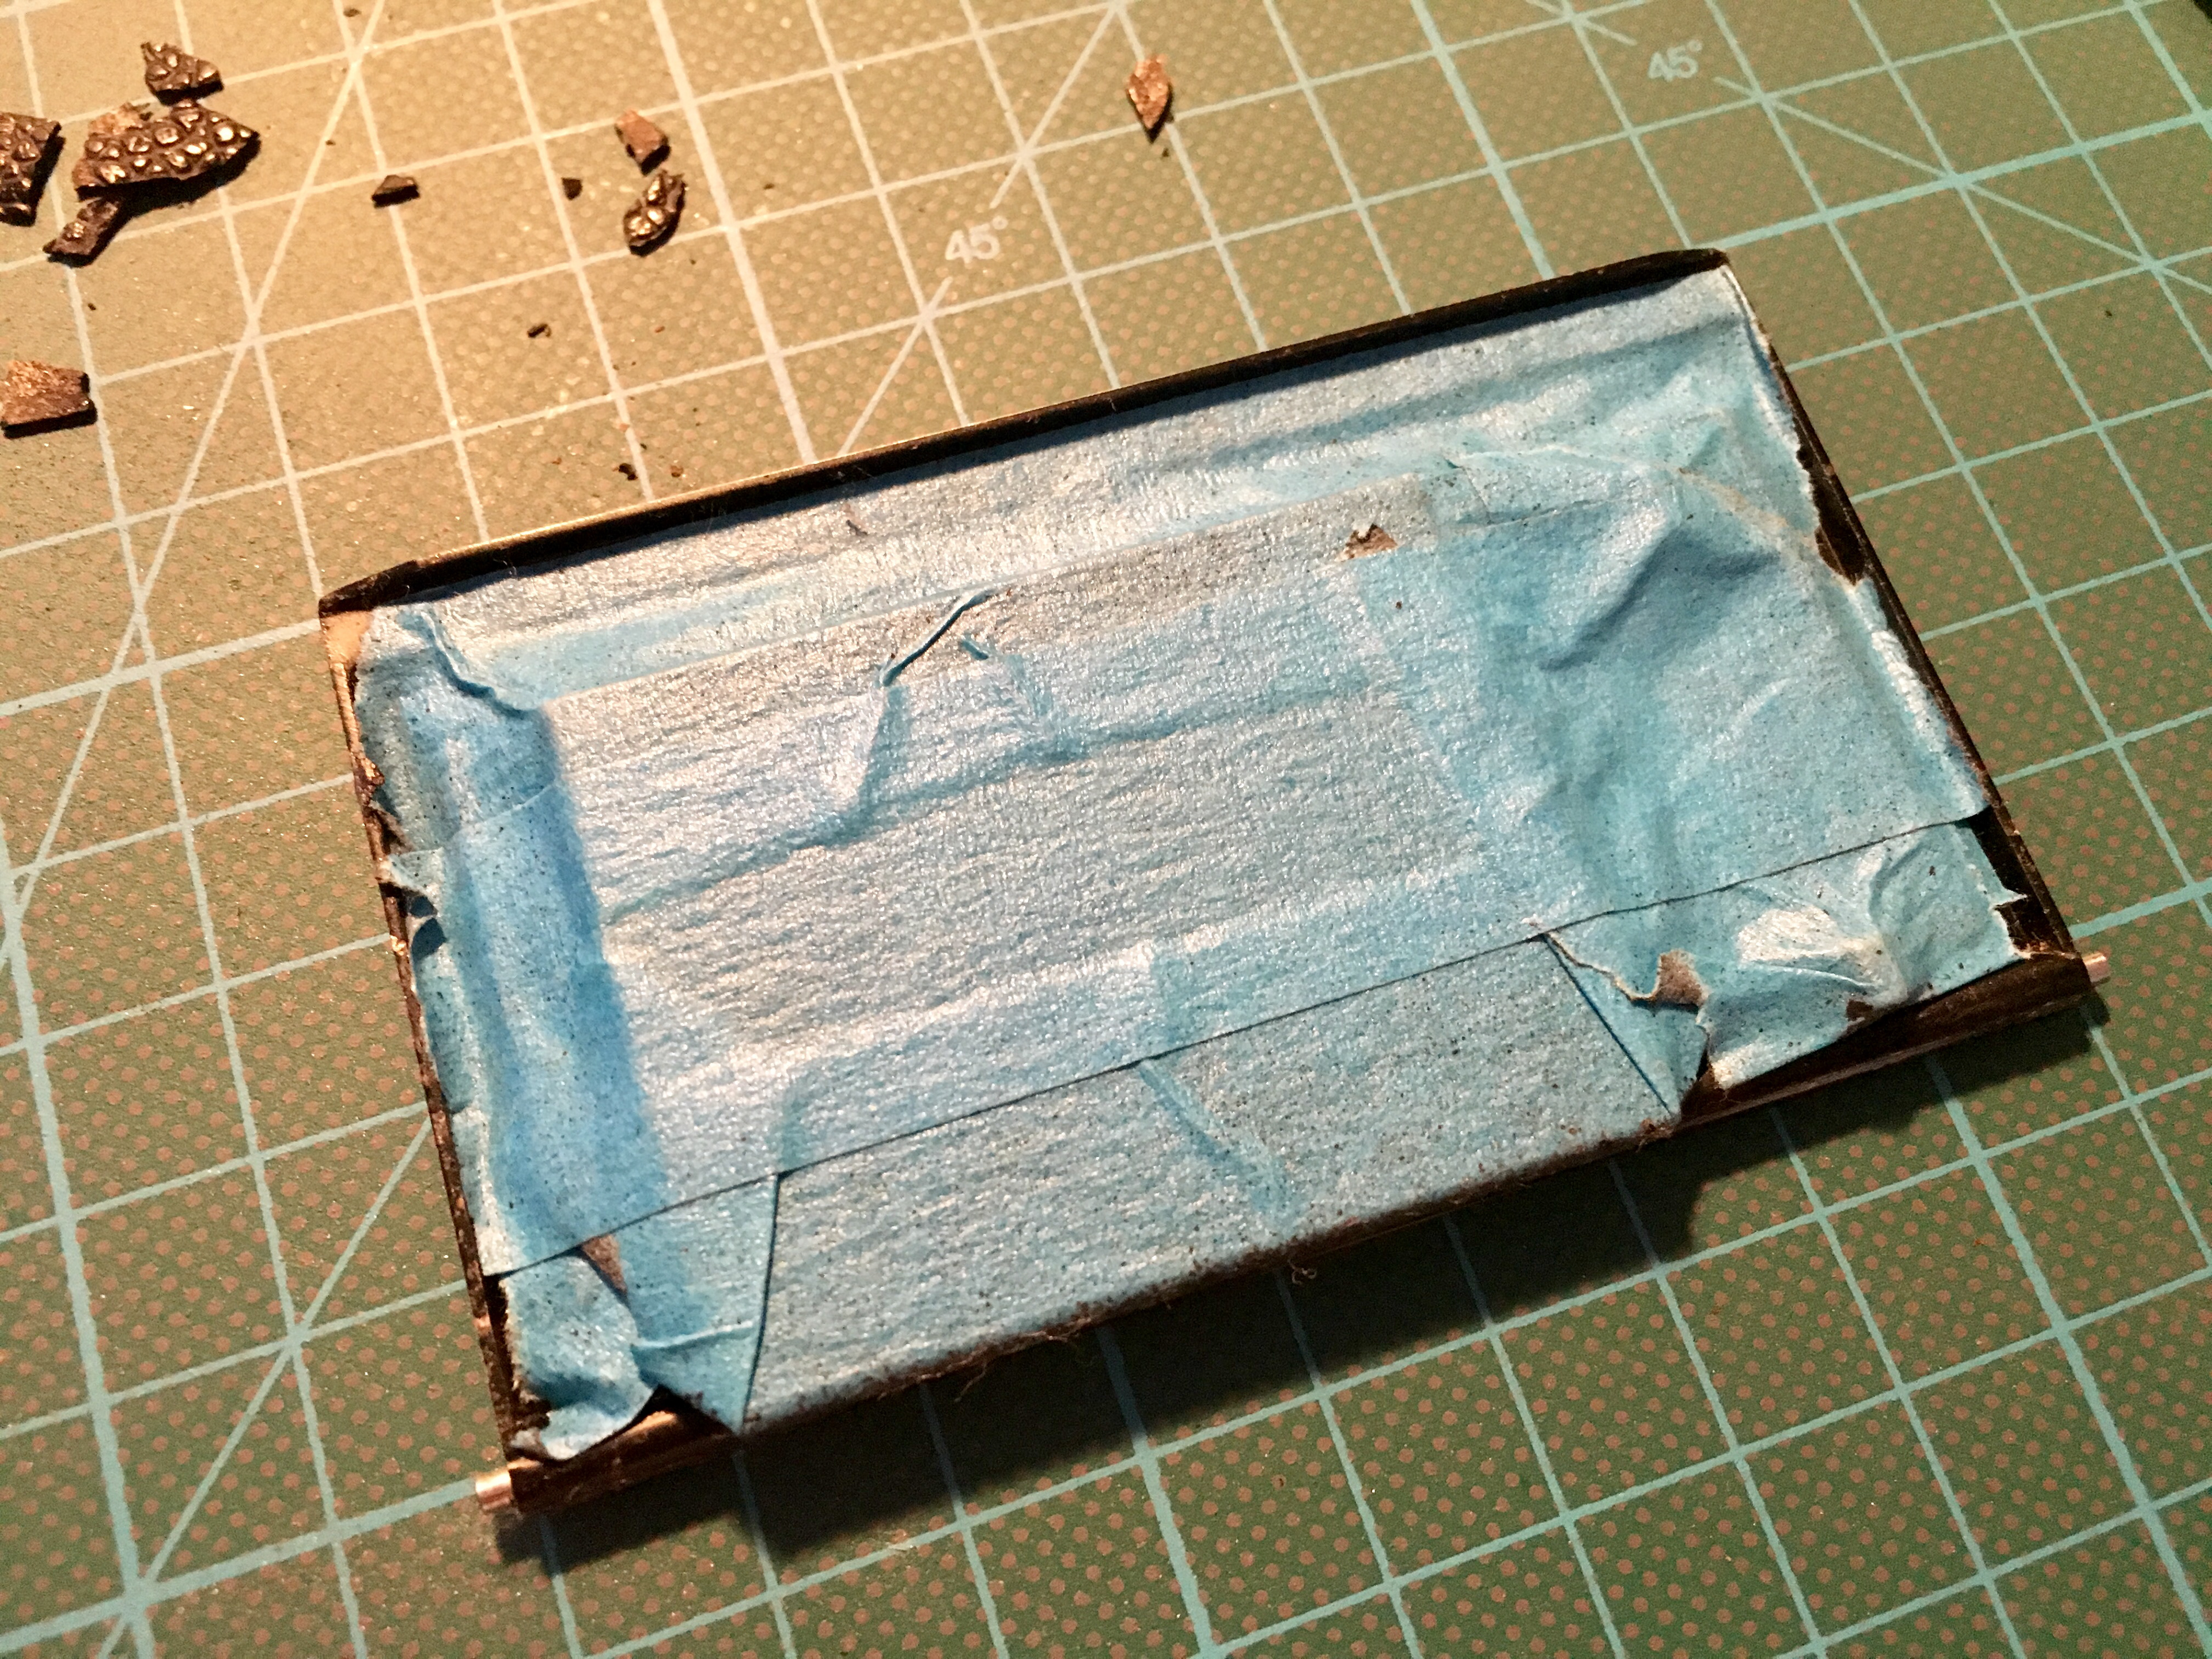
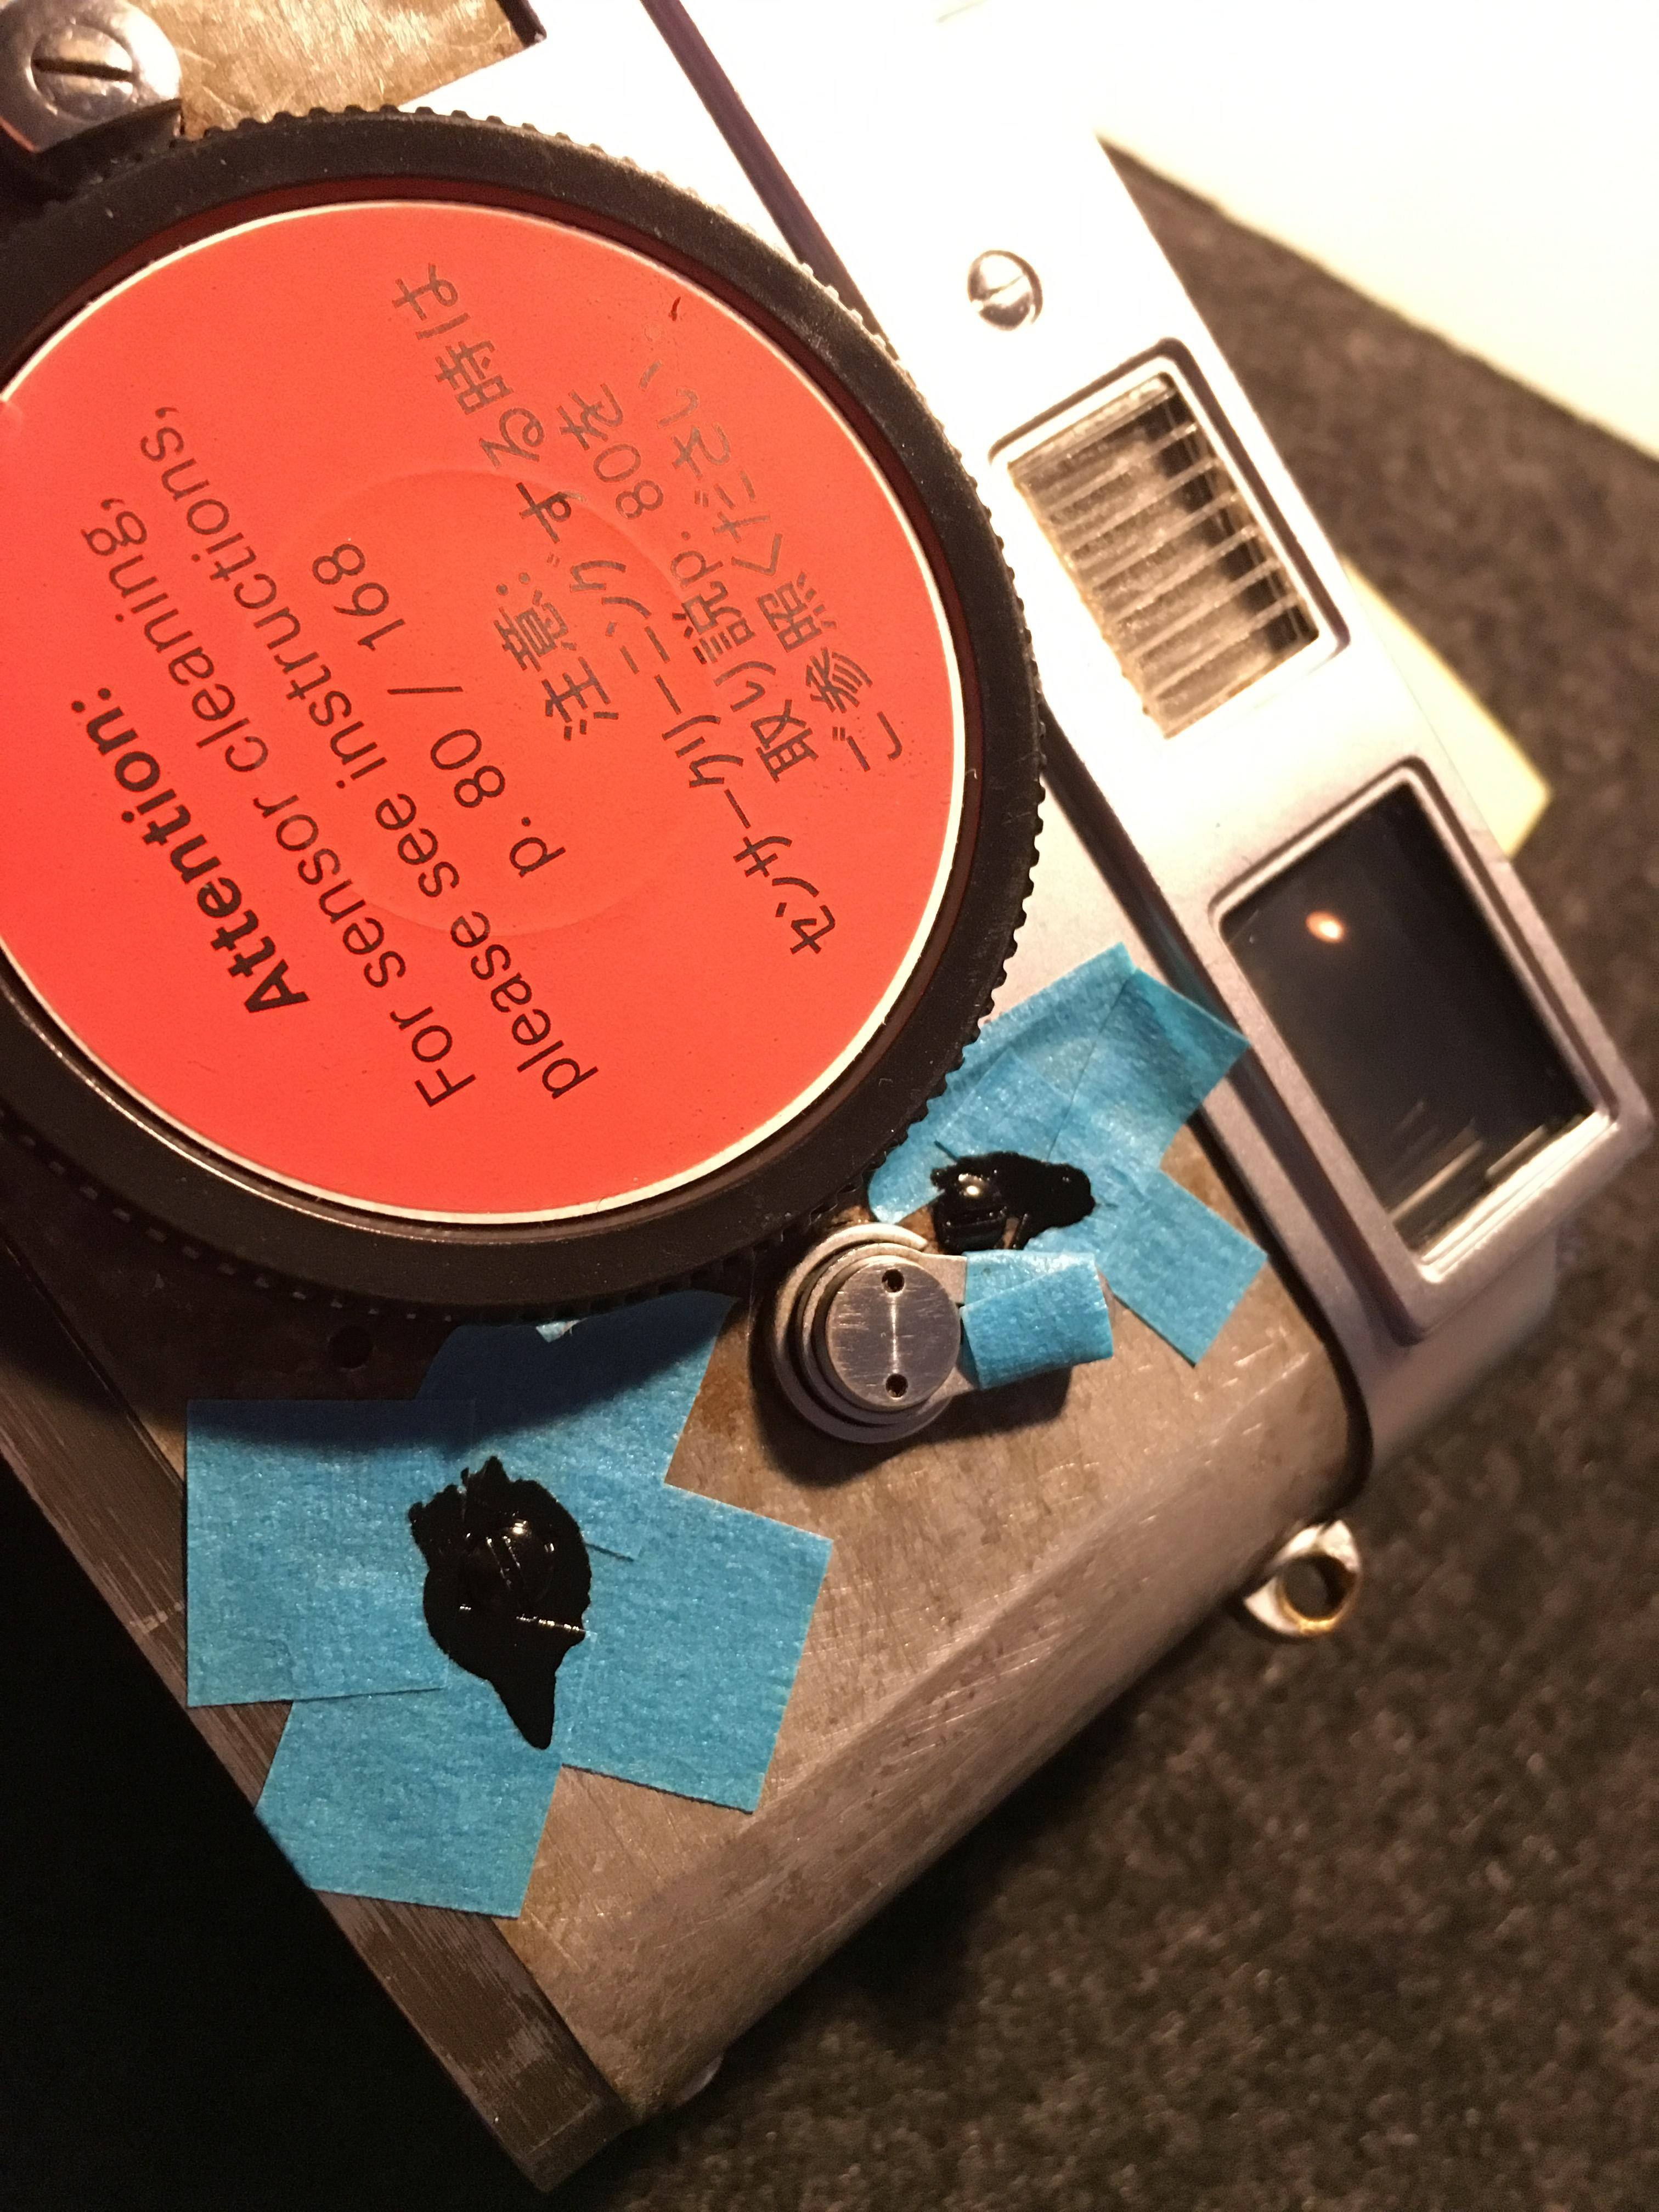
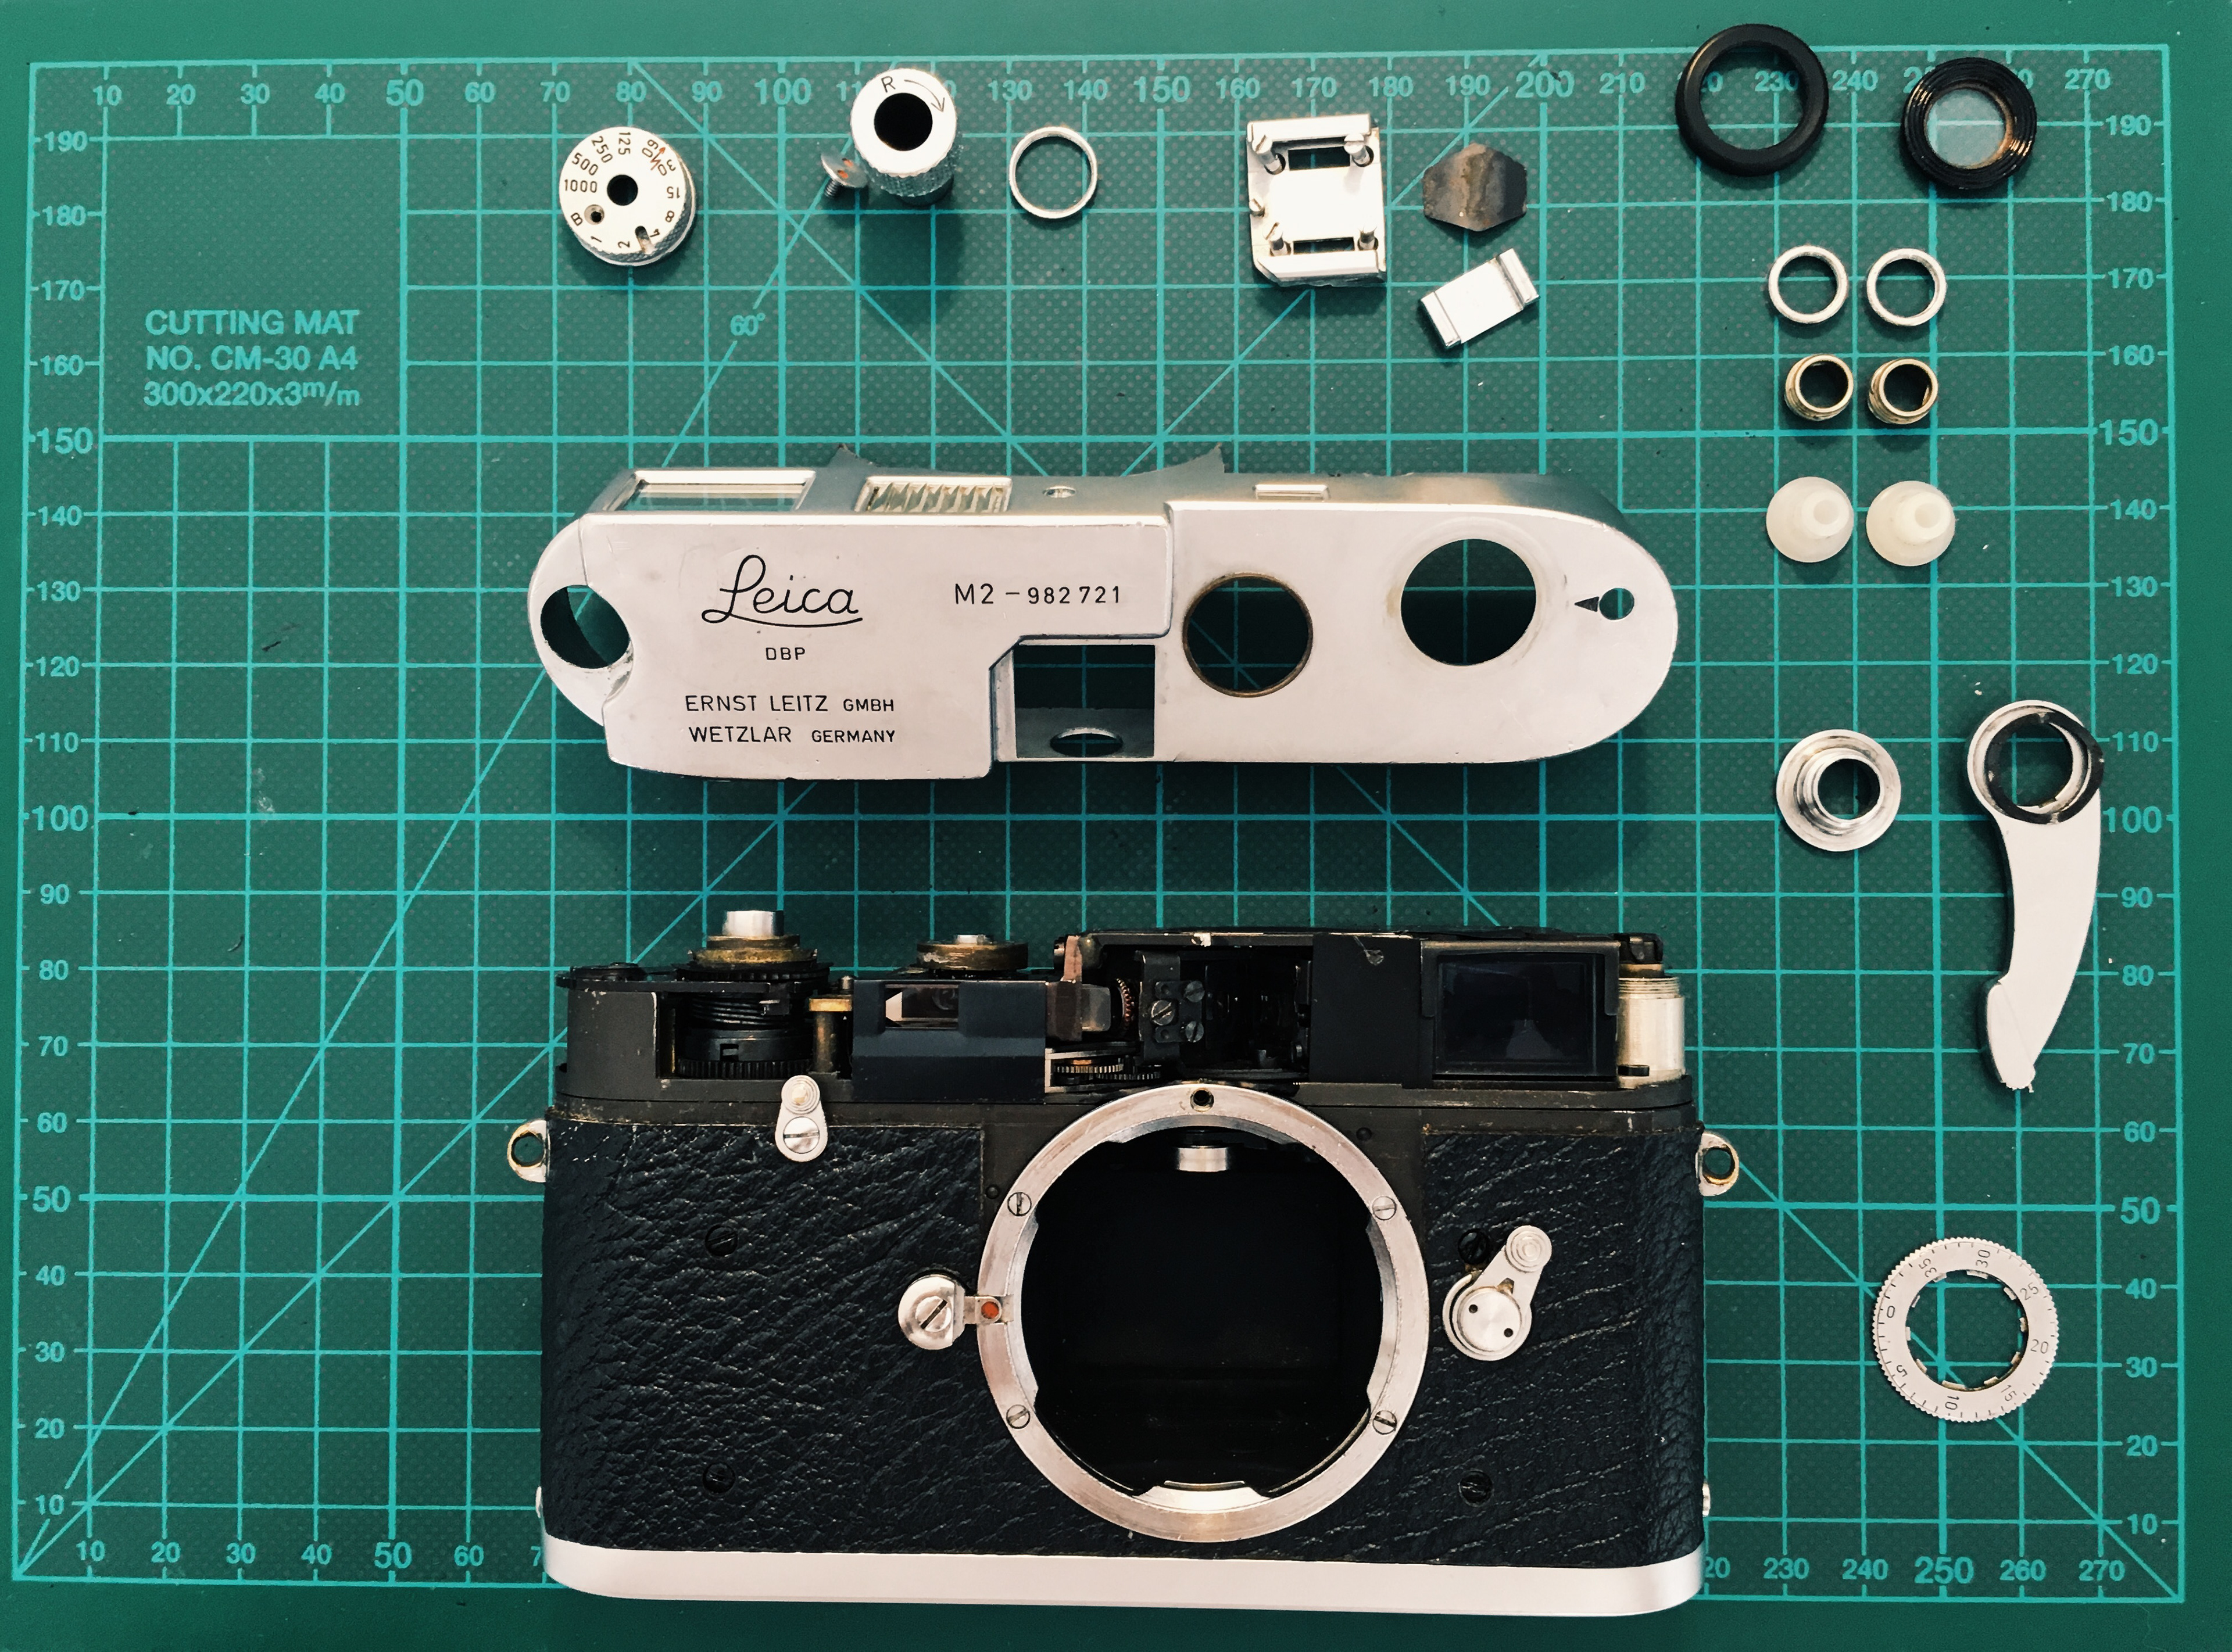
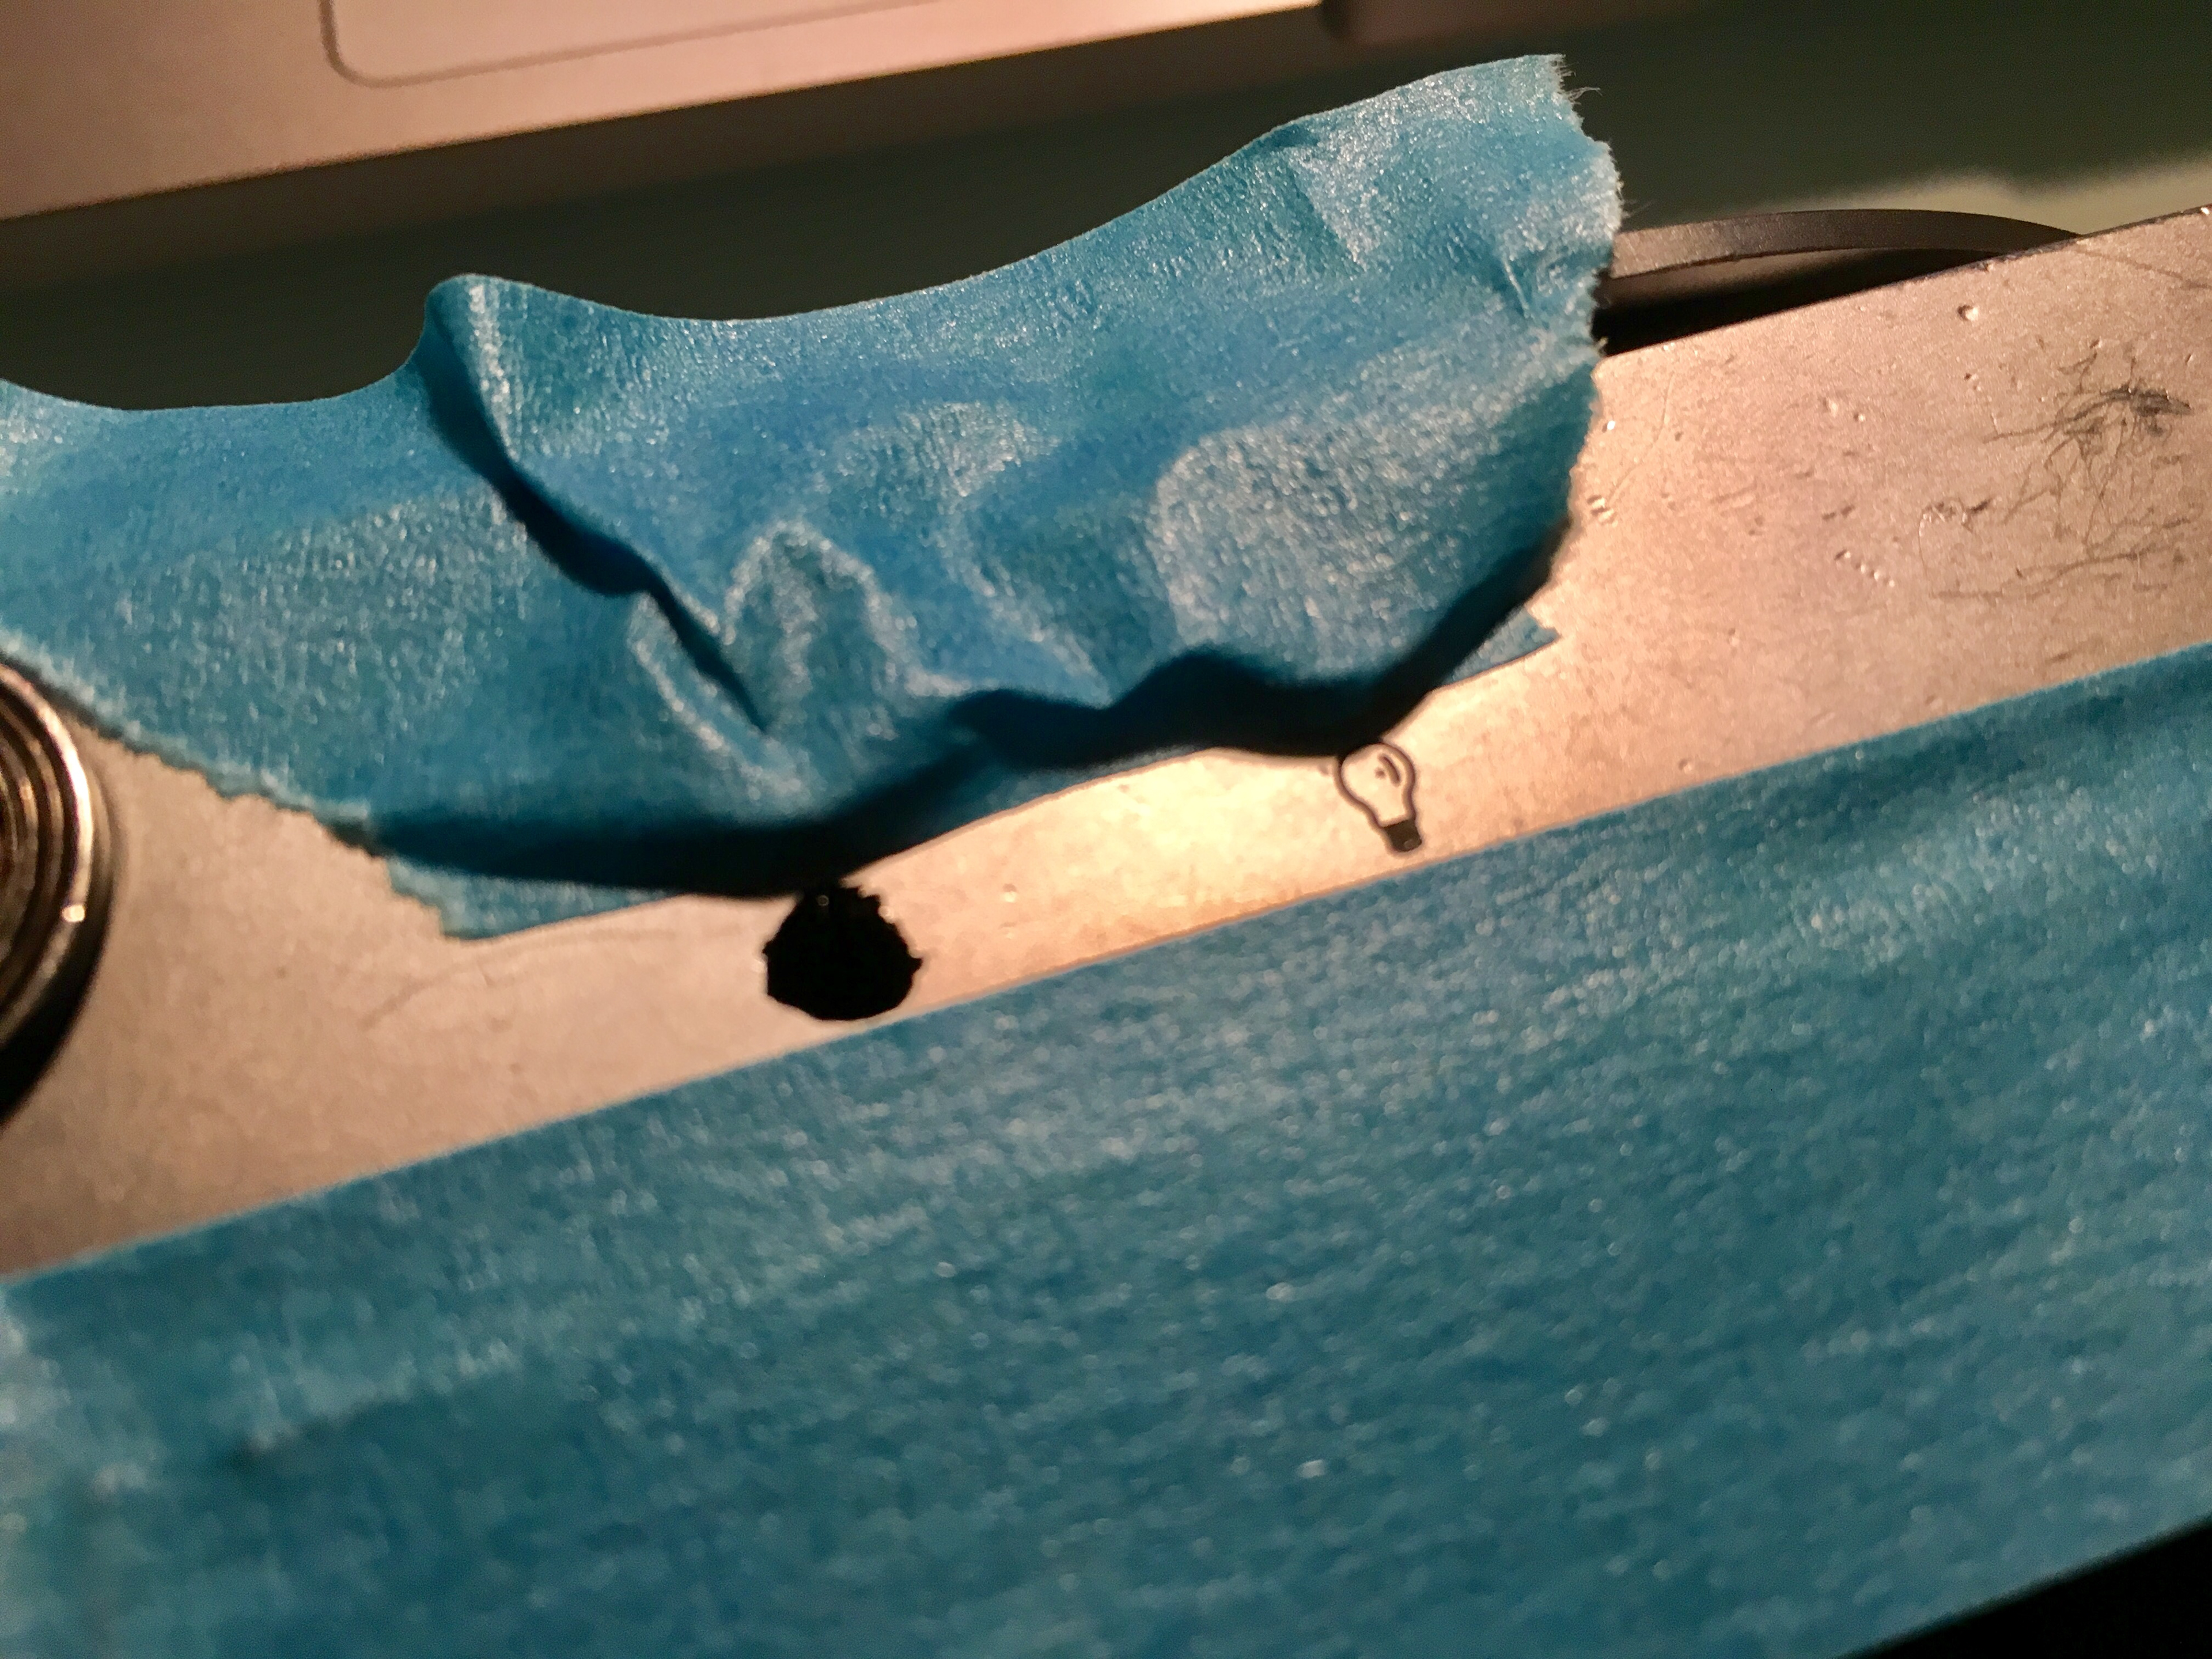
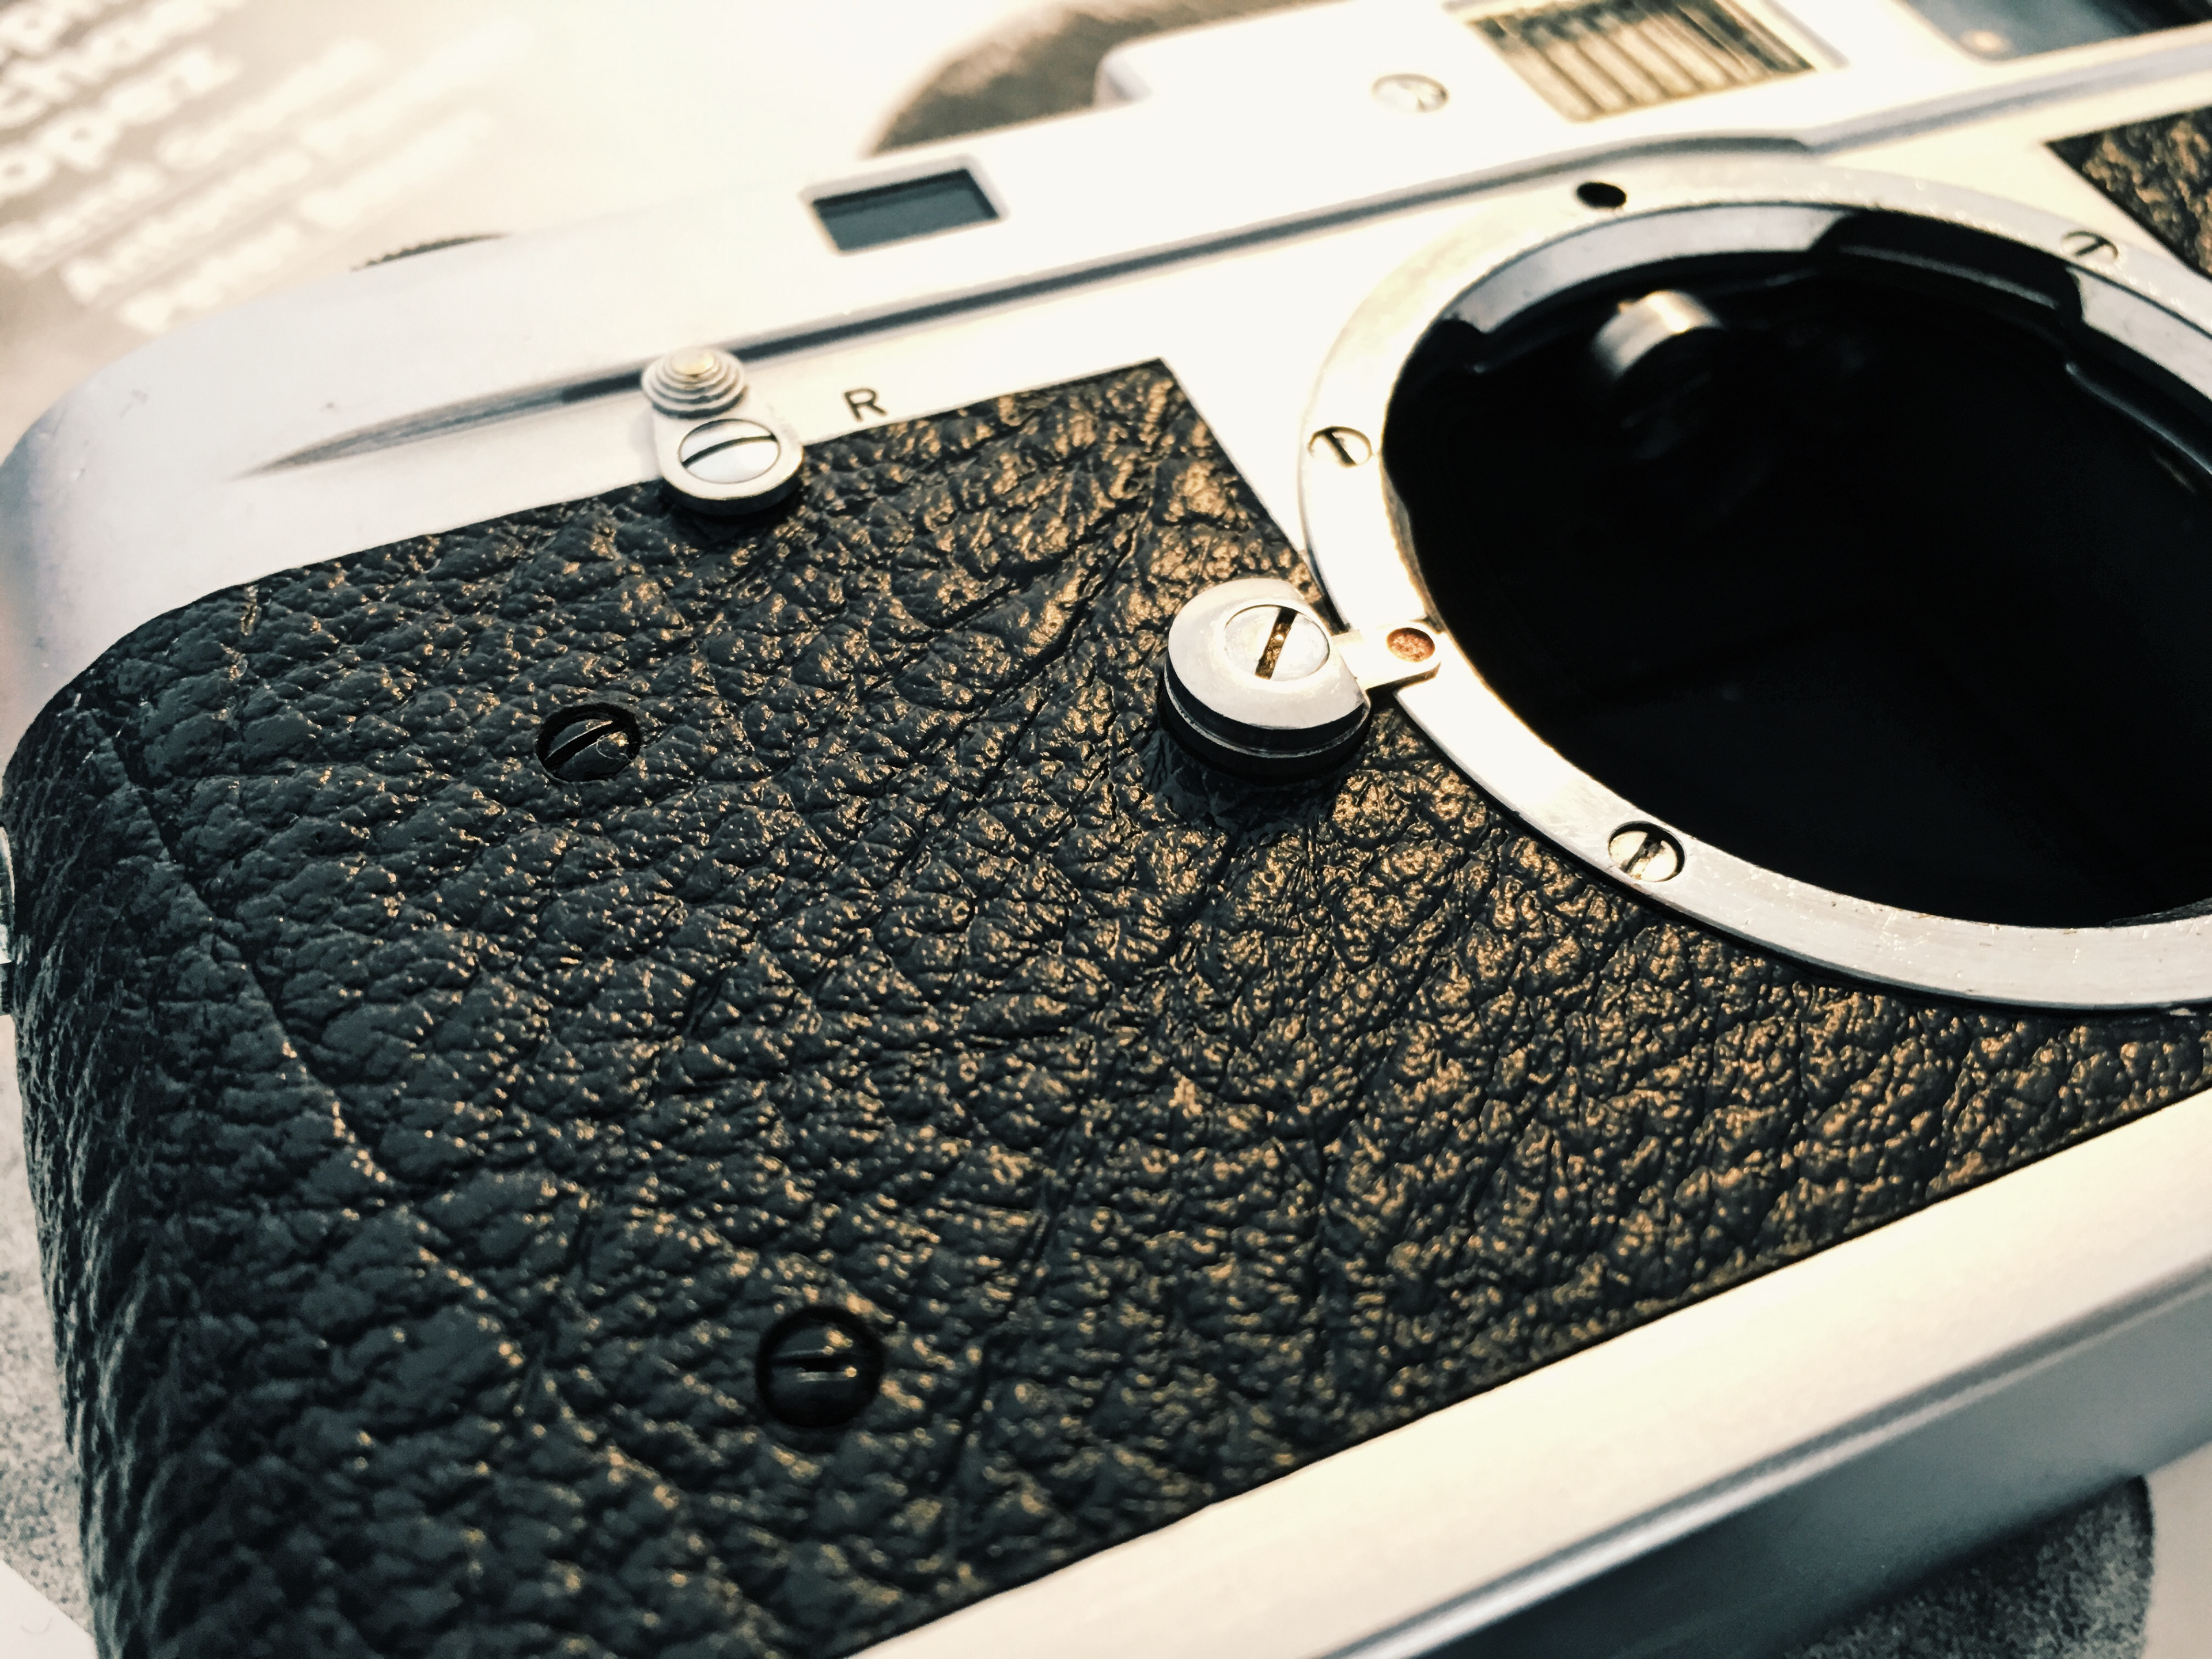
The backplate needed some special attention, as I wanted to repaint it flat black again. I covered the important parts with tape, removed the remaining paint, vulcanite, and started painting it using black car spray paint.
Before starting to re-leather the camera I added some details; repainted the backdoor borders, the metal viewfinder cover, and the small screws at the front.

Let's move on to the re-leathering.
I ordered my leather again from http://www.cameraleather.com/ and contacted Morgan first to get a better understanding of the available sorts of leather.
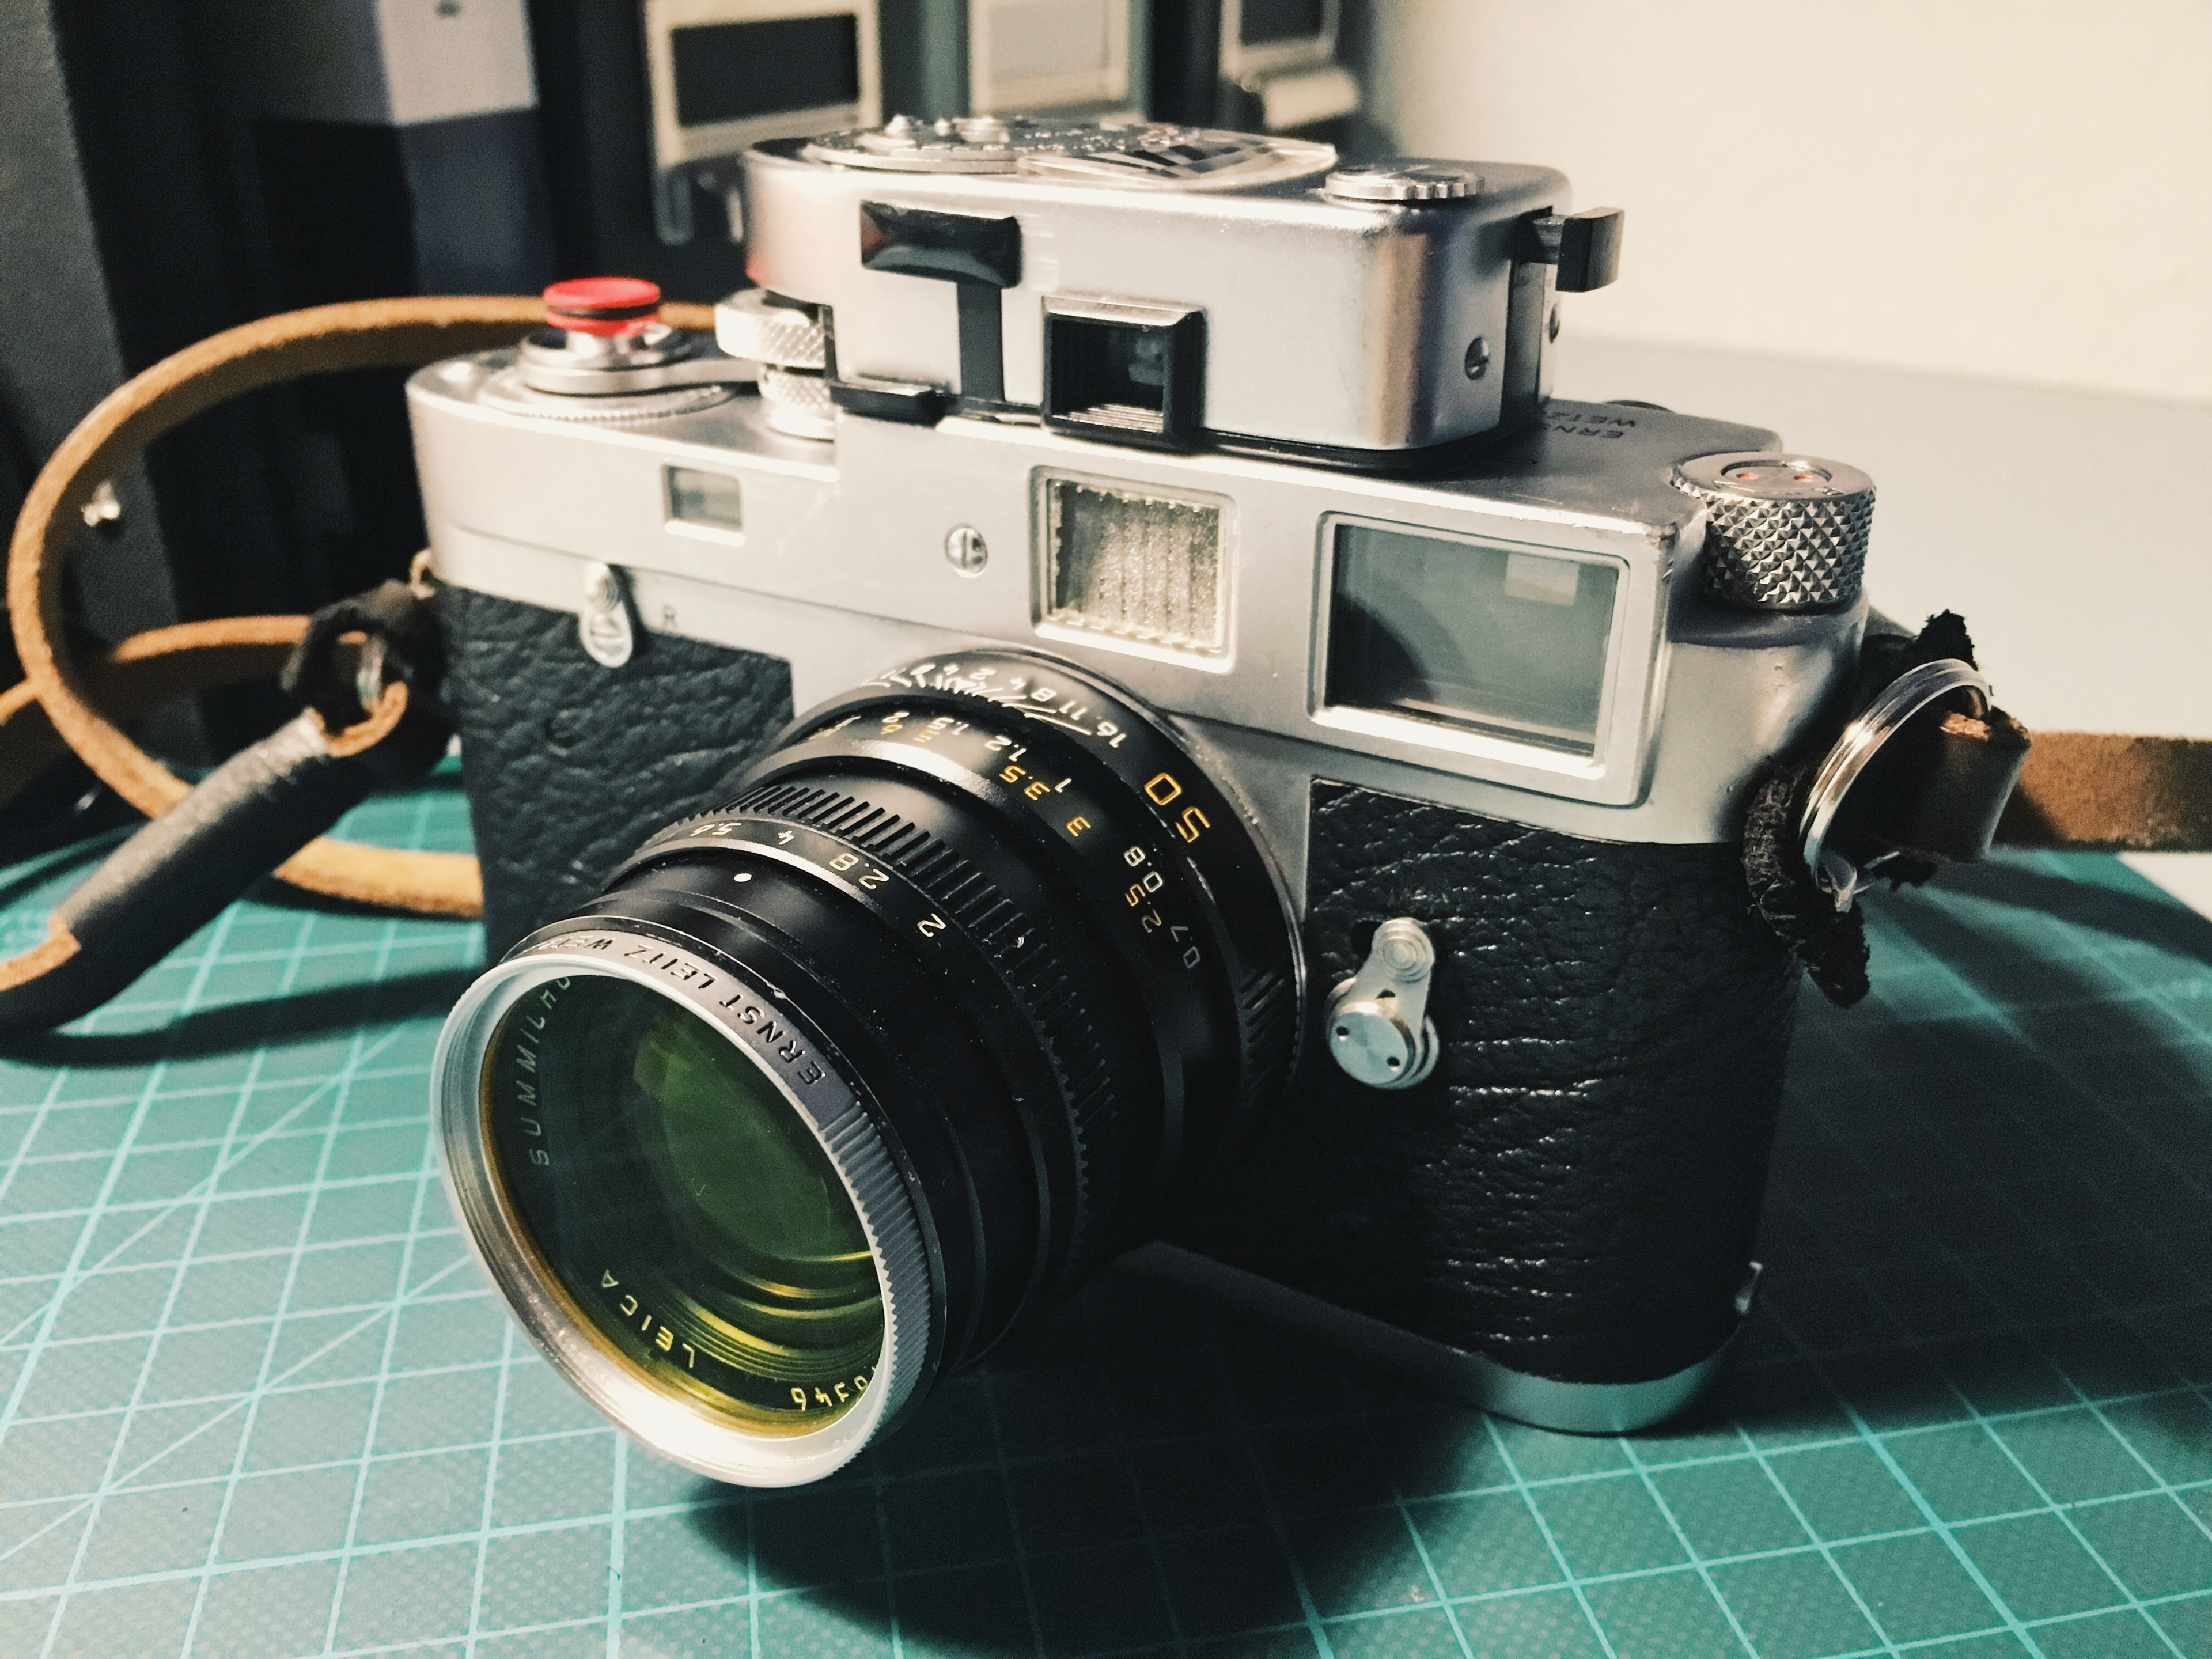
I decided on Levant Black Leather (which was a great choice).
The task was straight forward, starting at the M mount, working around the preview-lever to the back and then around the rewind-lever to the back again. I use the dry process to attach the leather, but I consider myself as a bit more experienced now I've done this around 5 times.

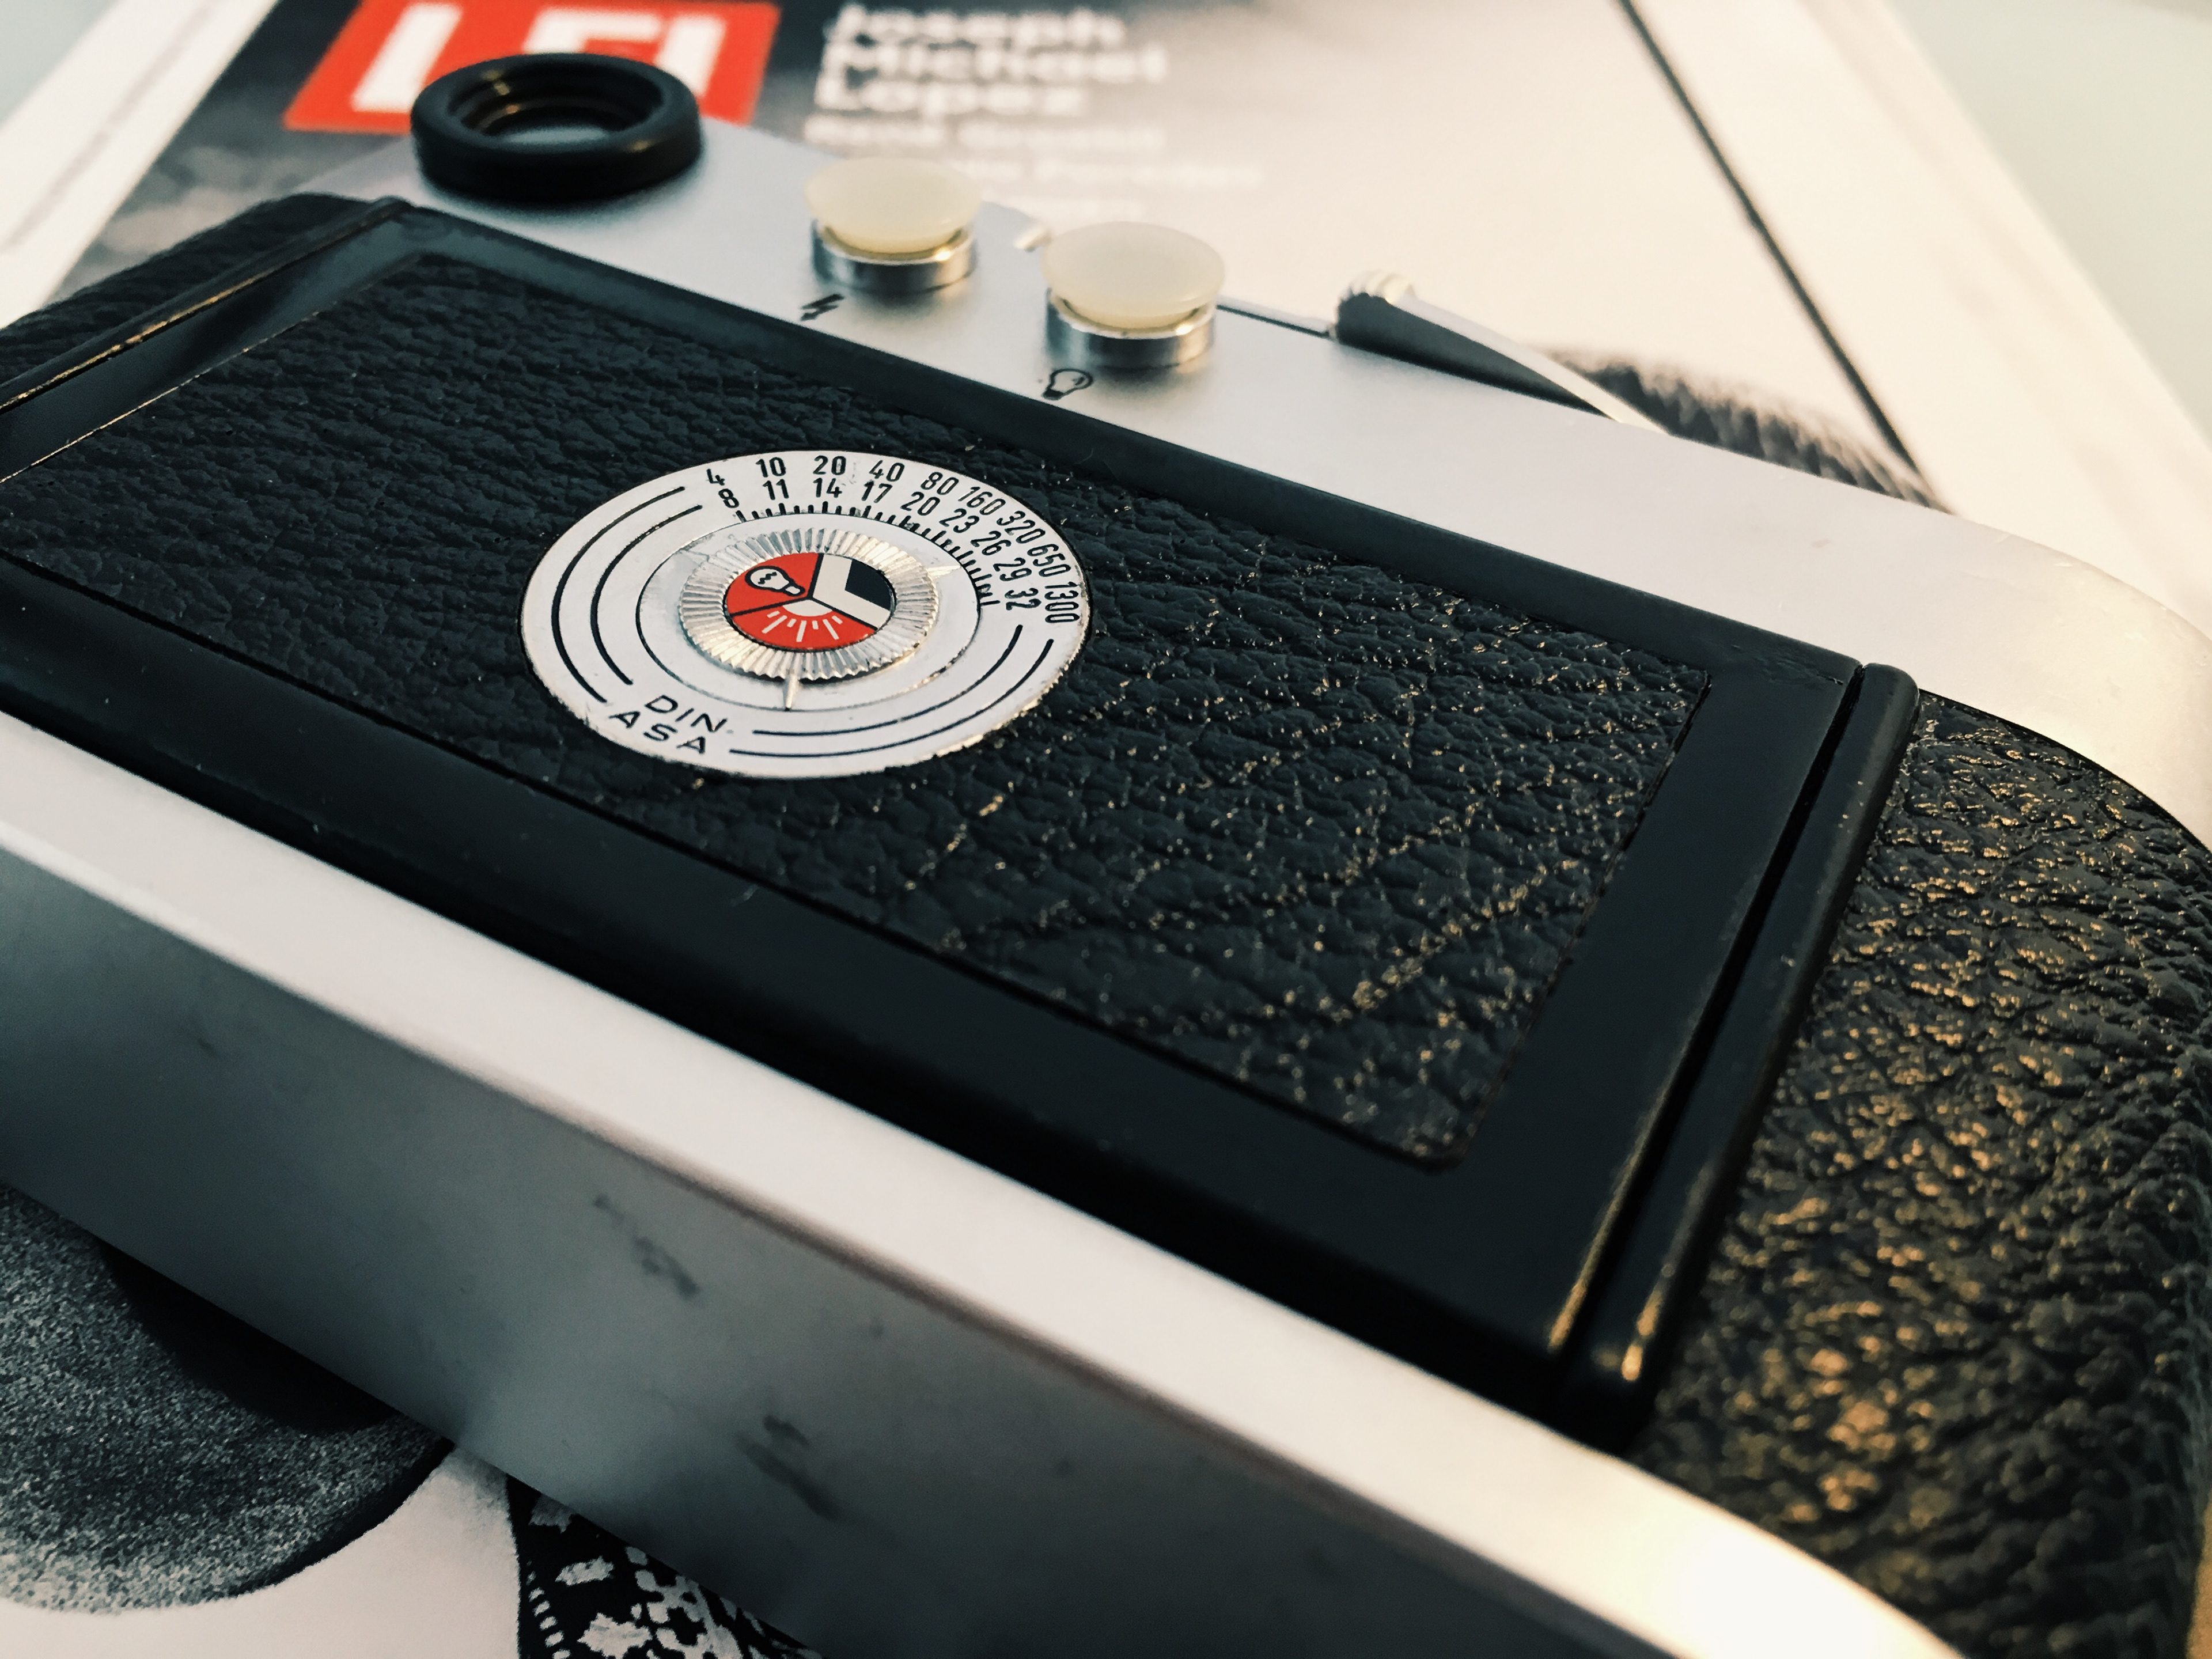
I'm especially proud of the back door, where I also repainted the ASA/DIN letters and used a new film indicator.

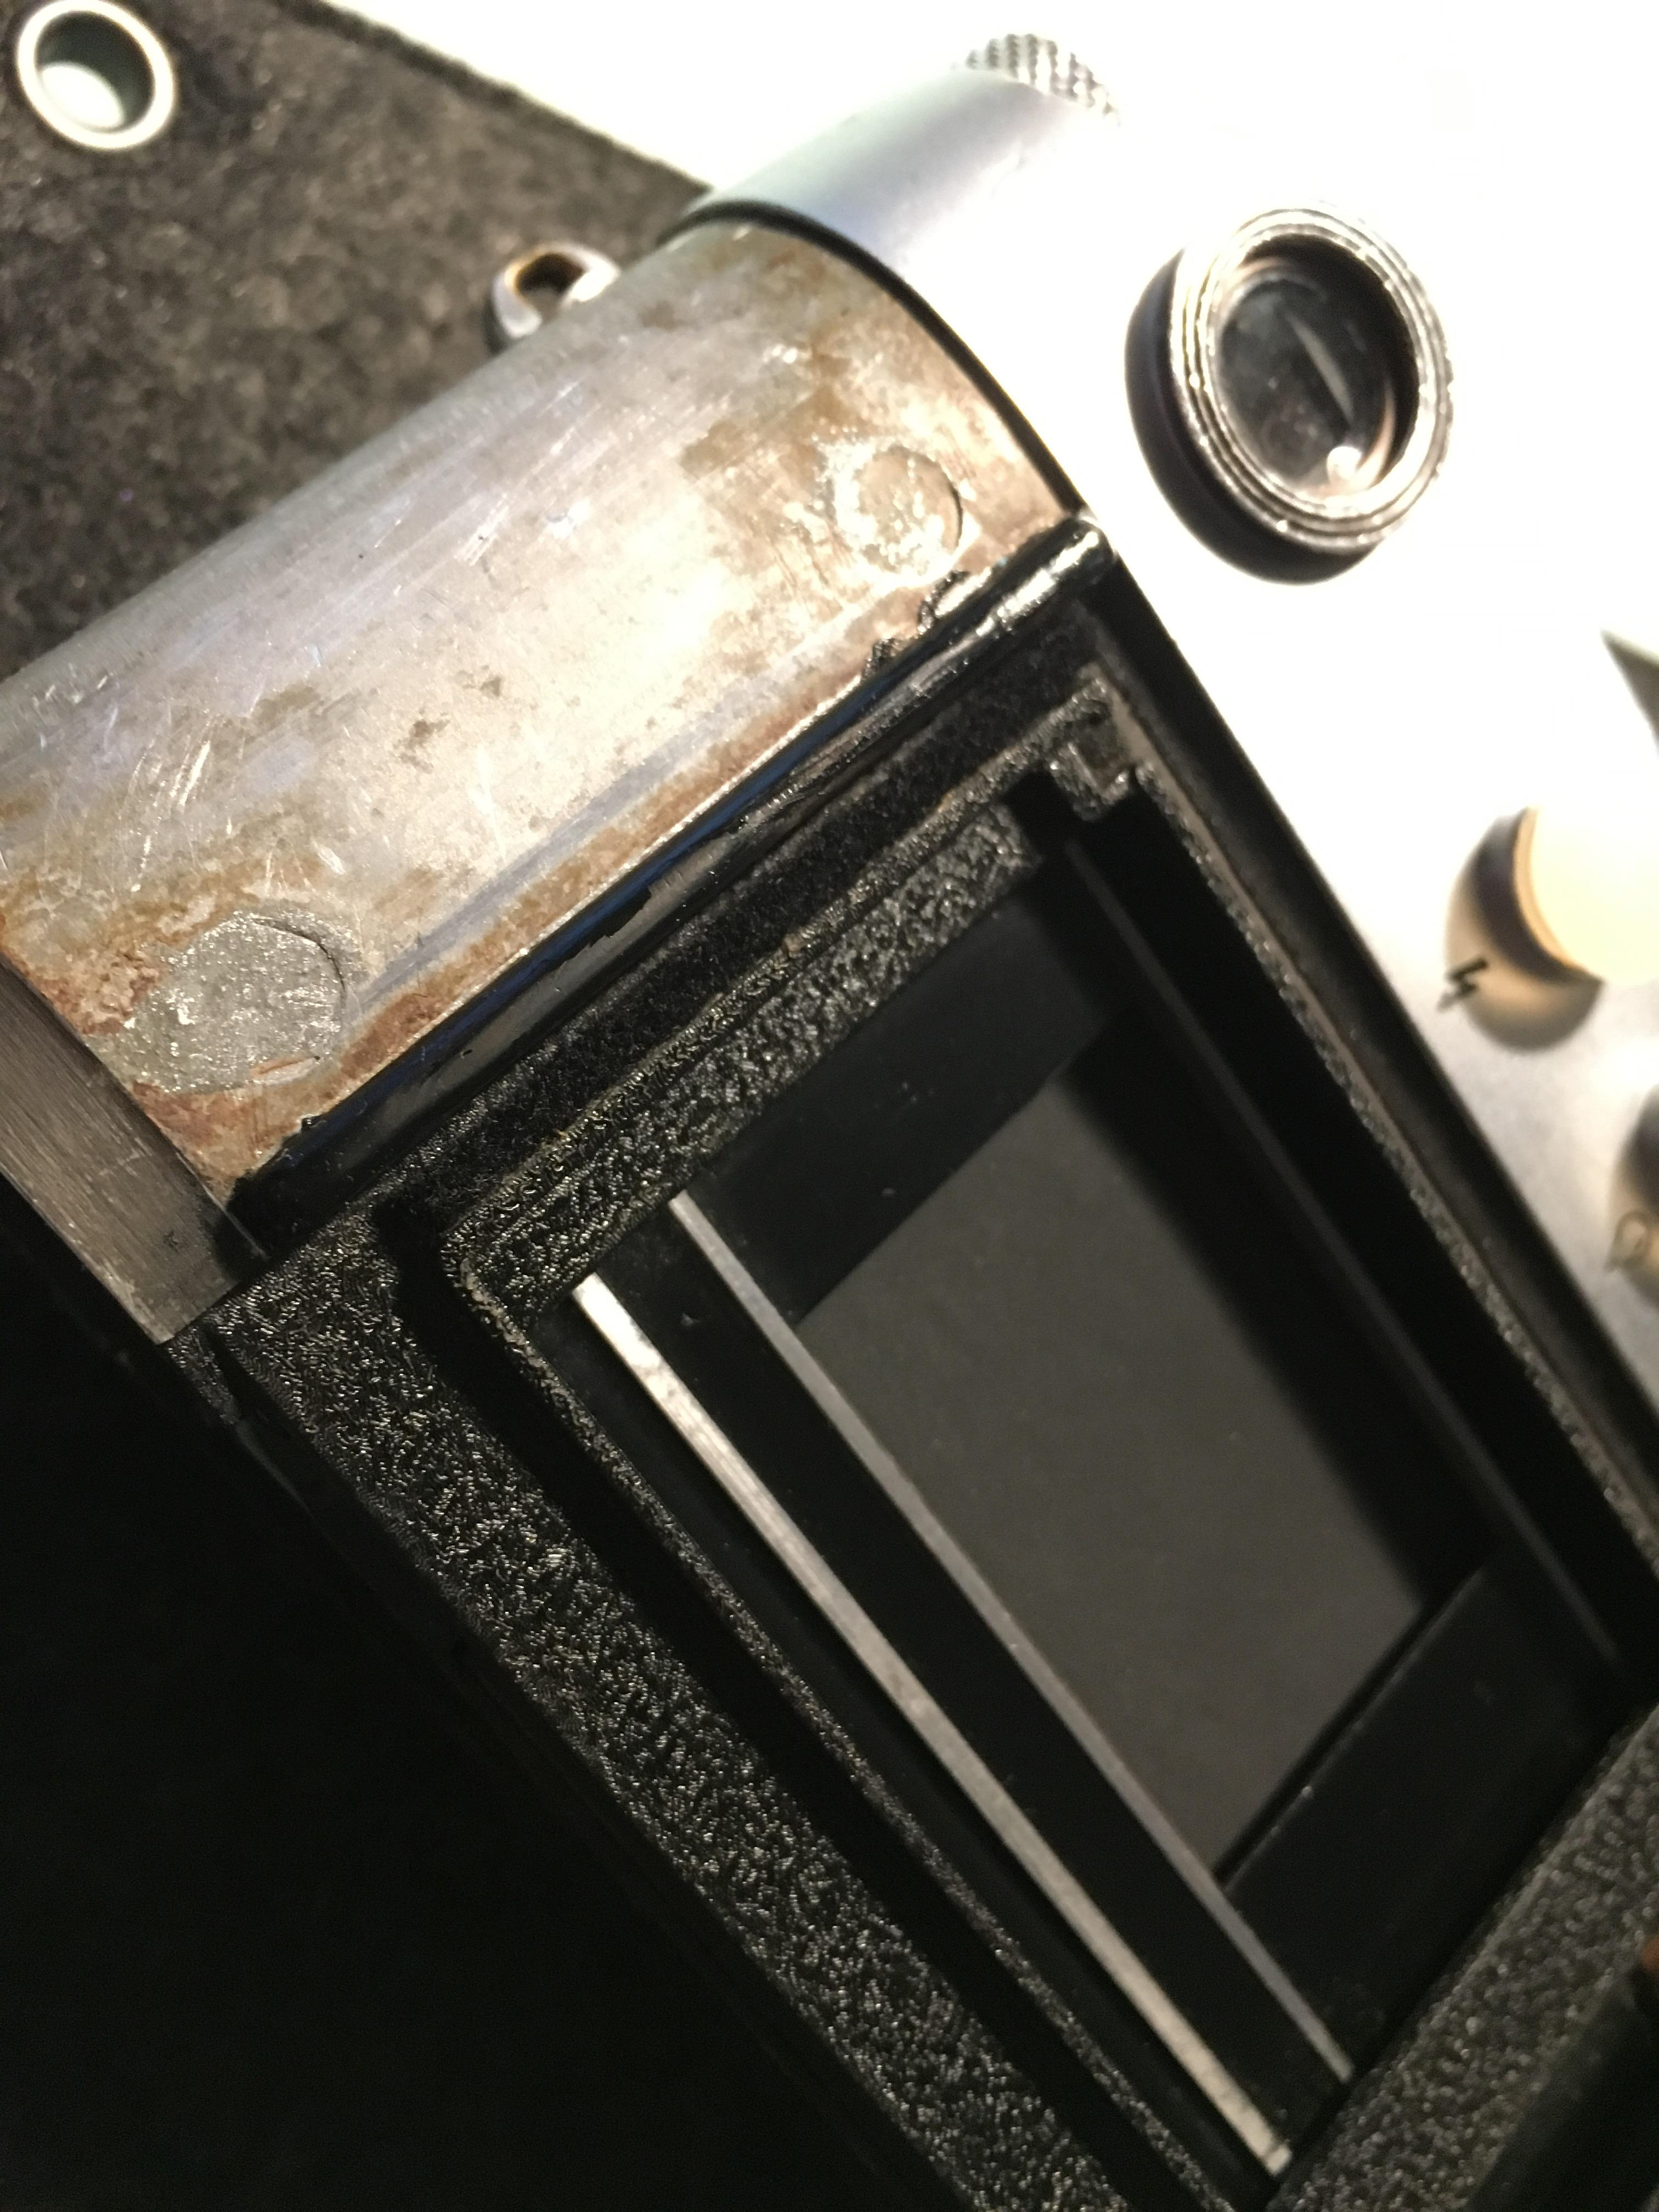
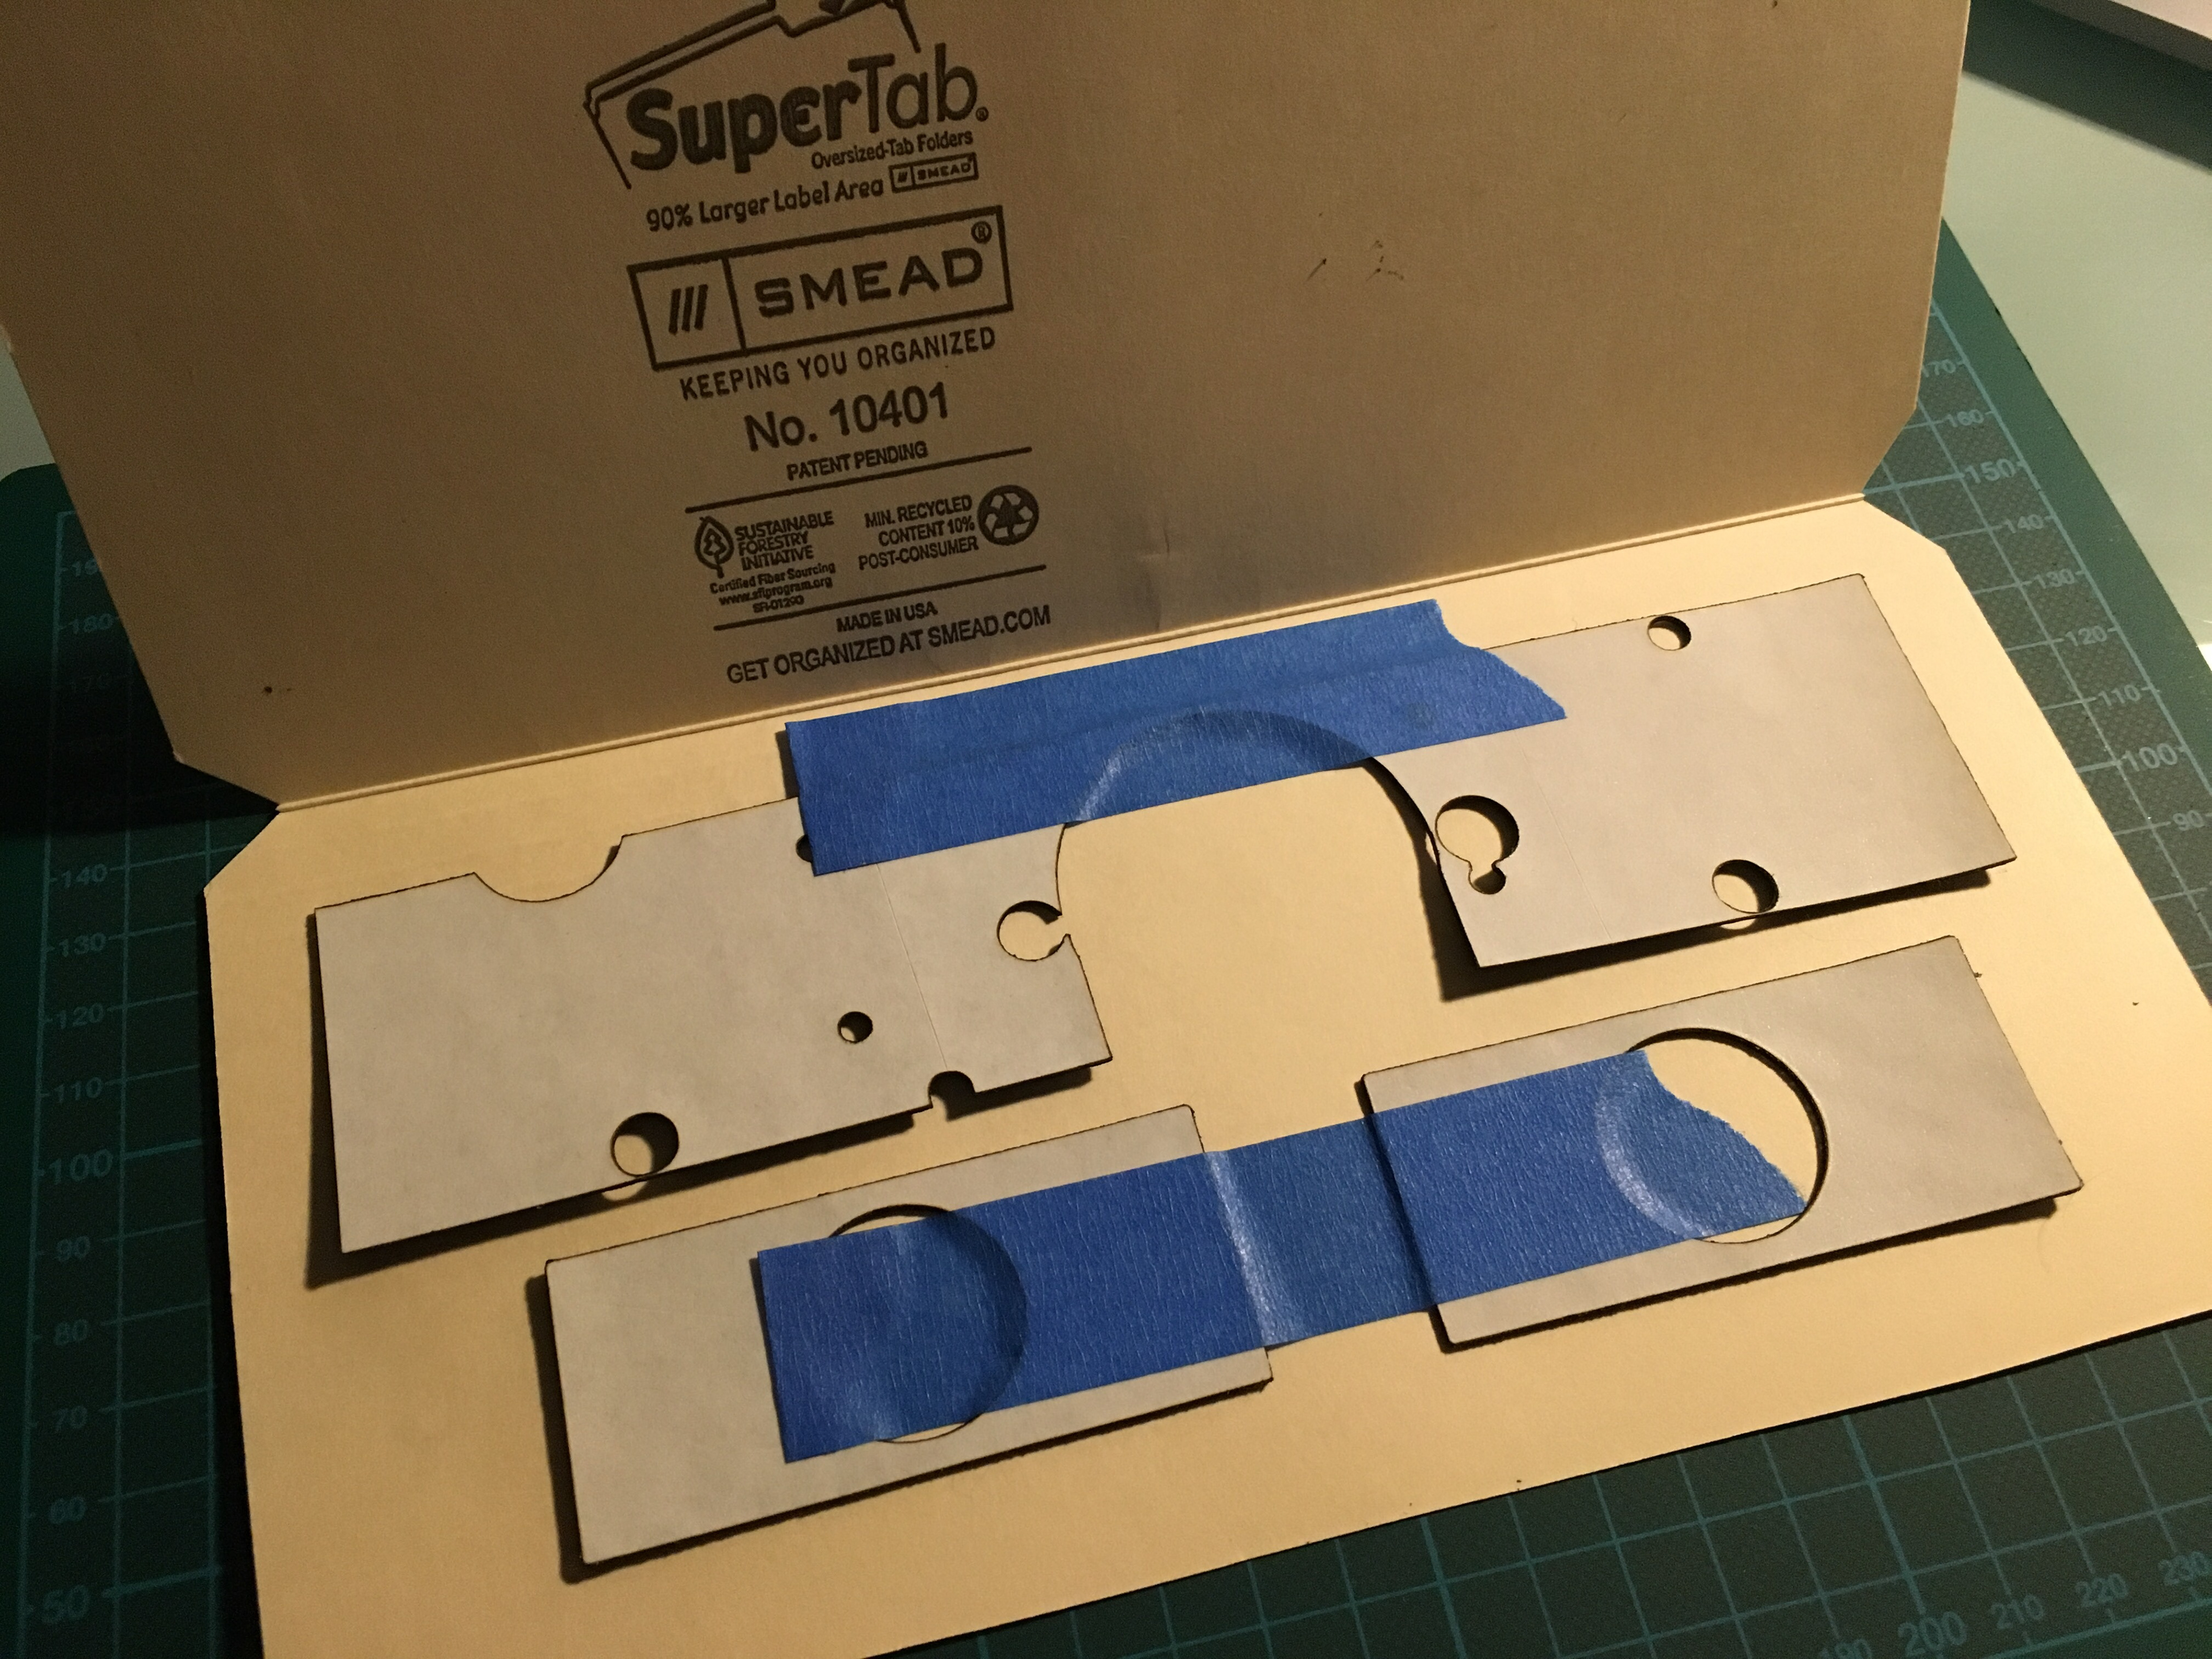
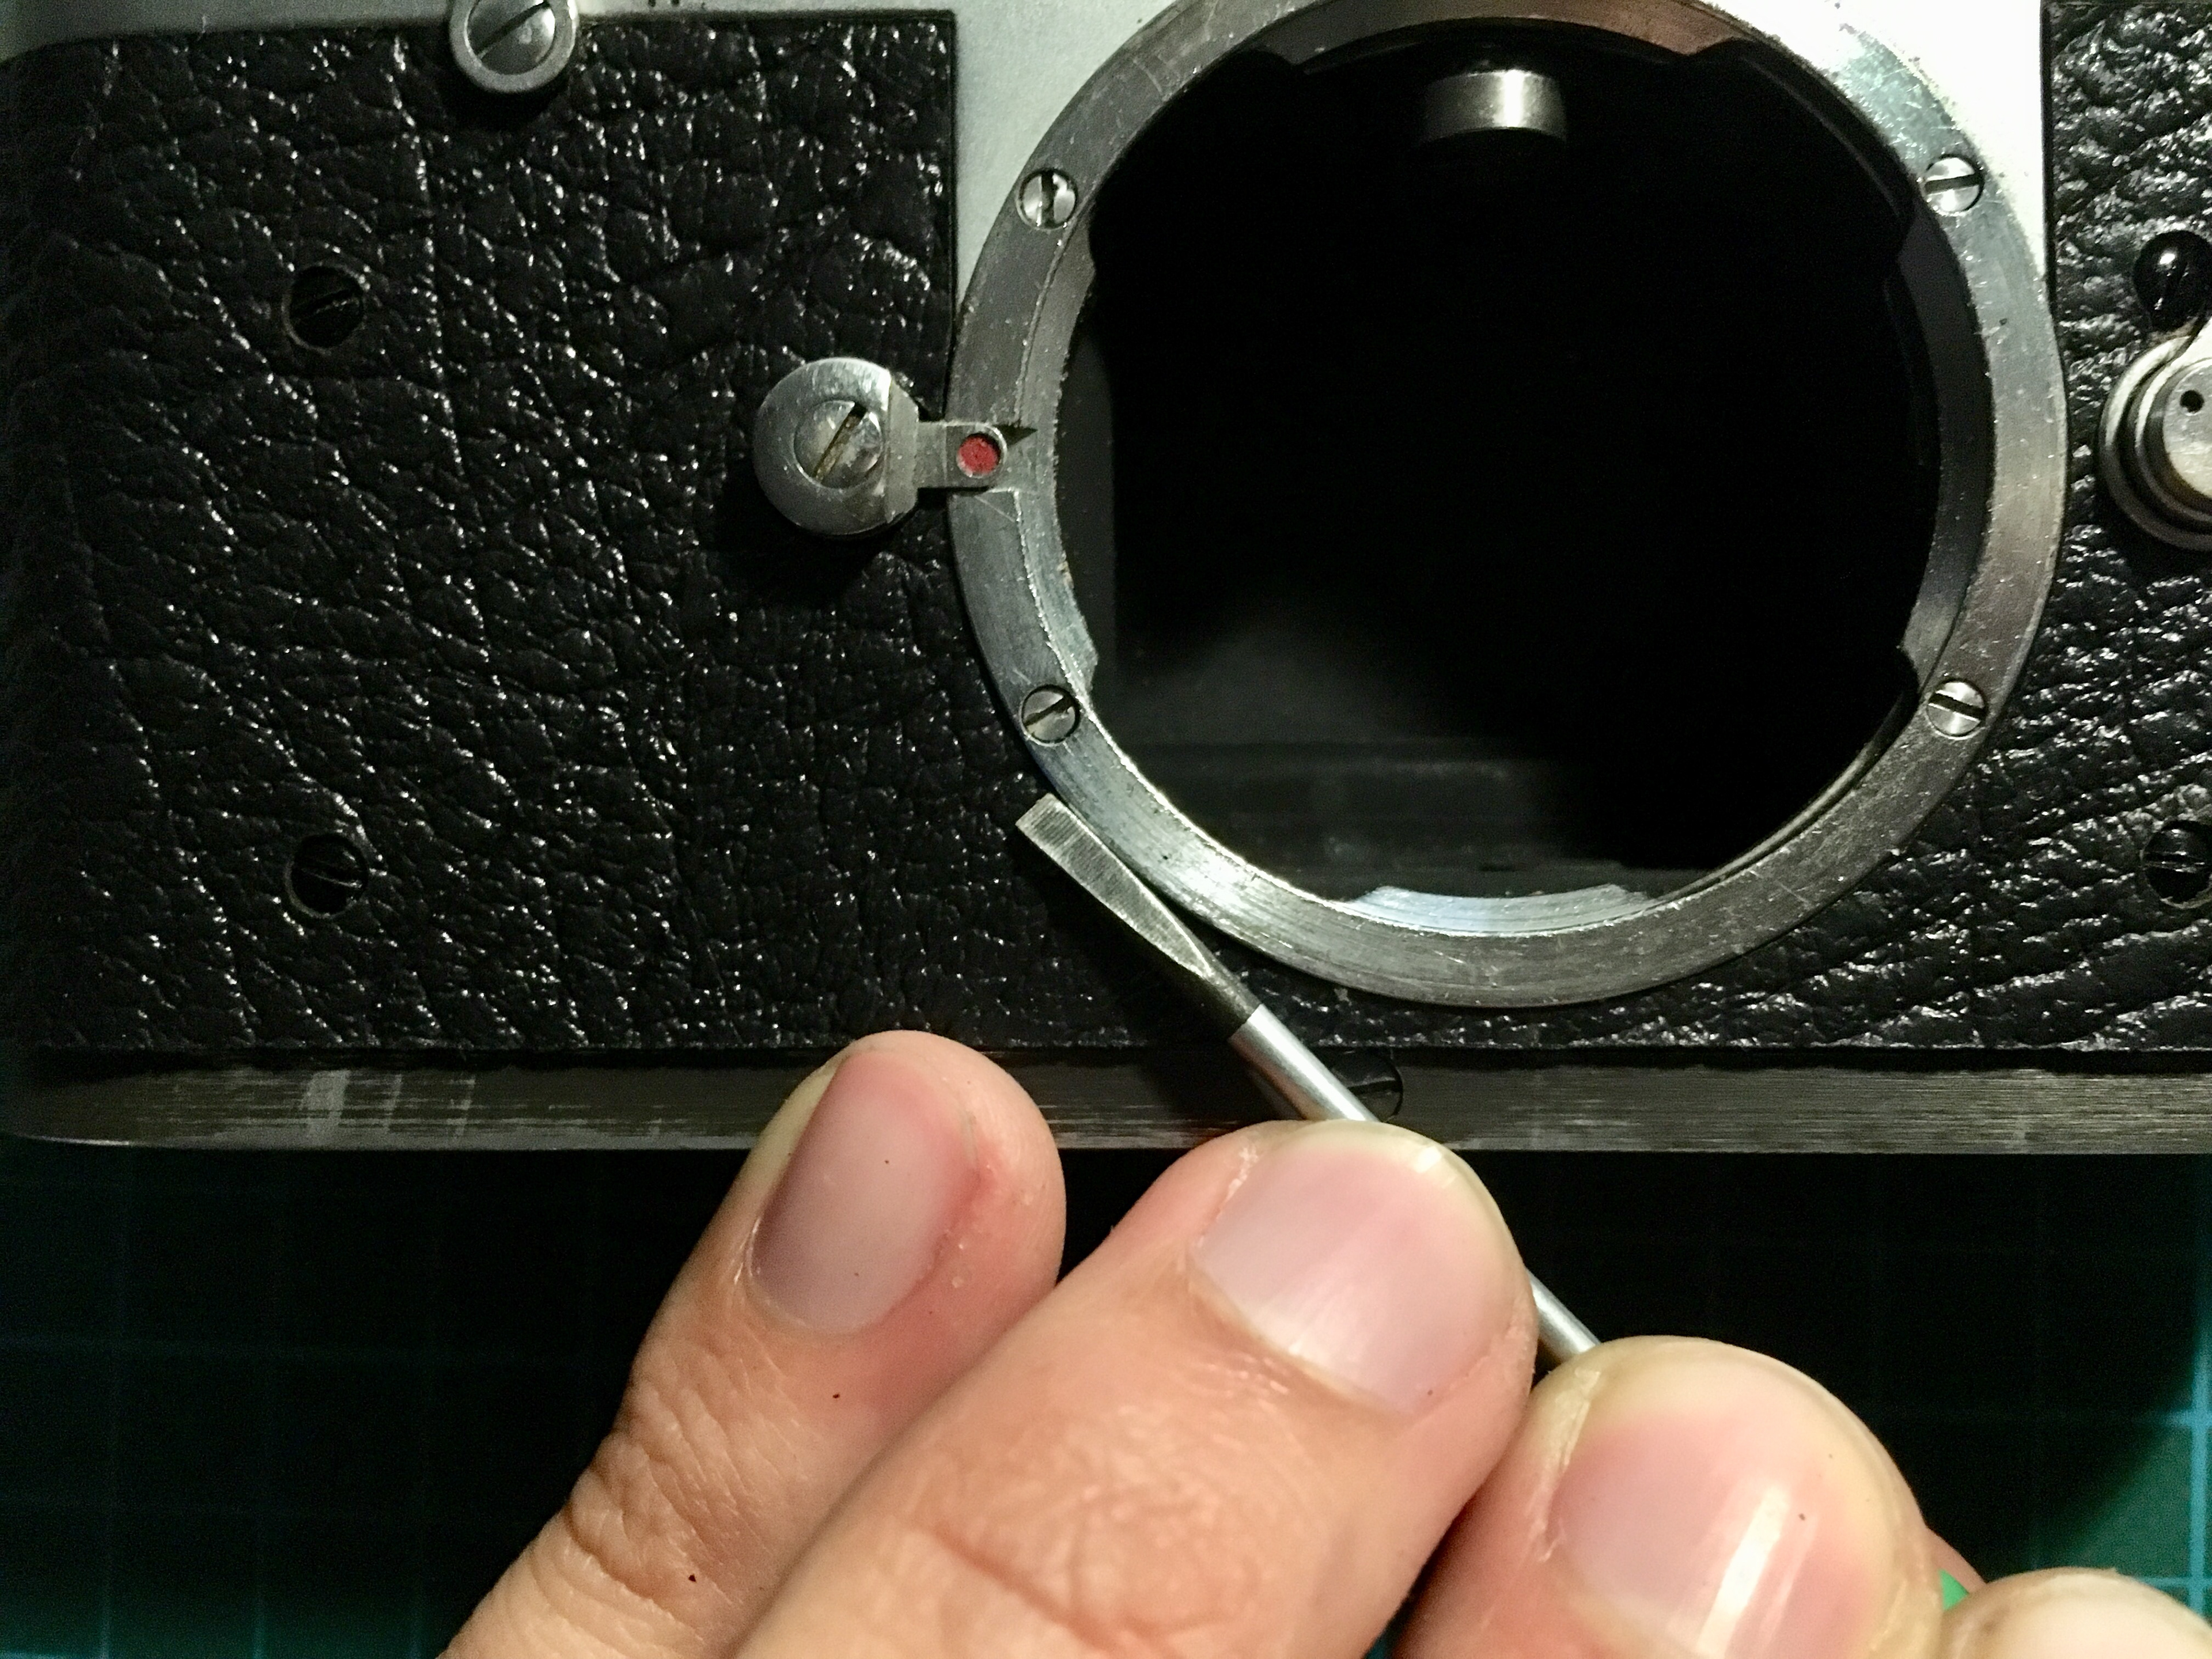
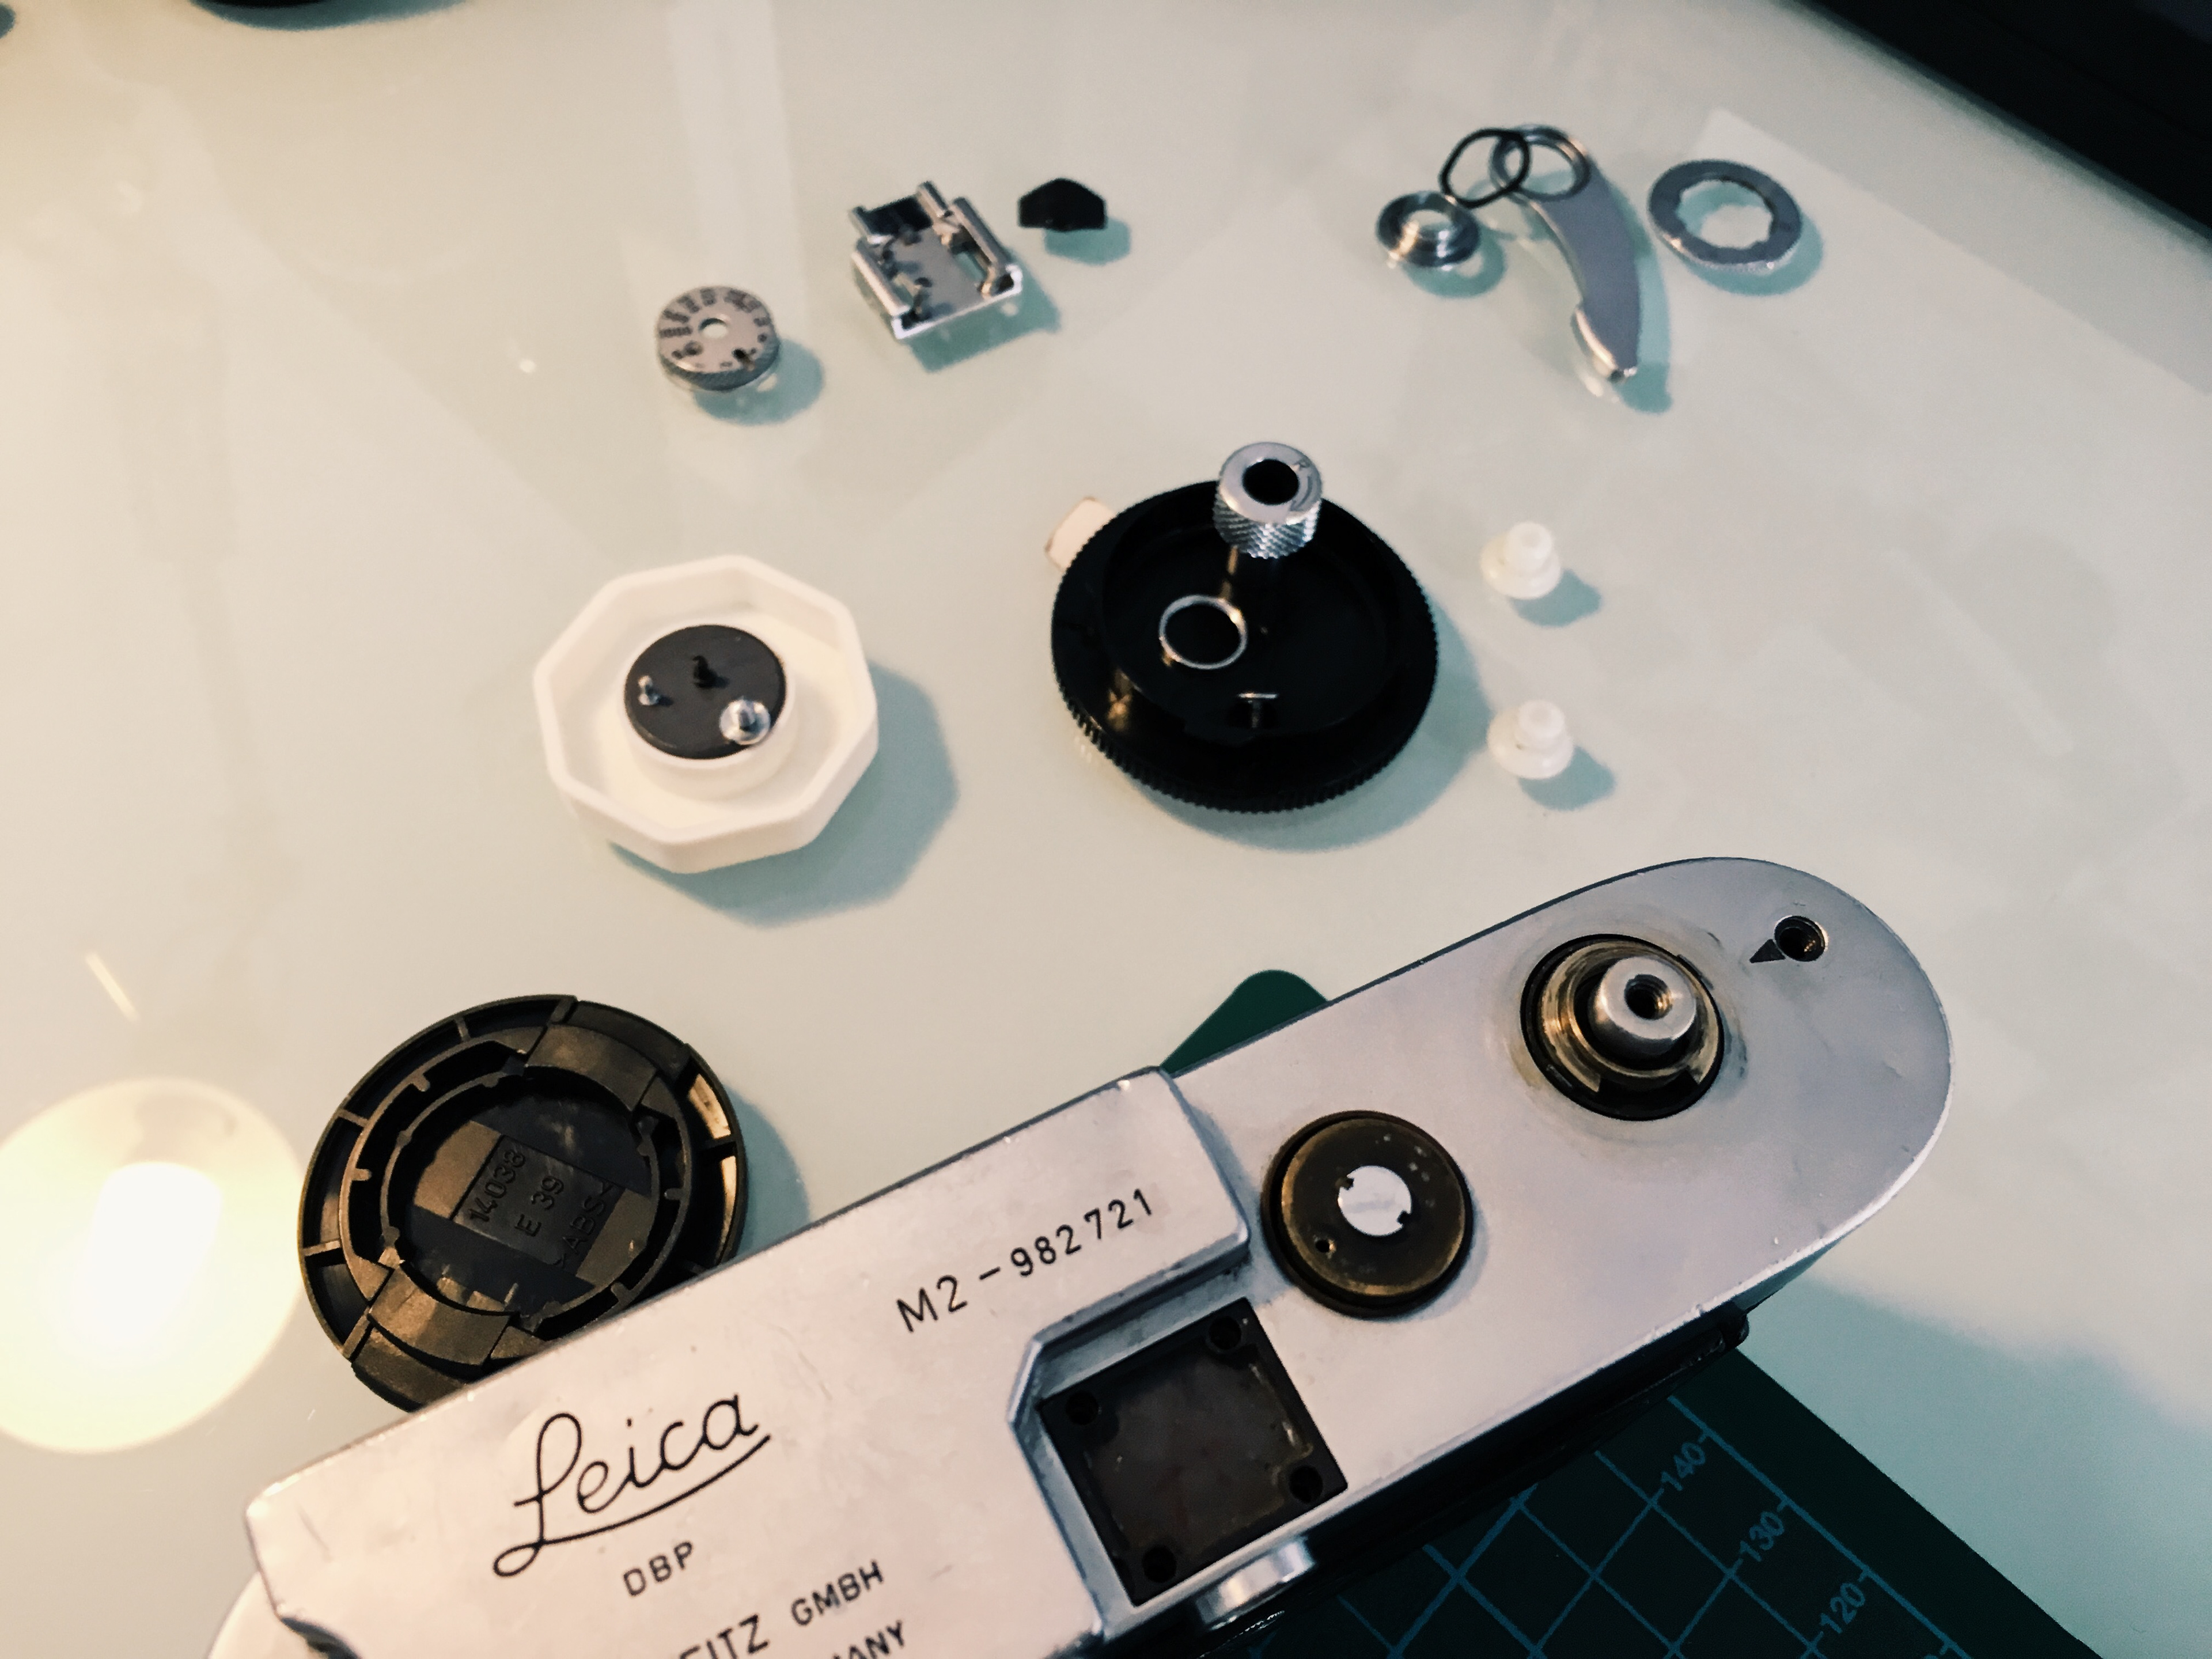
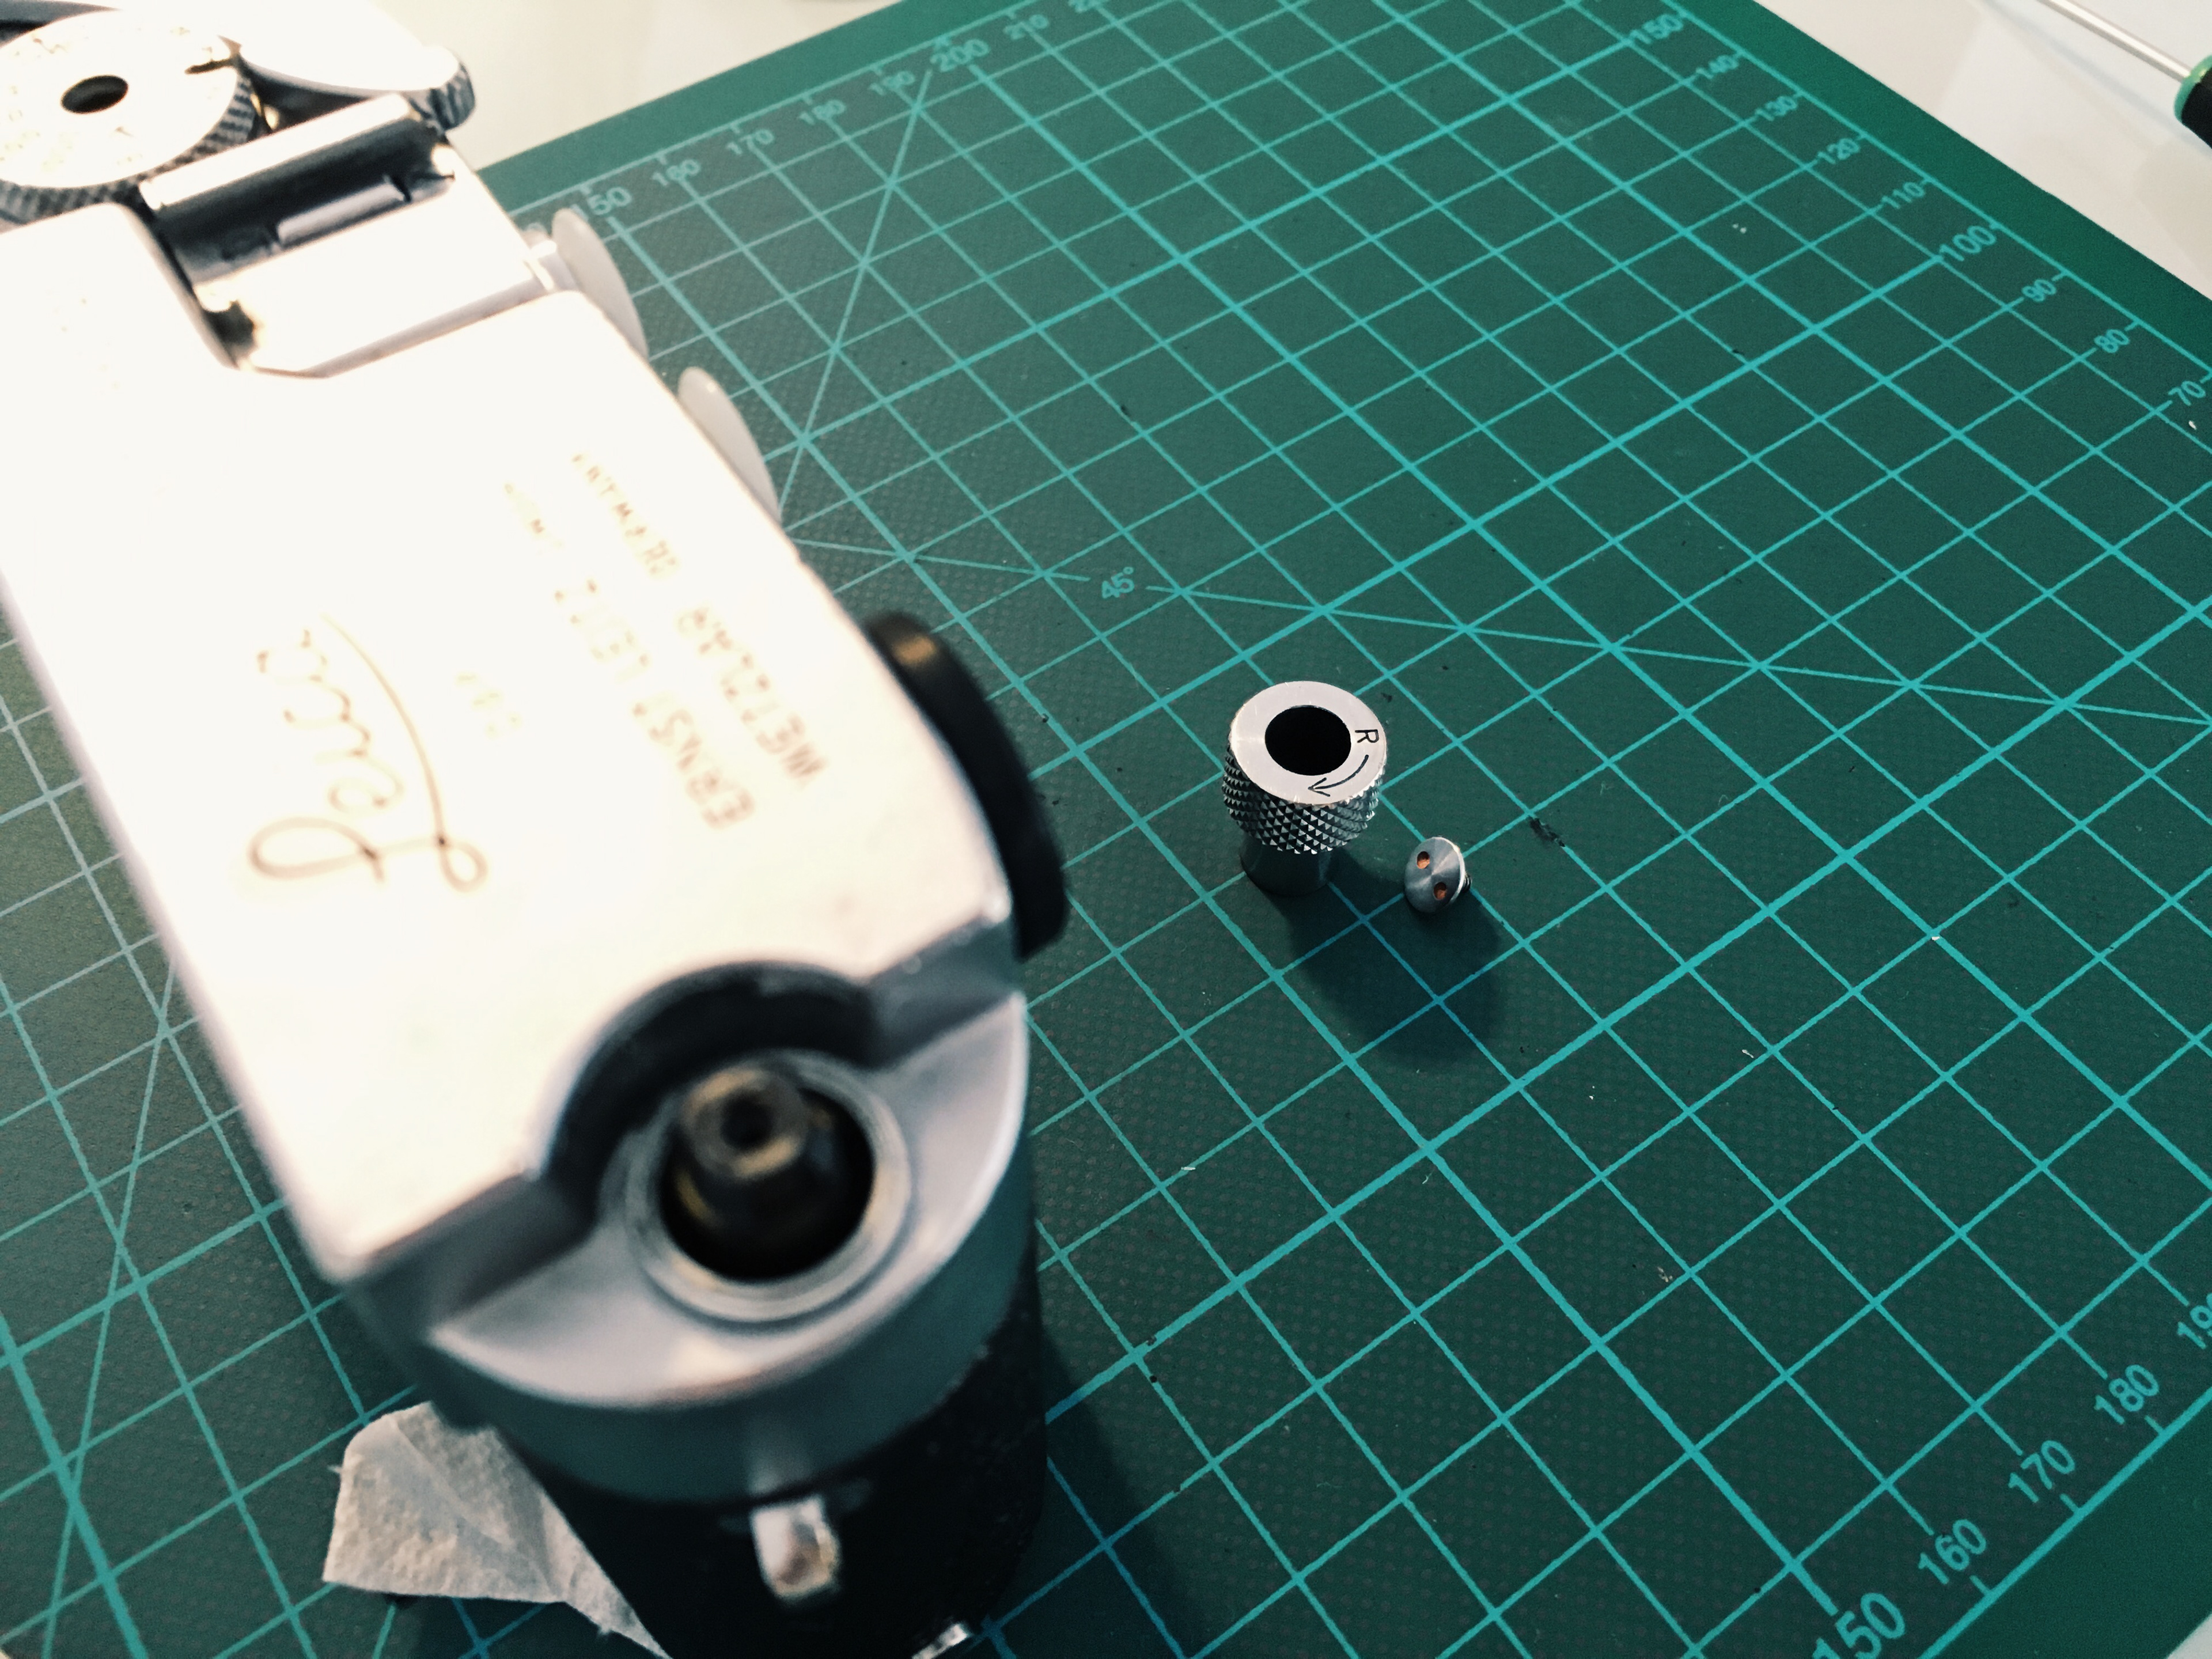
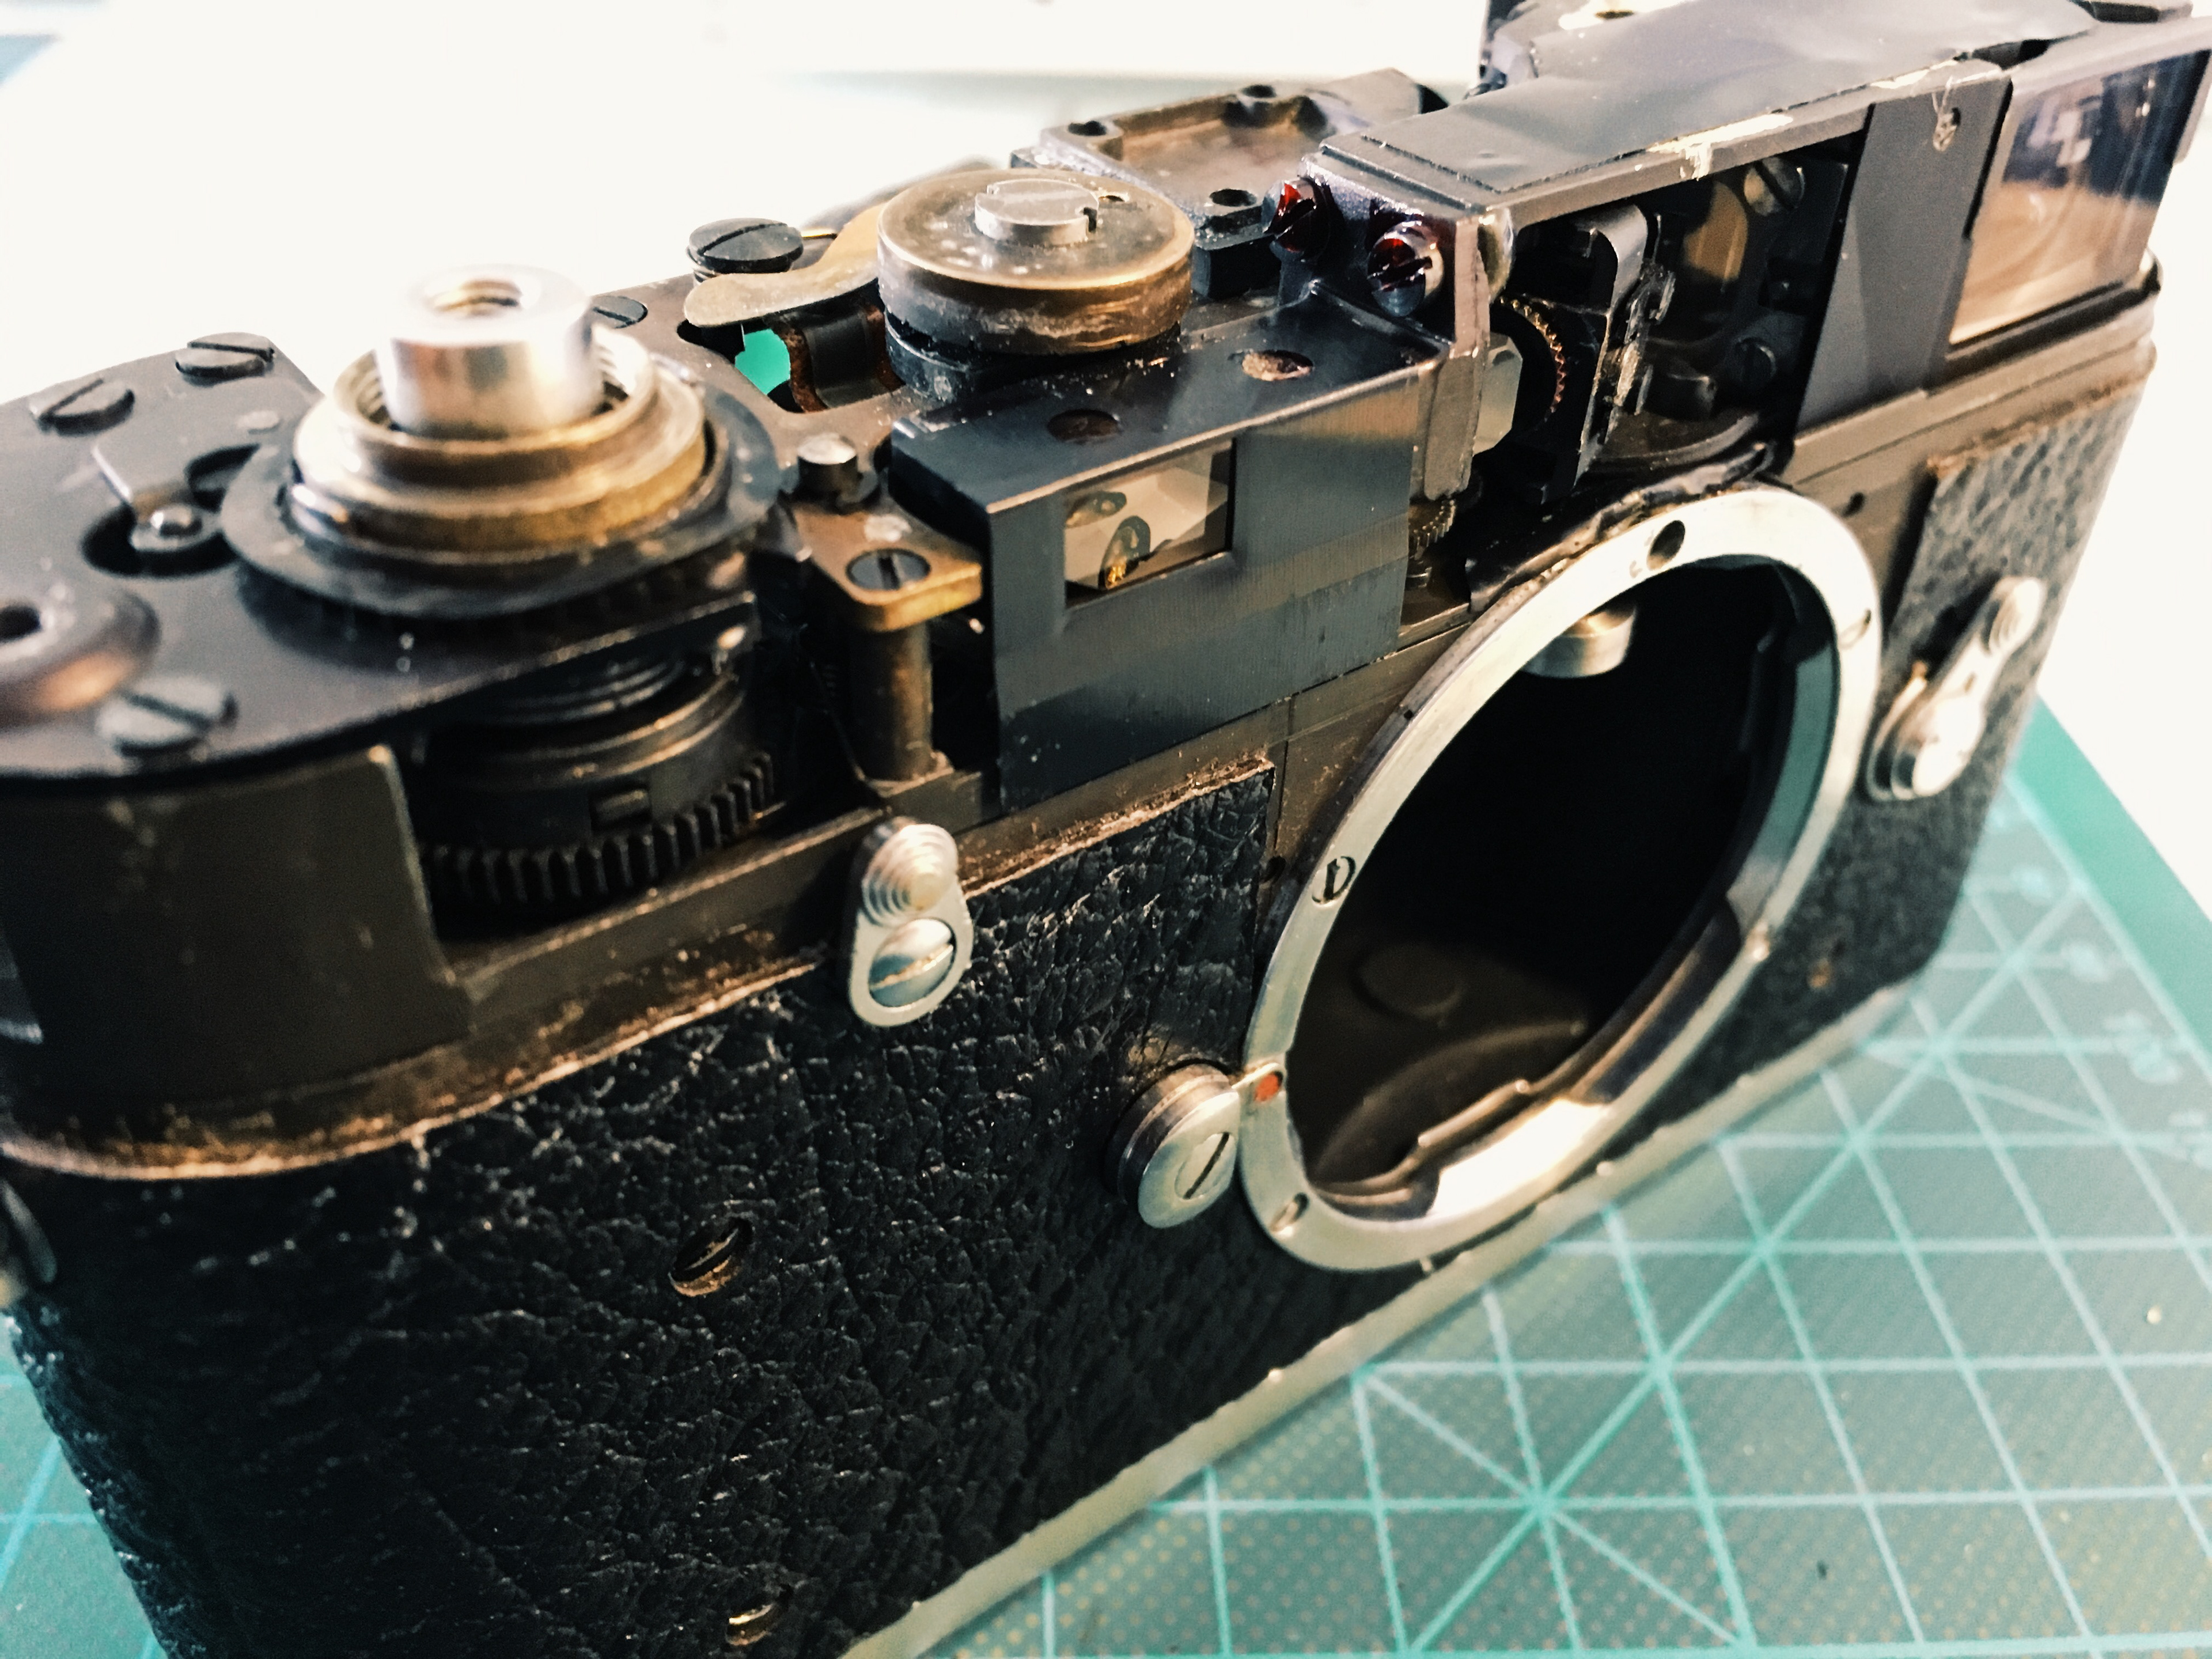
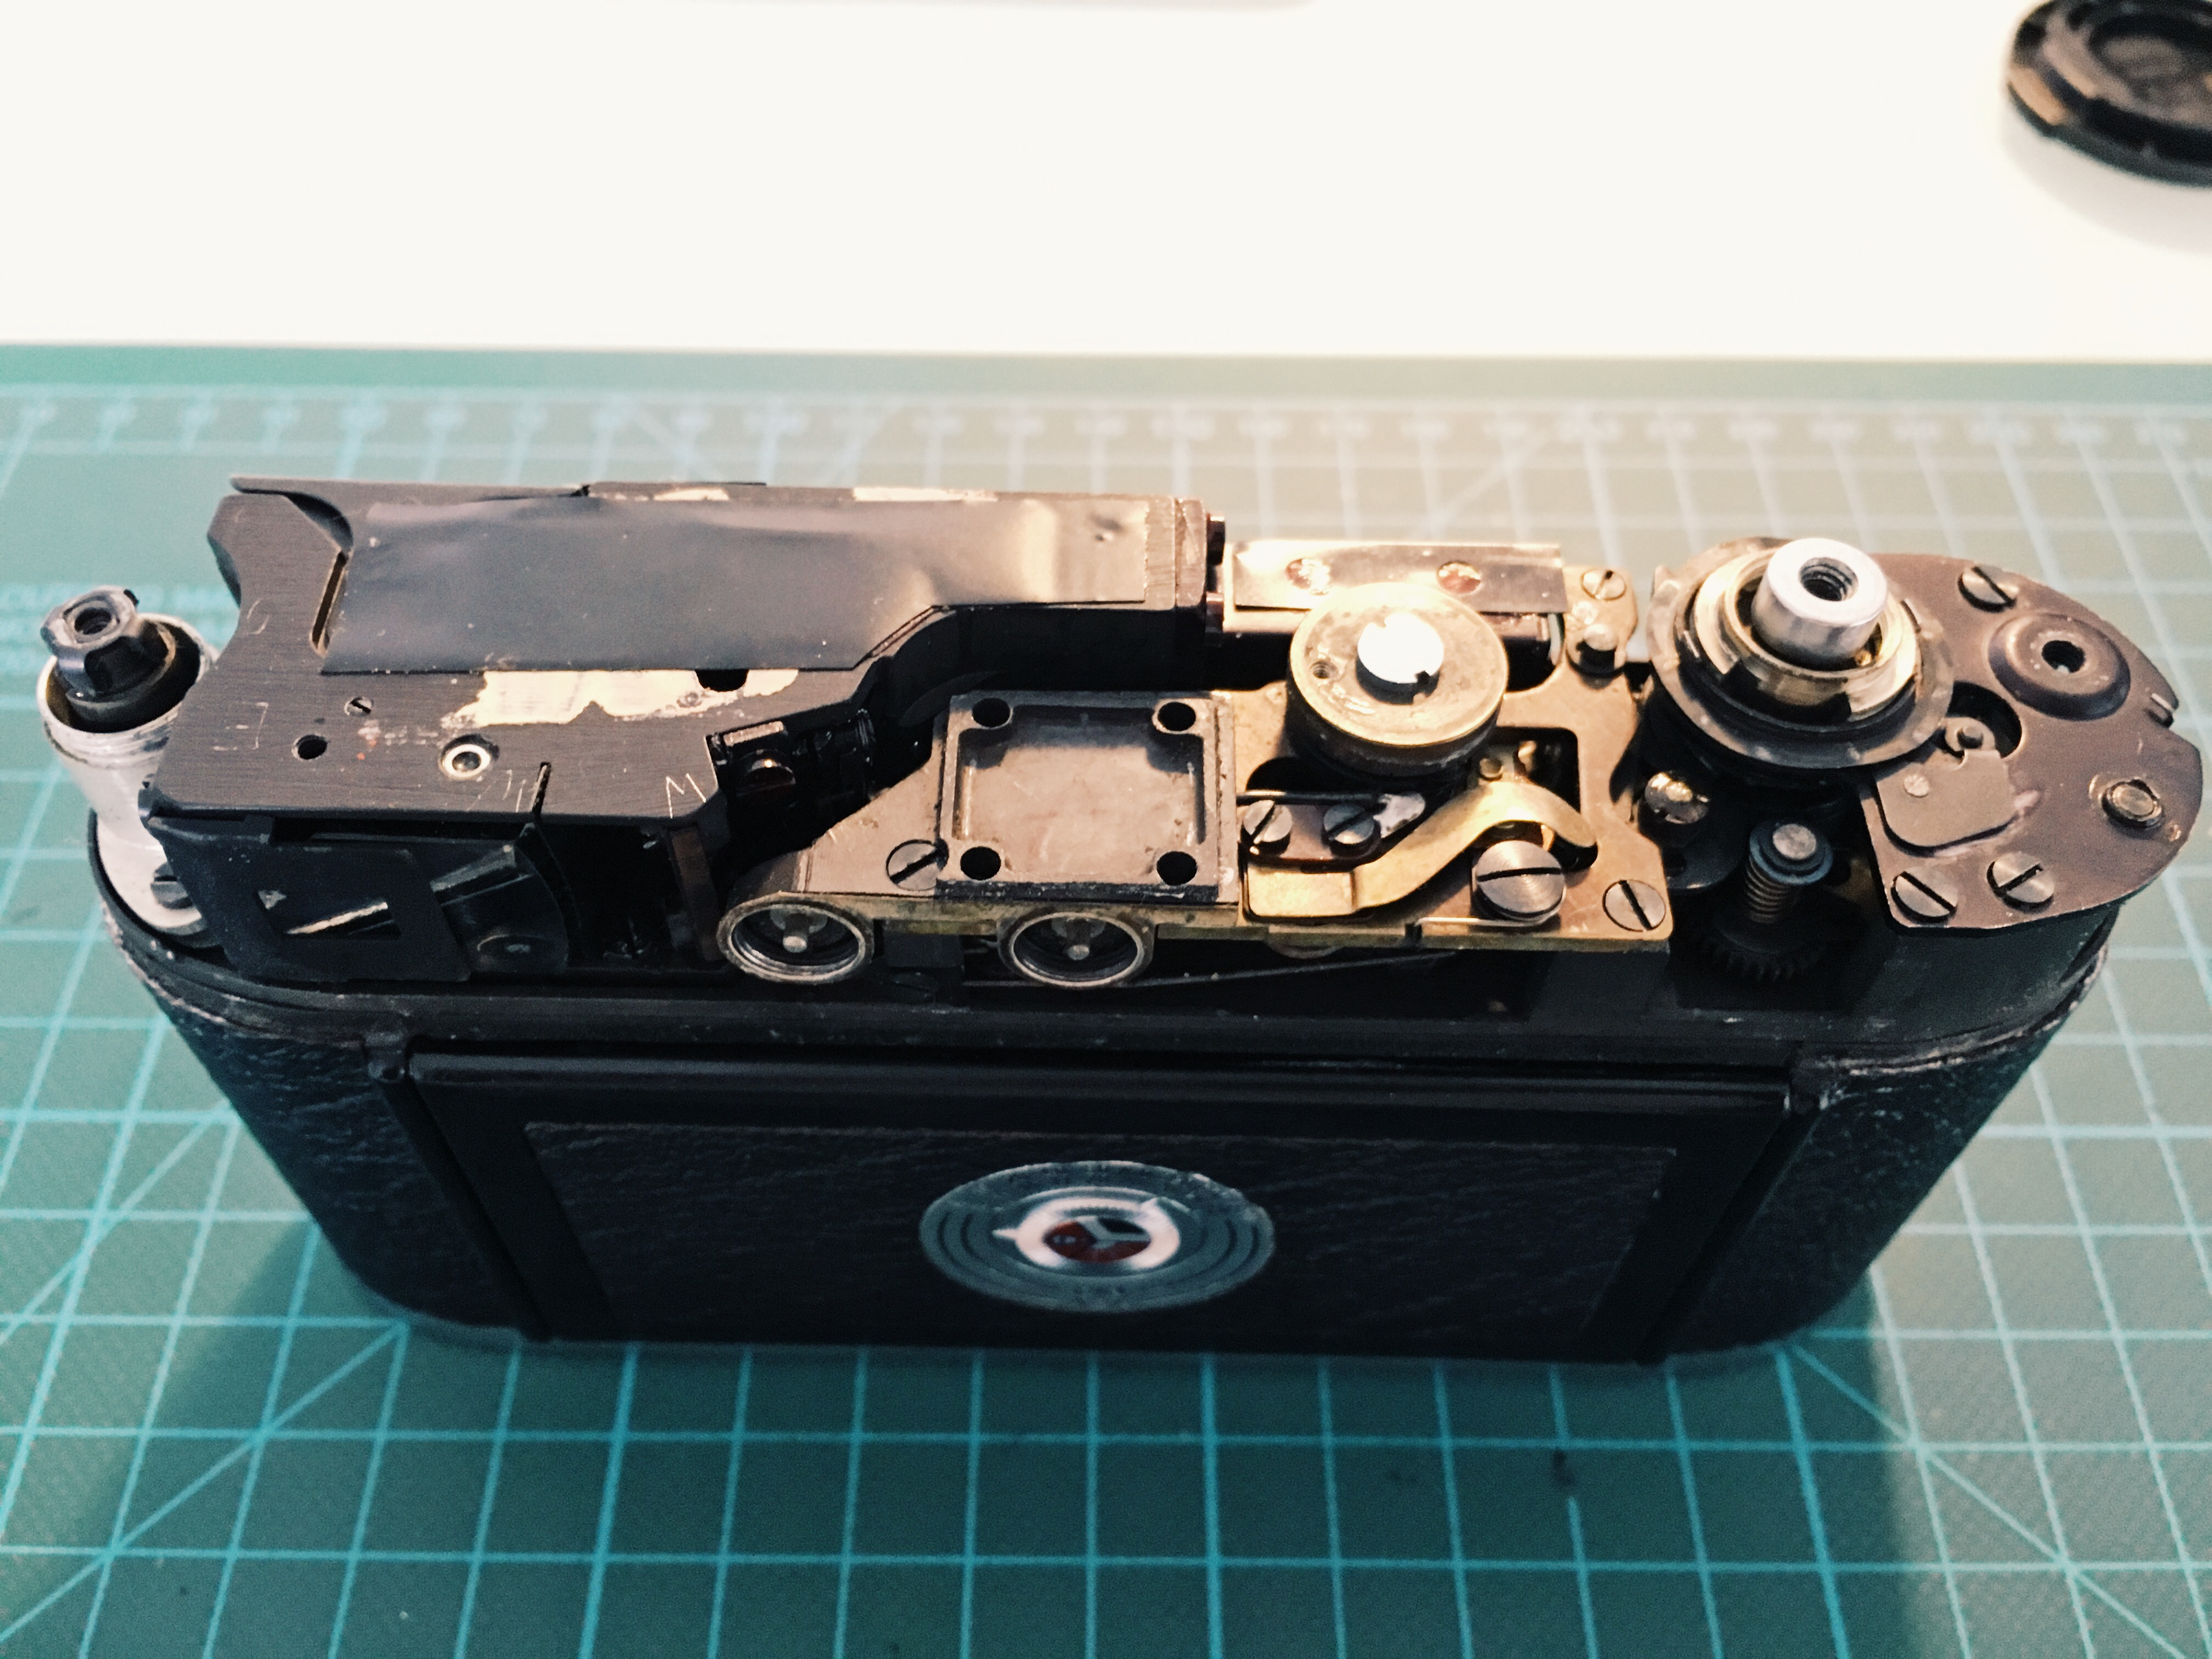
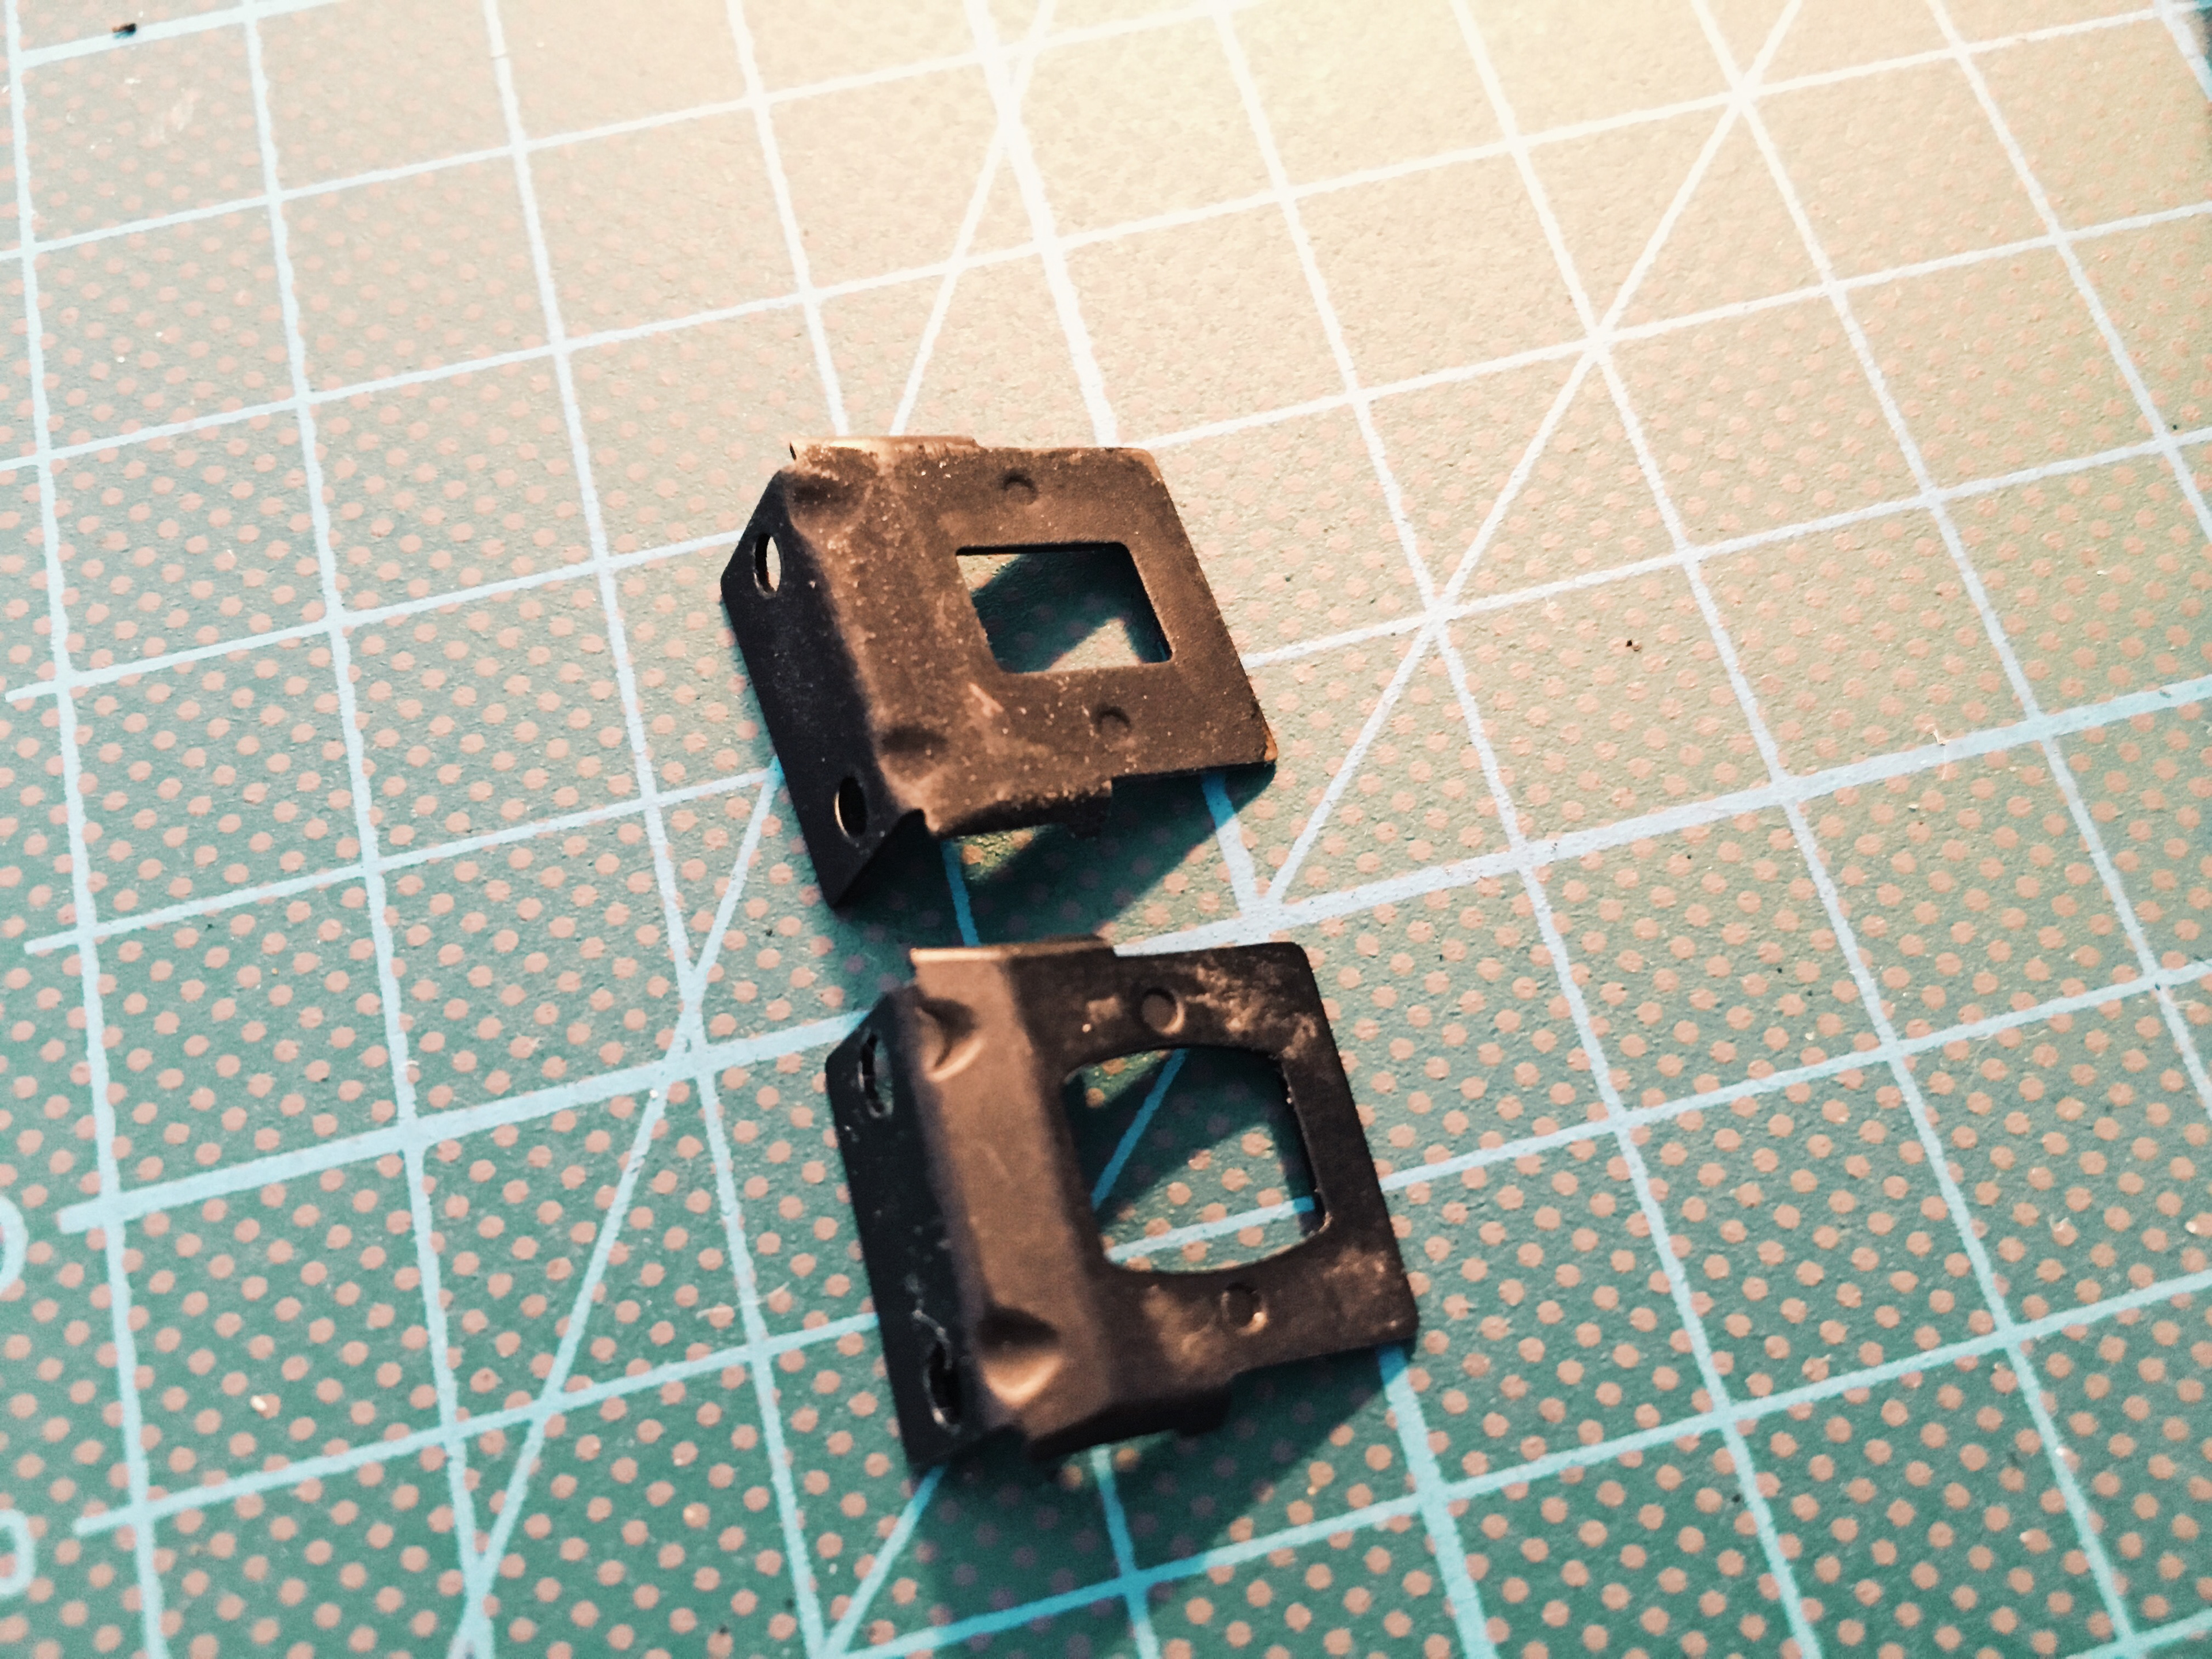
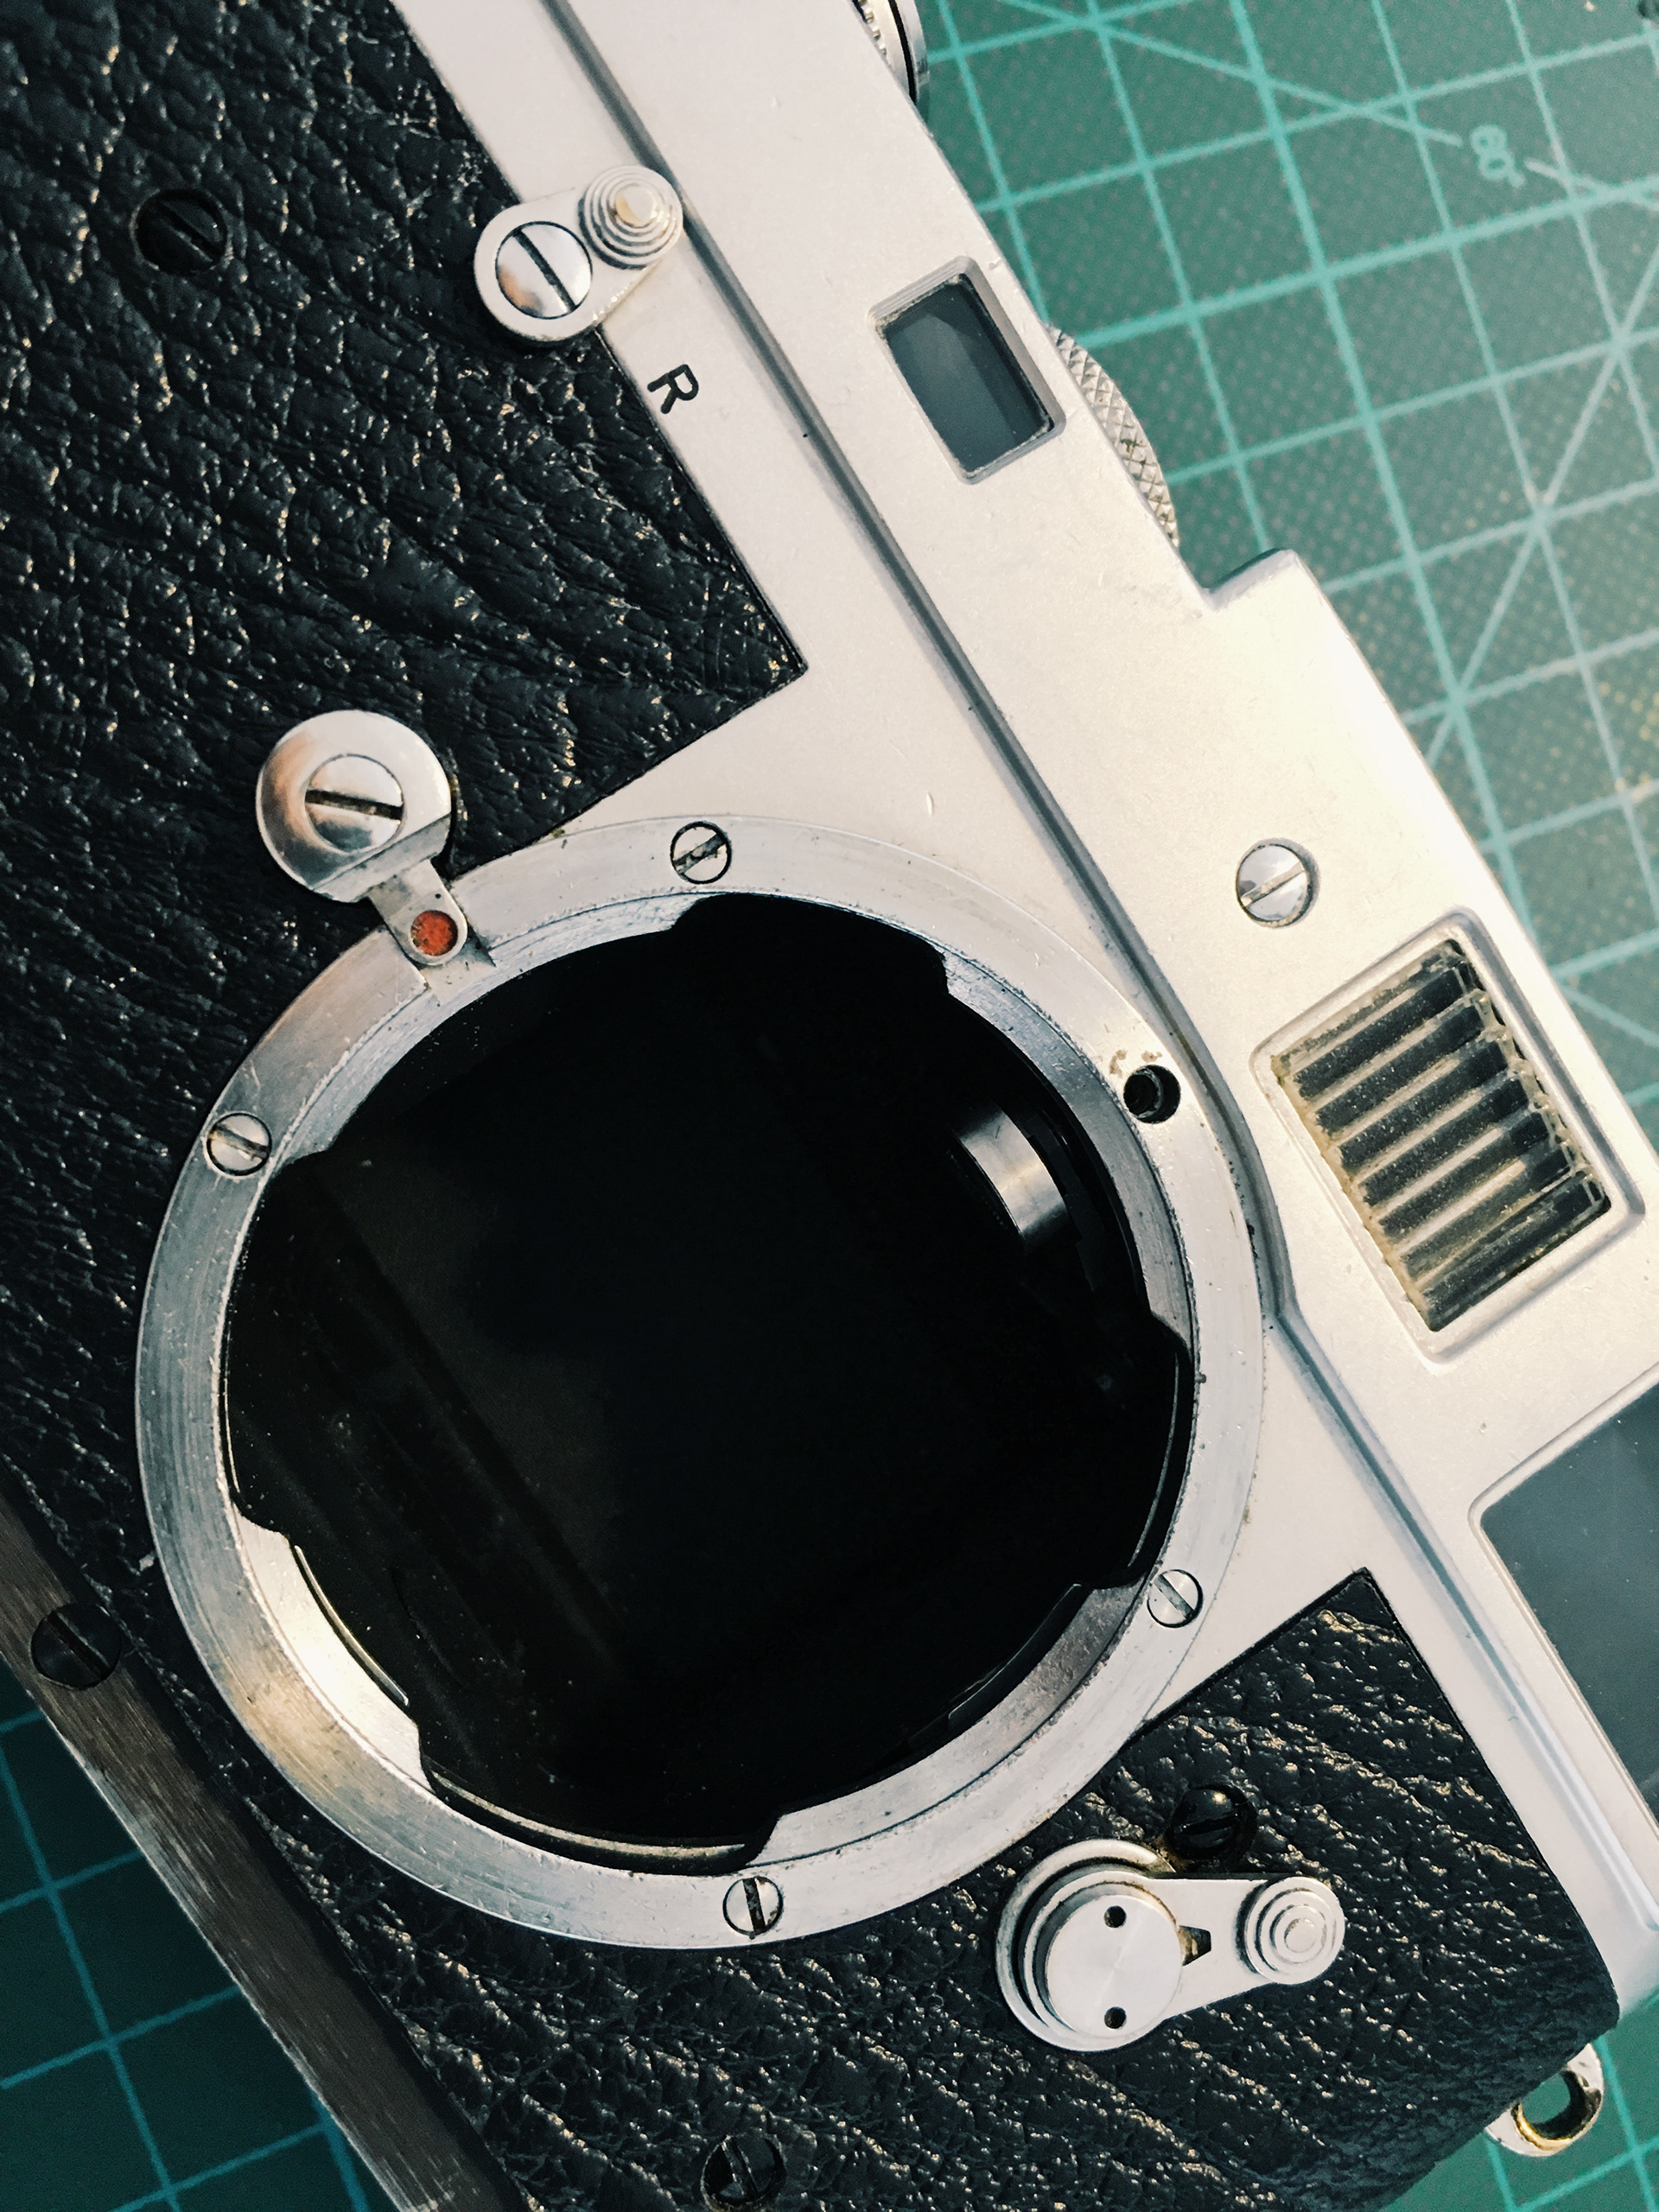
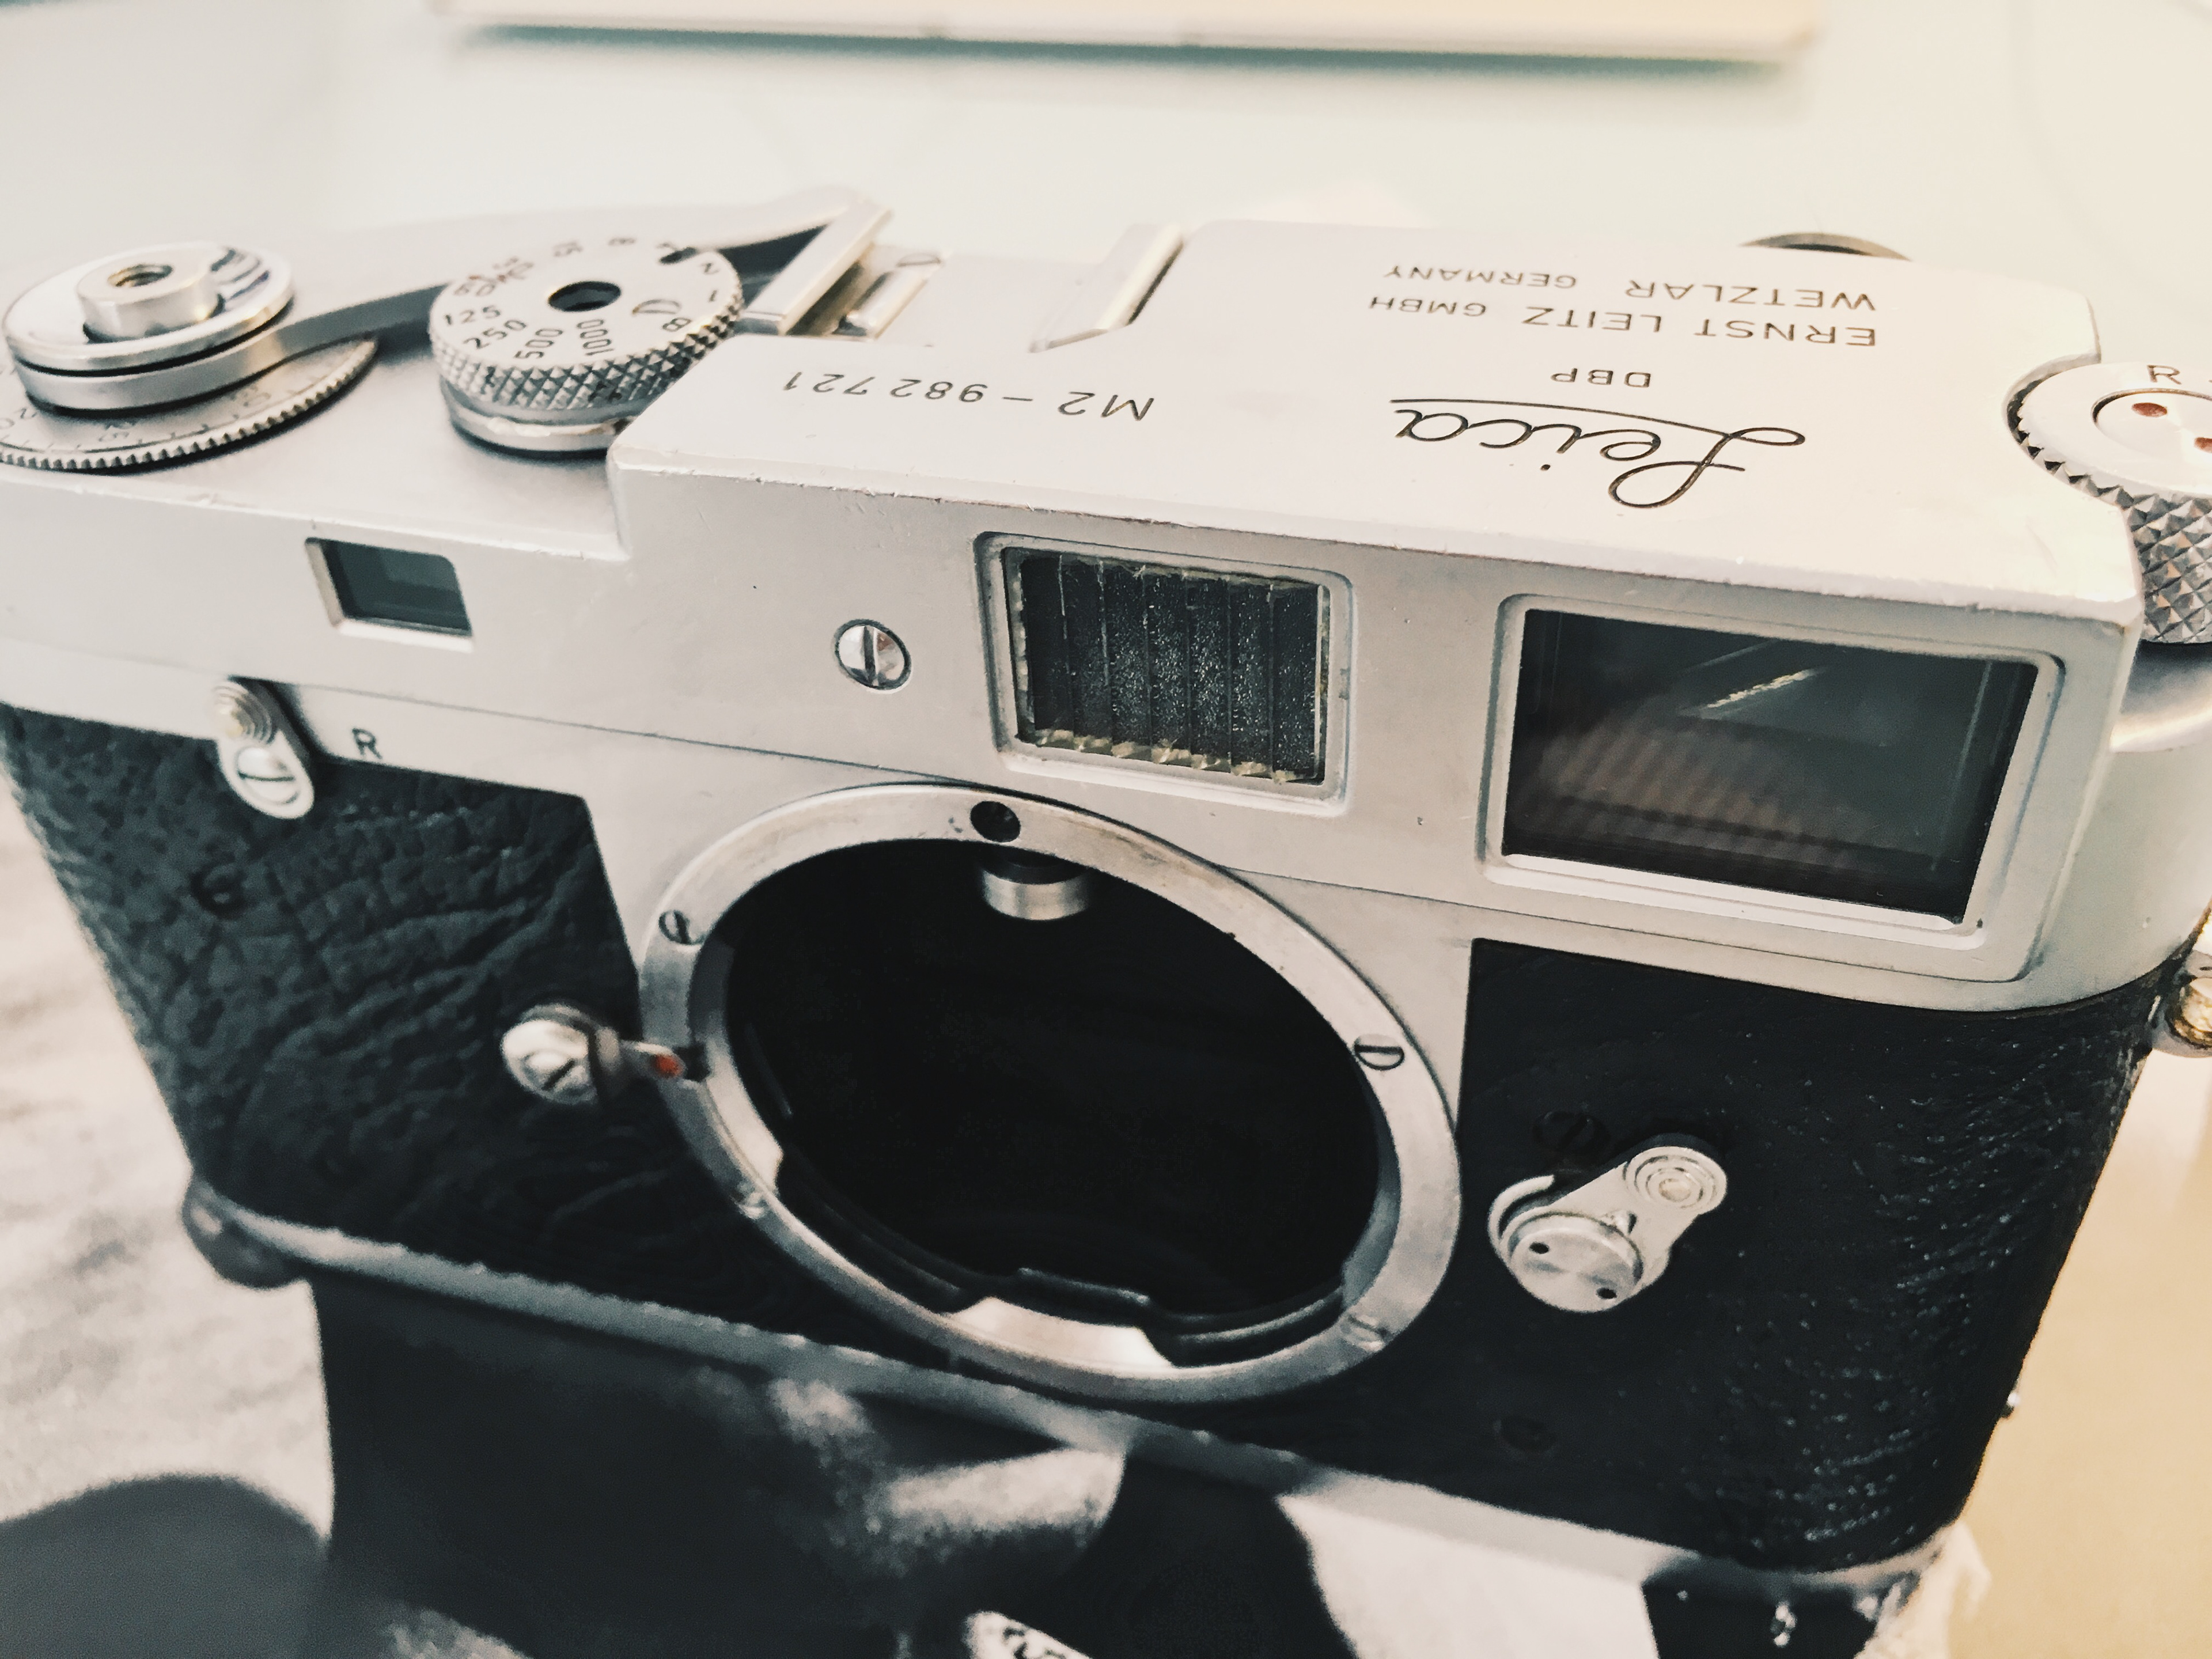
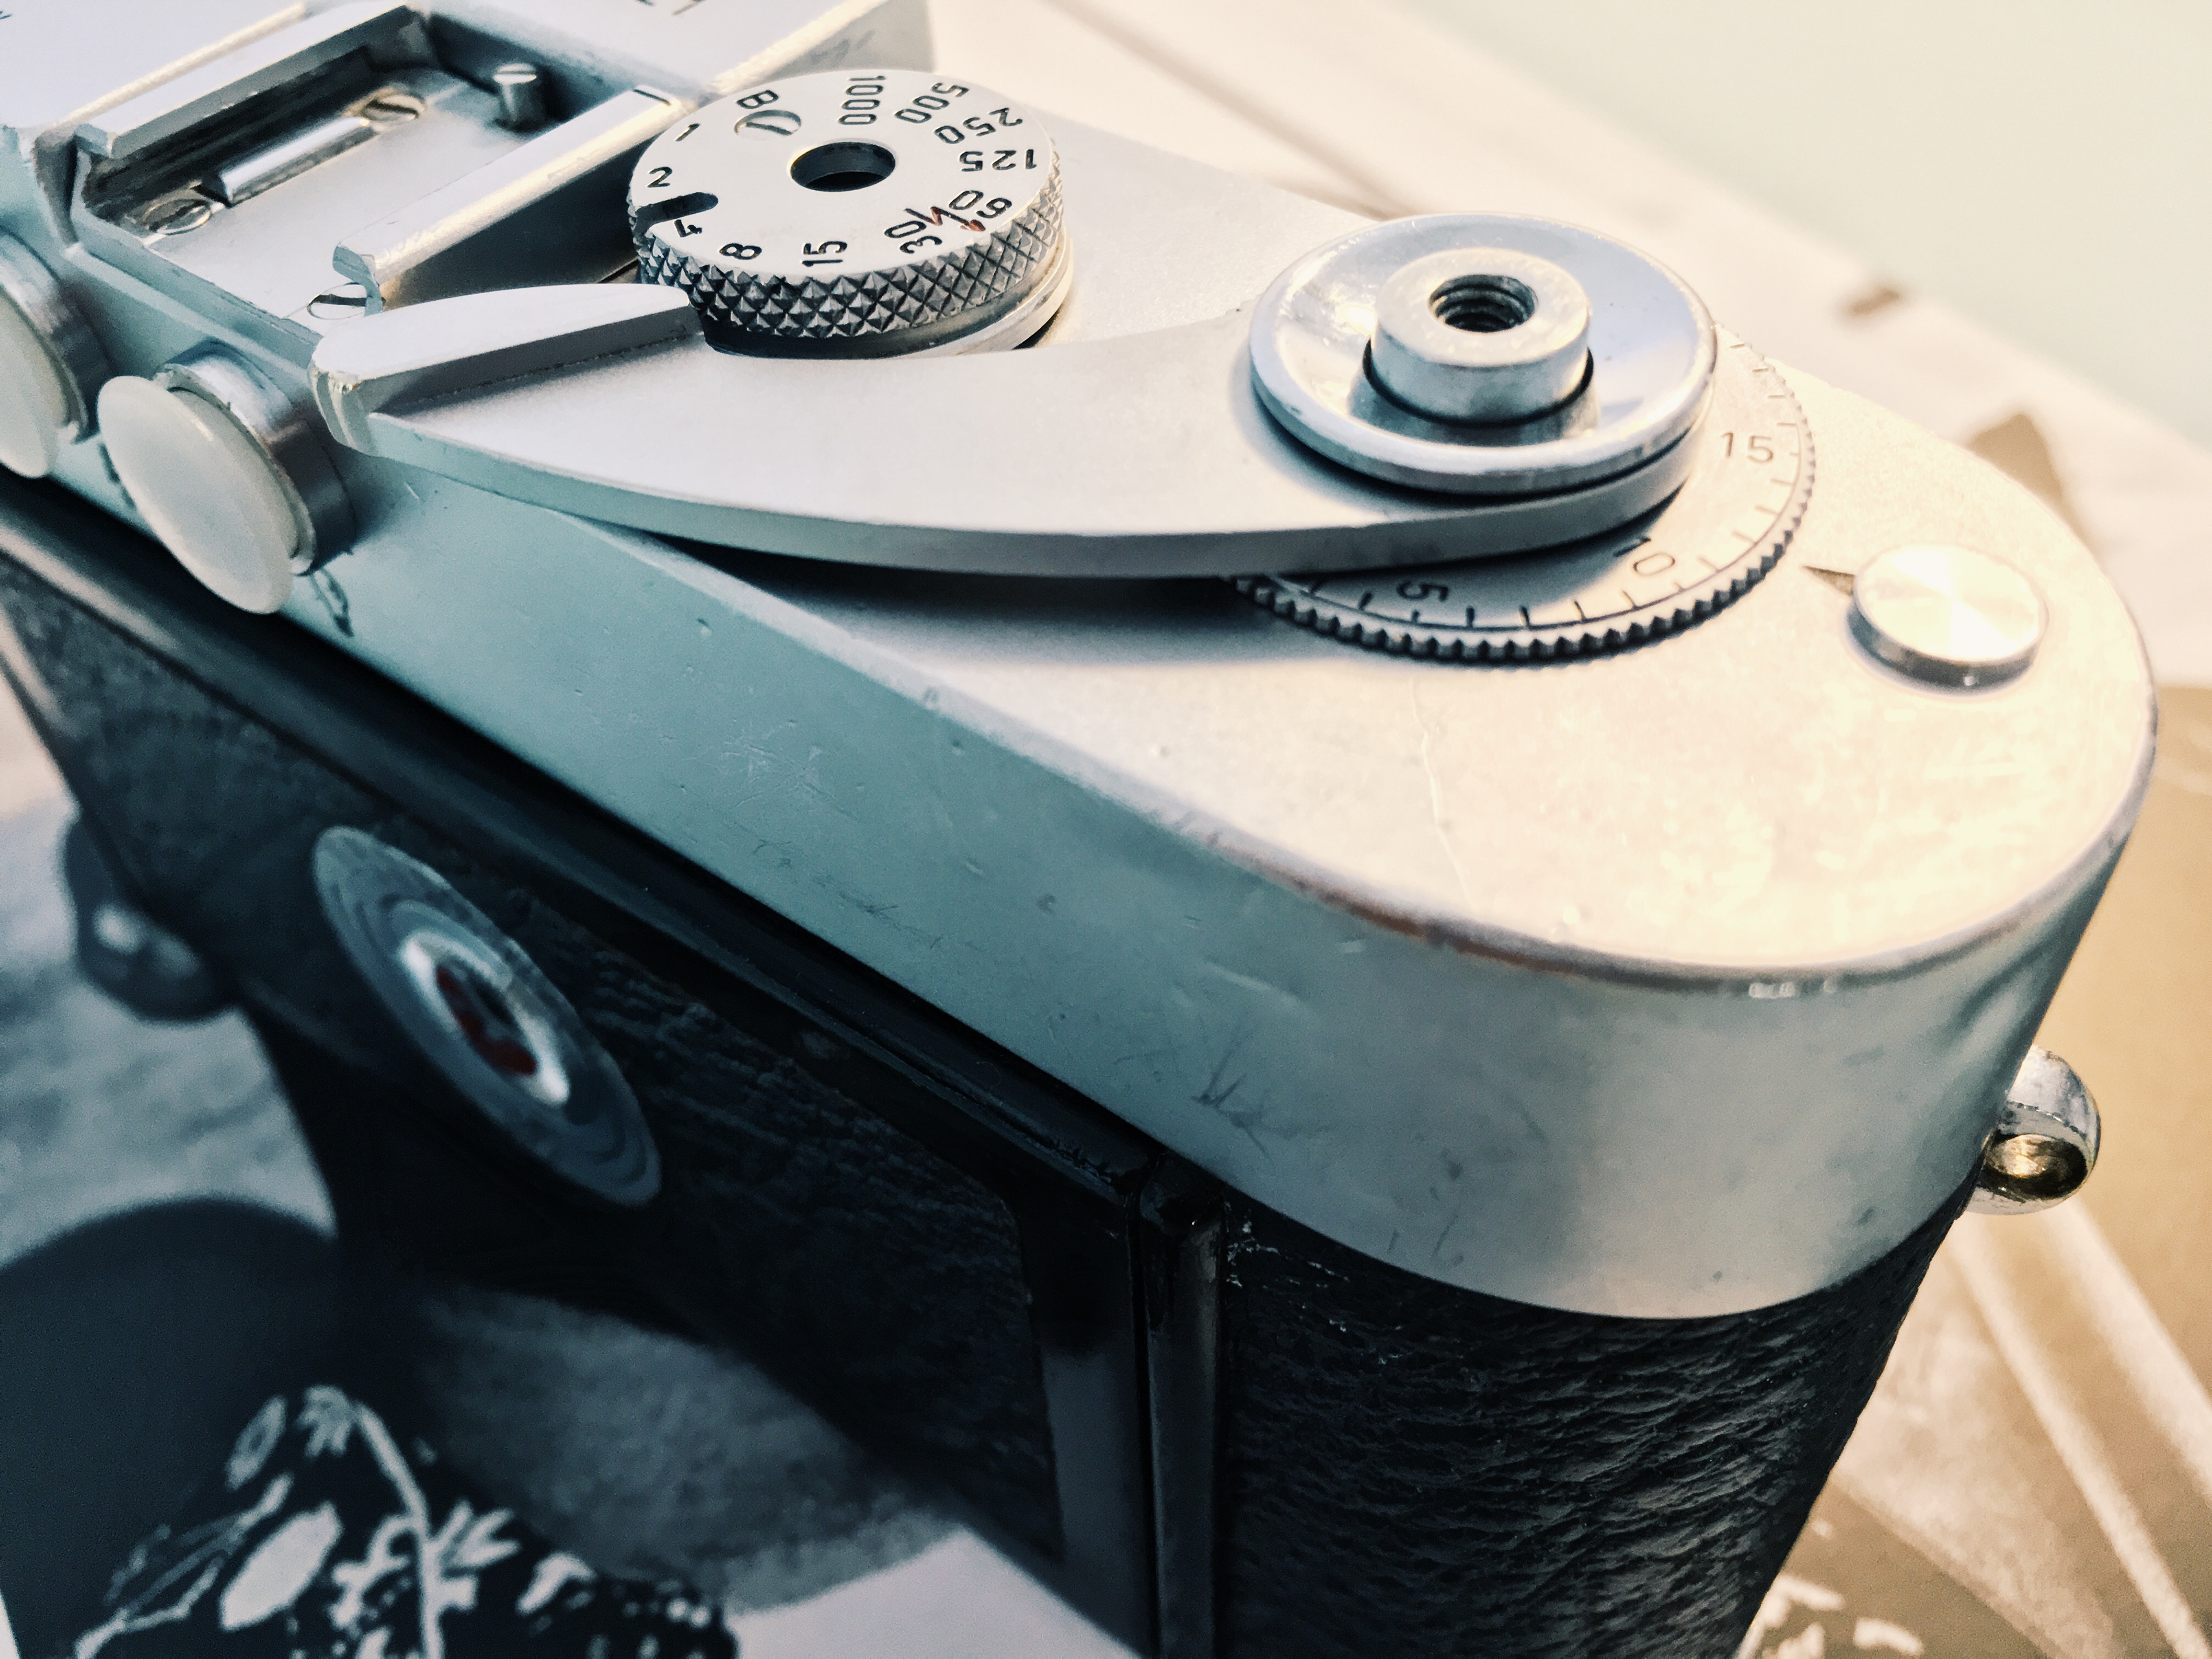
In the meanwhile I learned about how to remove the top plate from the camera and got the right tools to do so.
I wanted to clean the view finder and remove old grease from the gears.
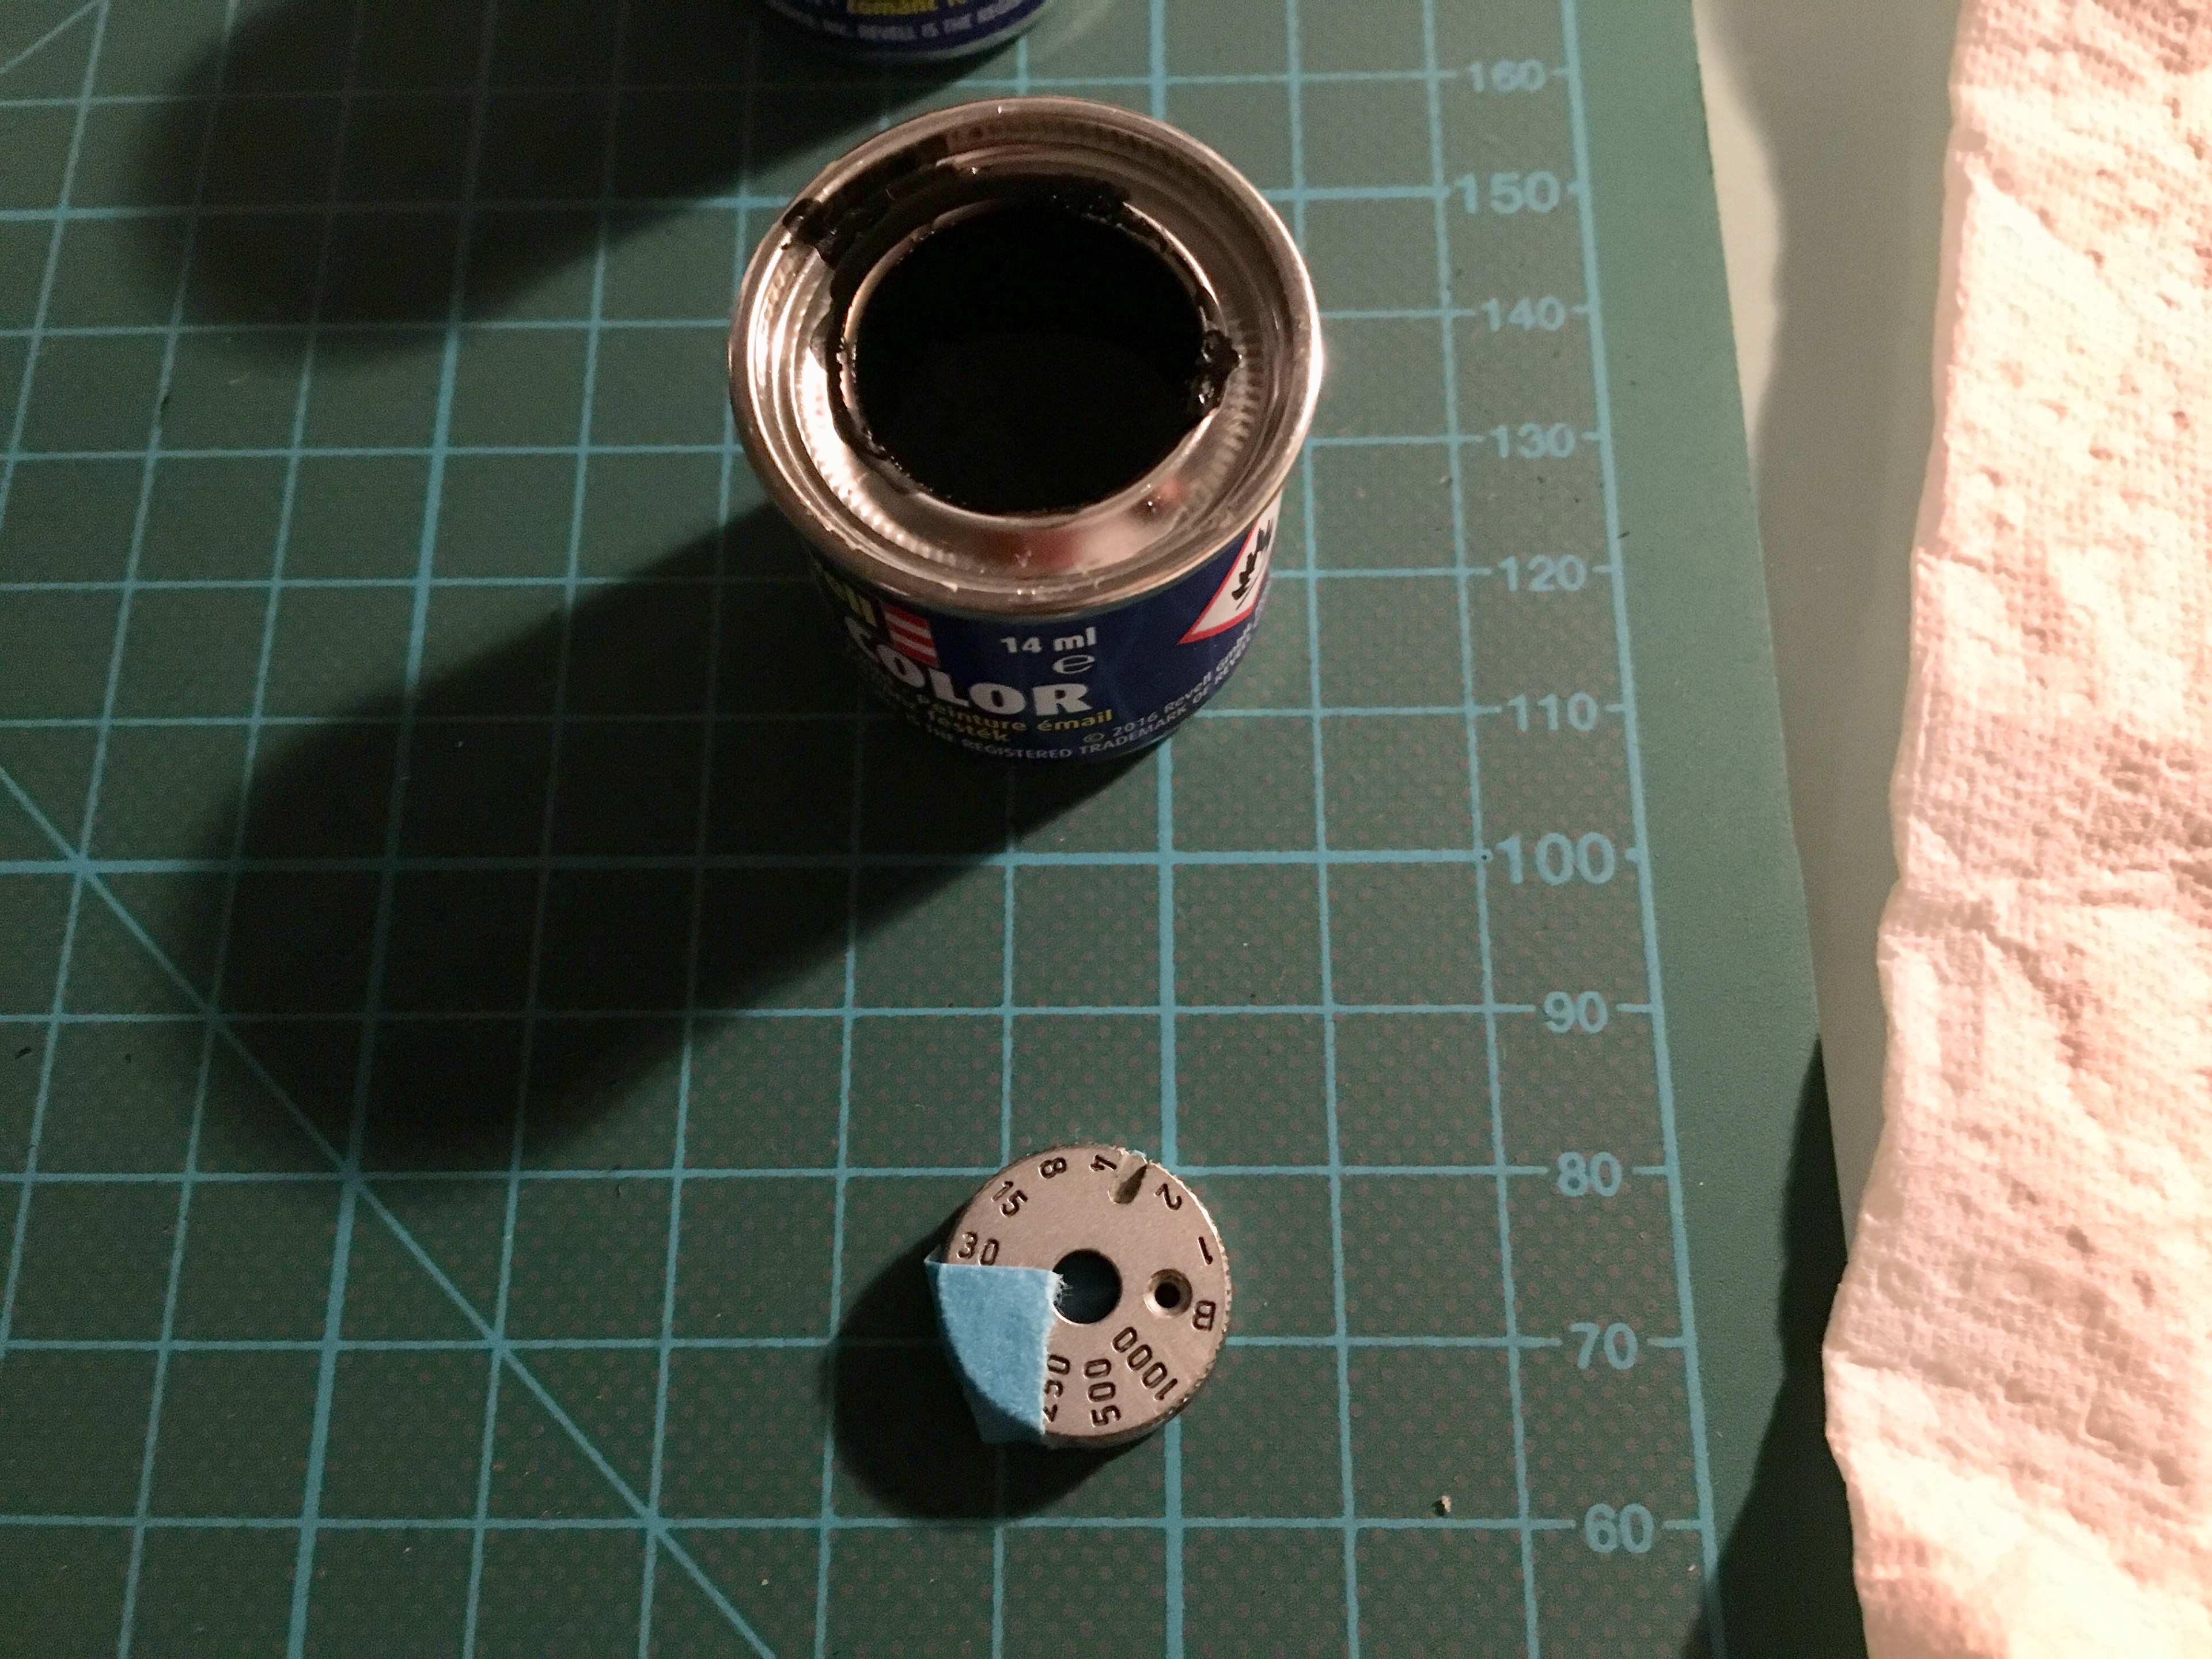
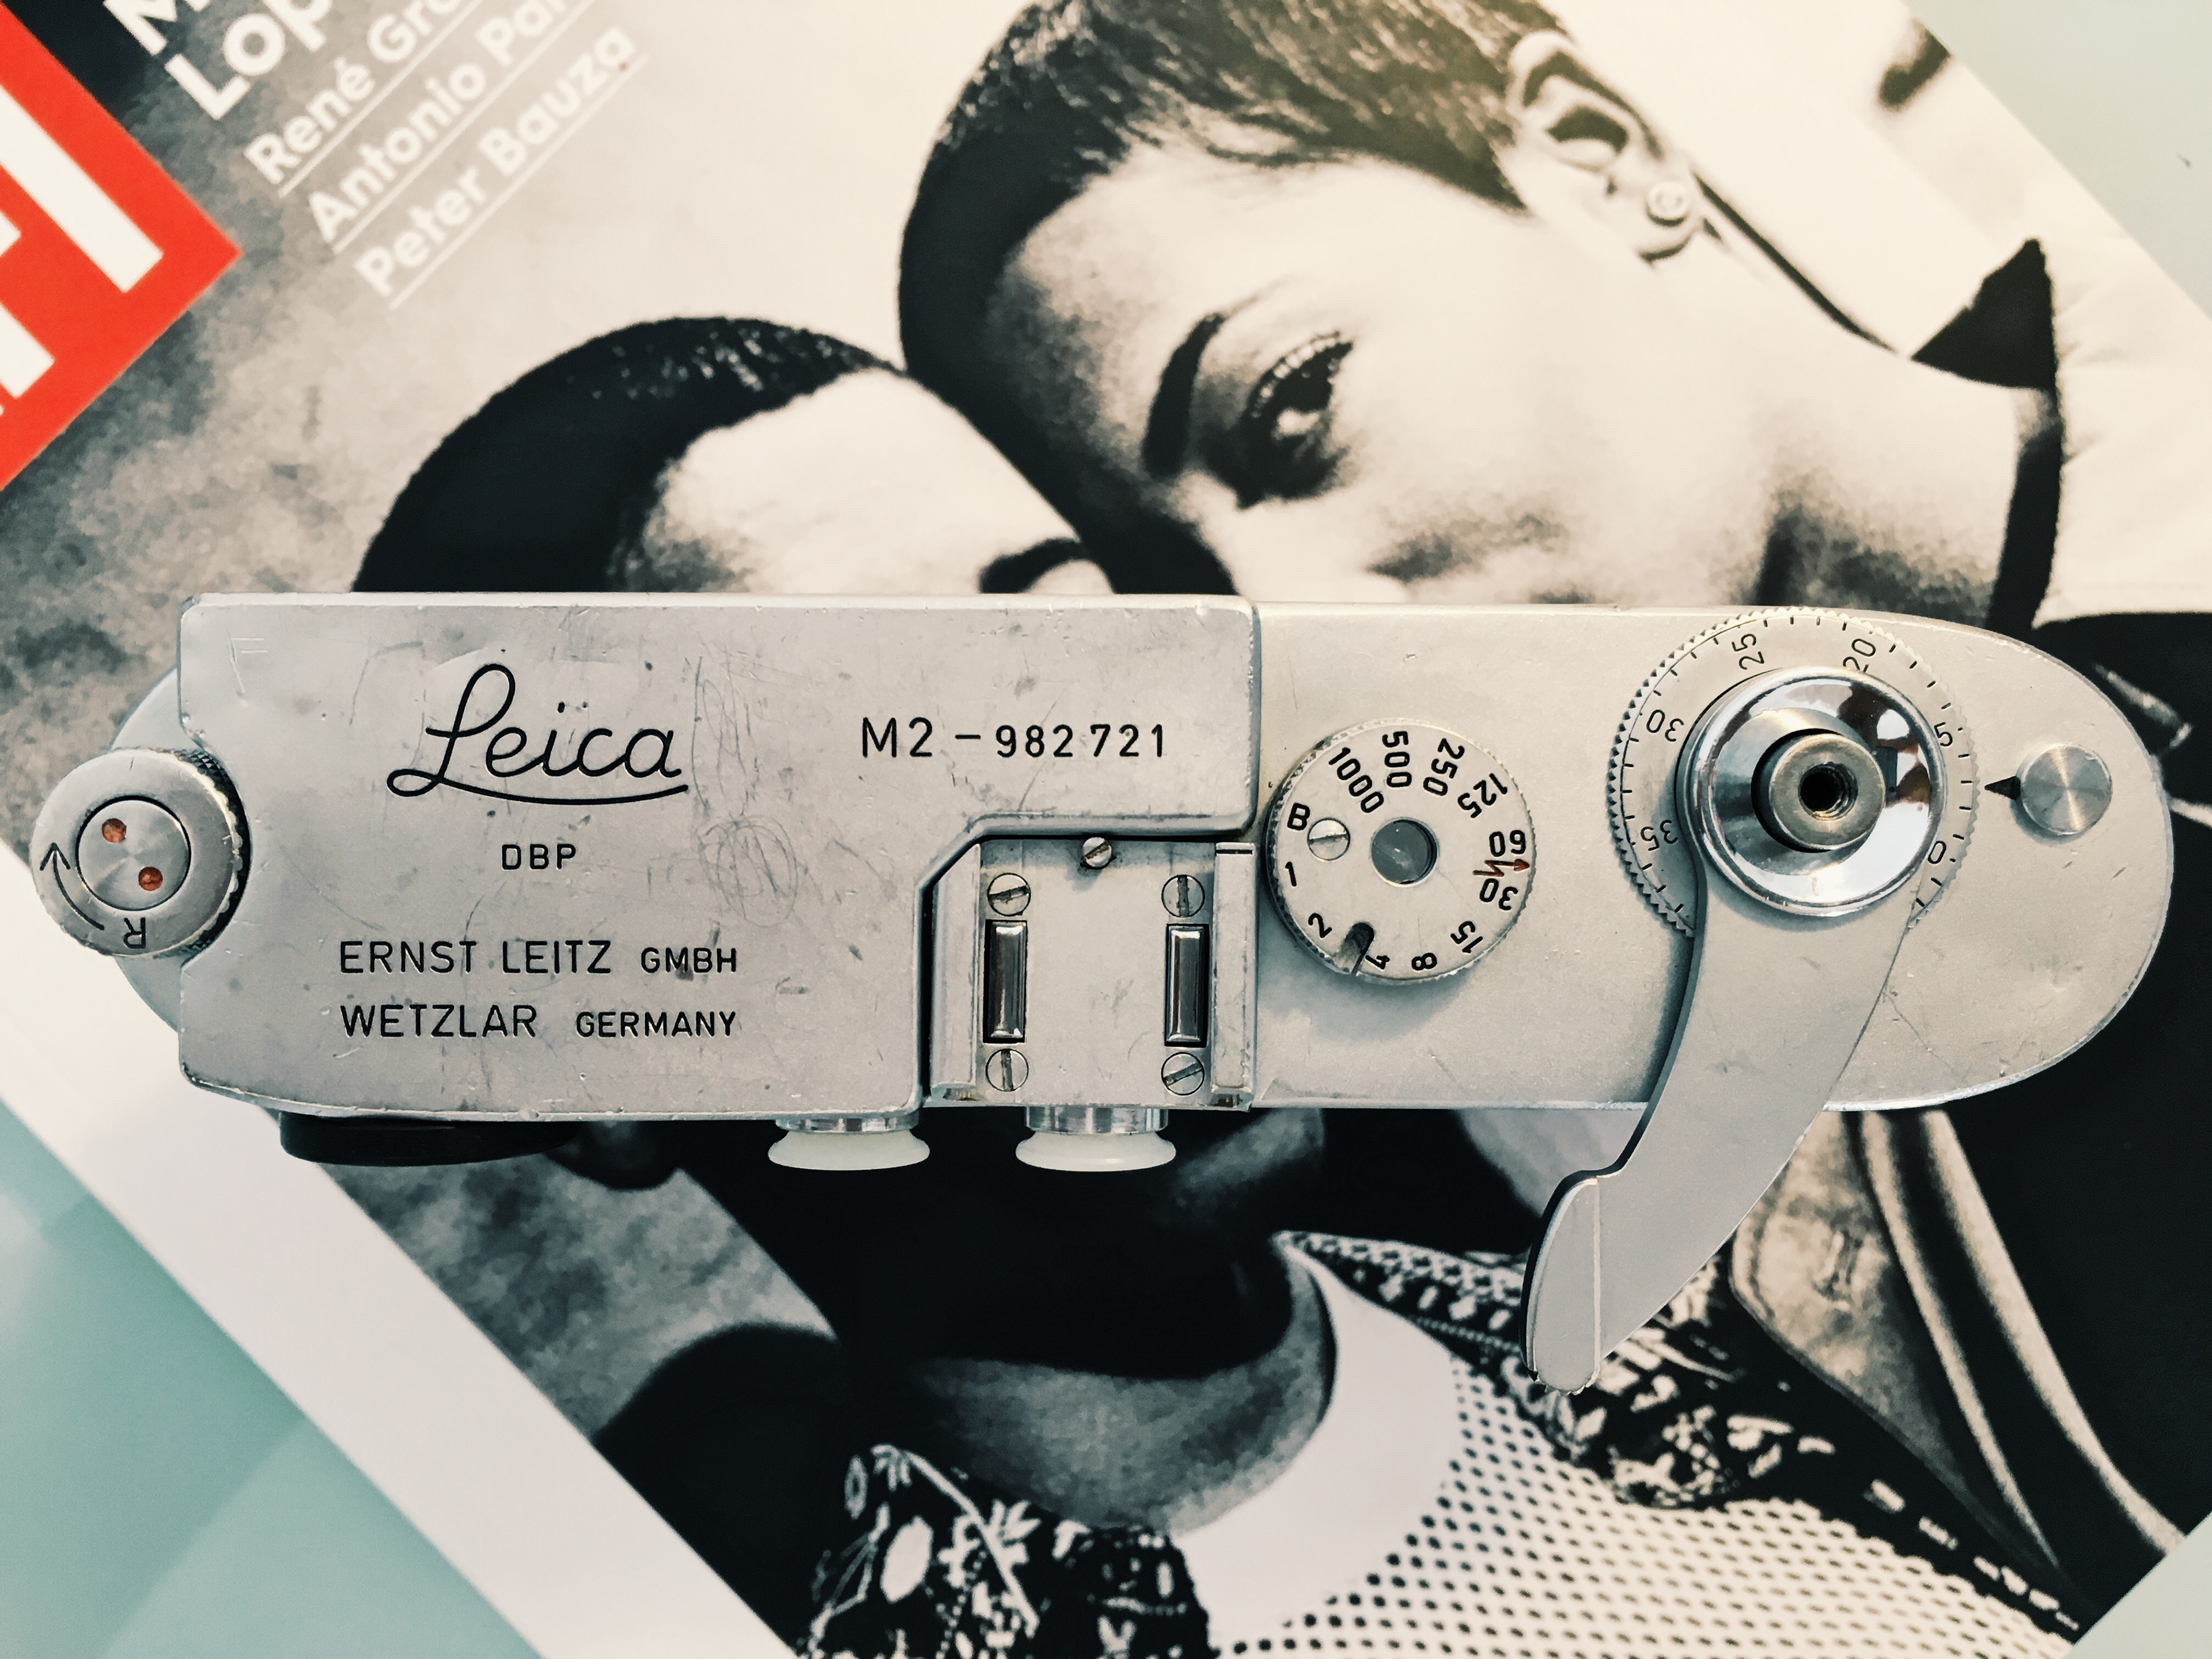
While all parts where removed, I also repainted the top lettering, the shutter-times and the film number indicator. I used flat black model paint, paint over the lettering, removing the superfluous paint with a soft cloth and clean the surface with paint thinner afterwards.
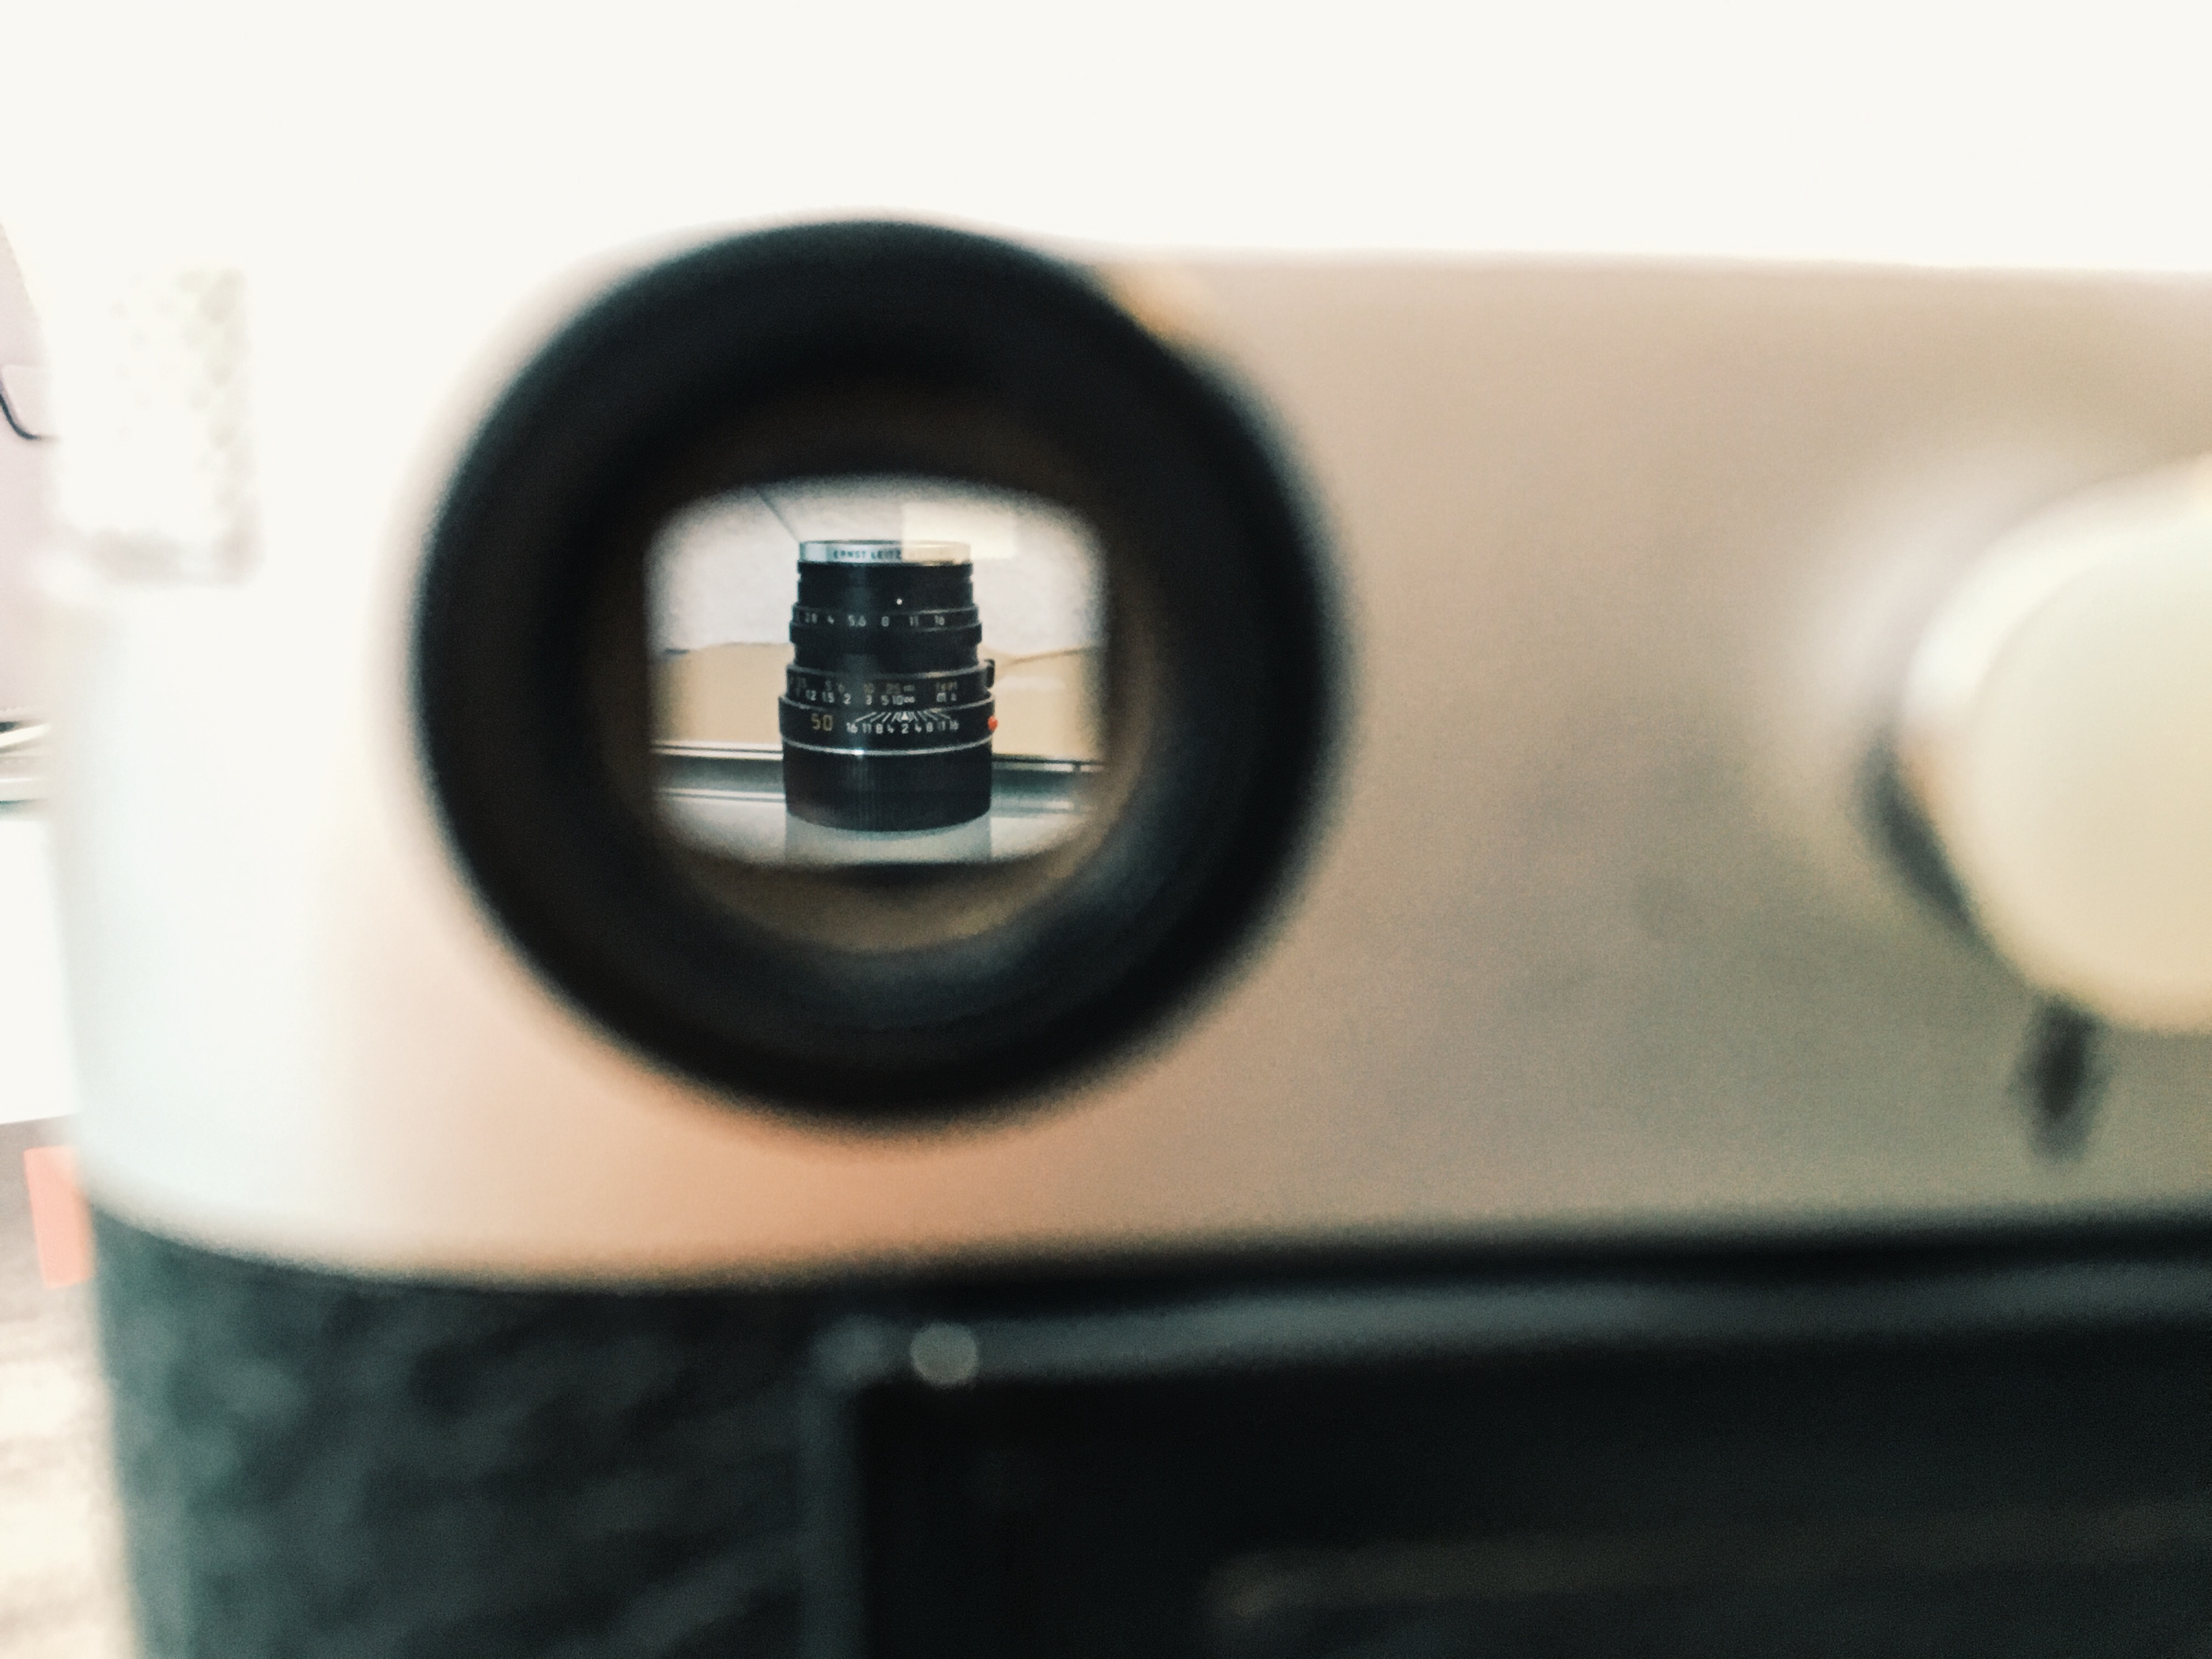
Among some other small Leica parts, I ordered a 20% larger rangefinder frame from https://www.dagcamera.com which is used in the M4.
Now, the viewfinder is not only bright and clear again, but also a lot bigger.
For connivence I attached a plastic frame around the viewfinder frame, so I don't have to fear scratches on my glasses while focusing.
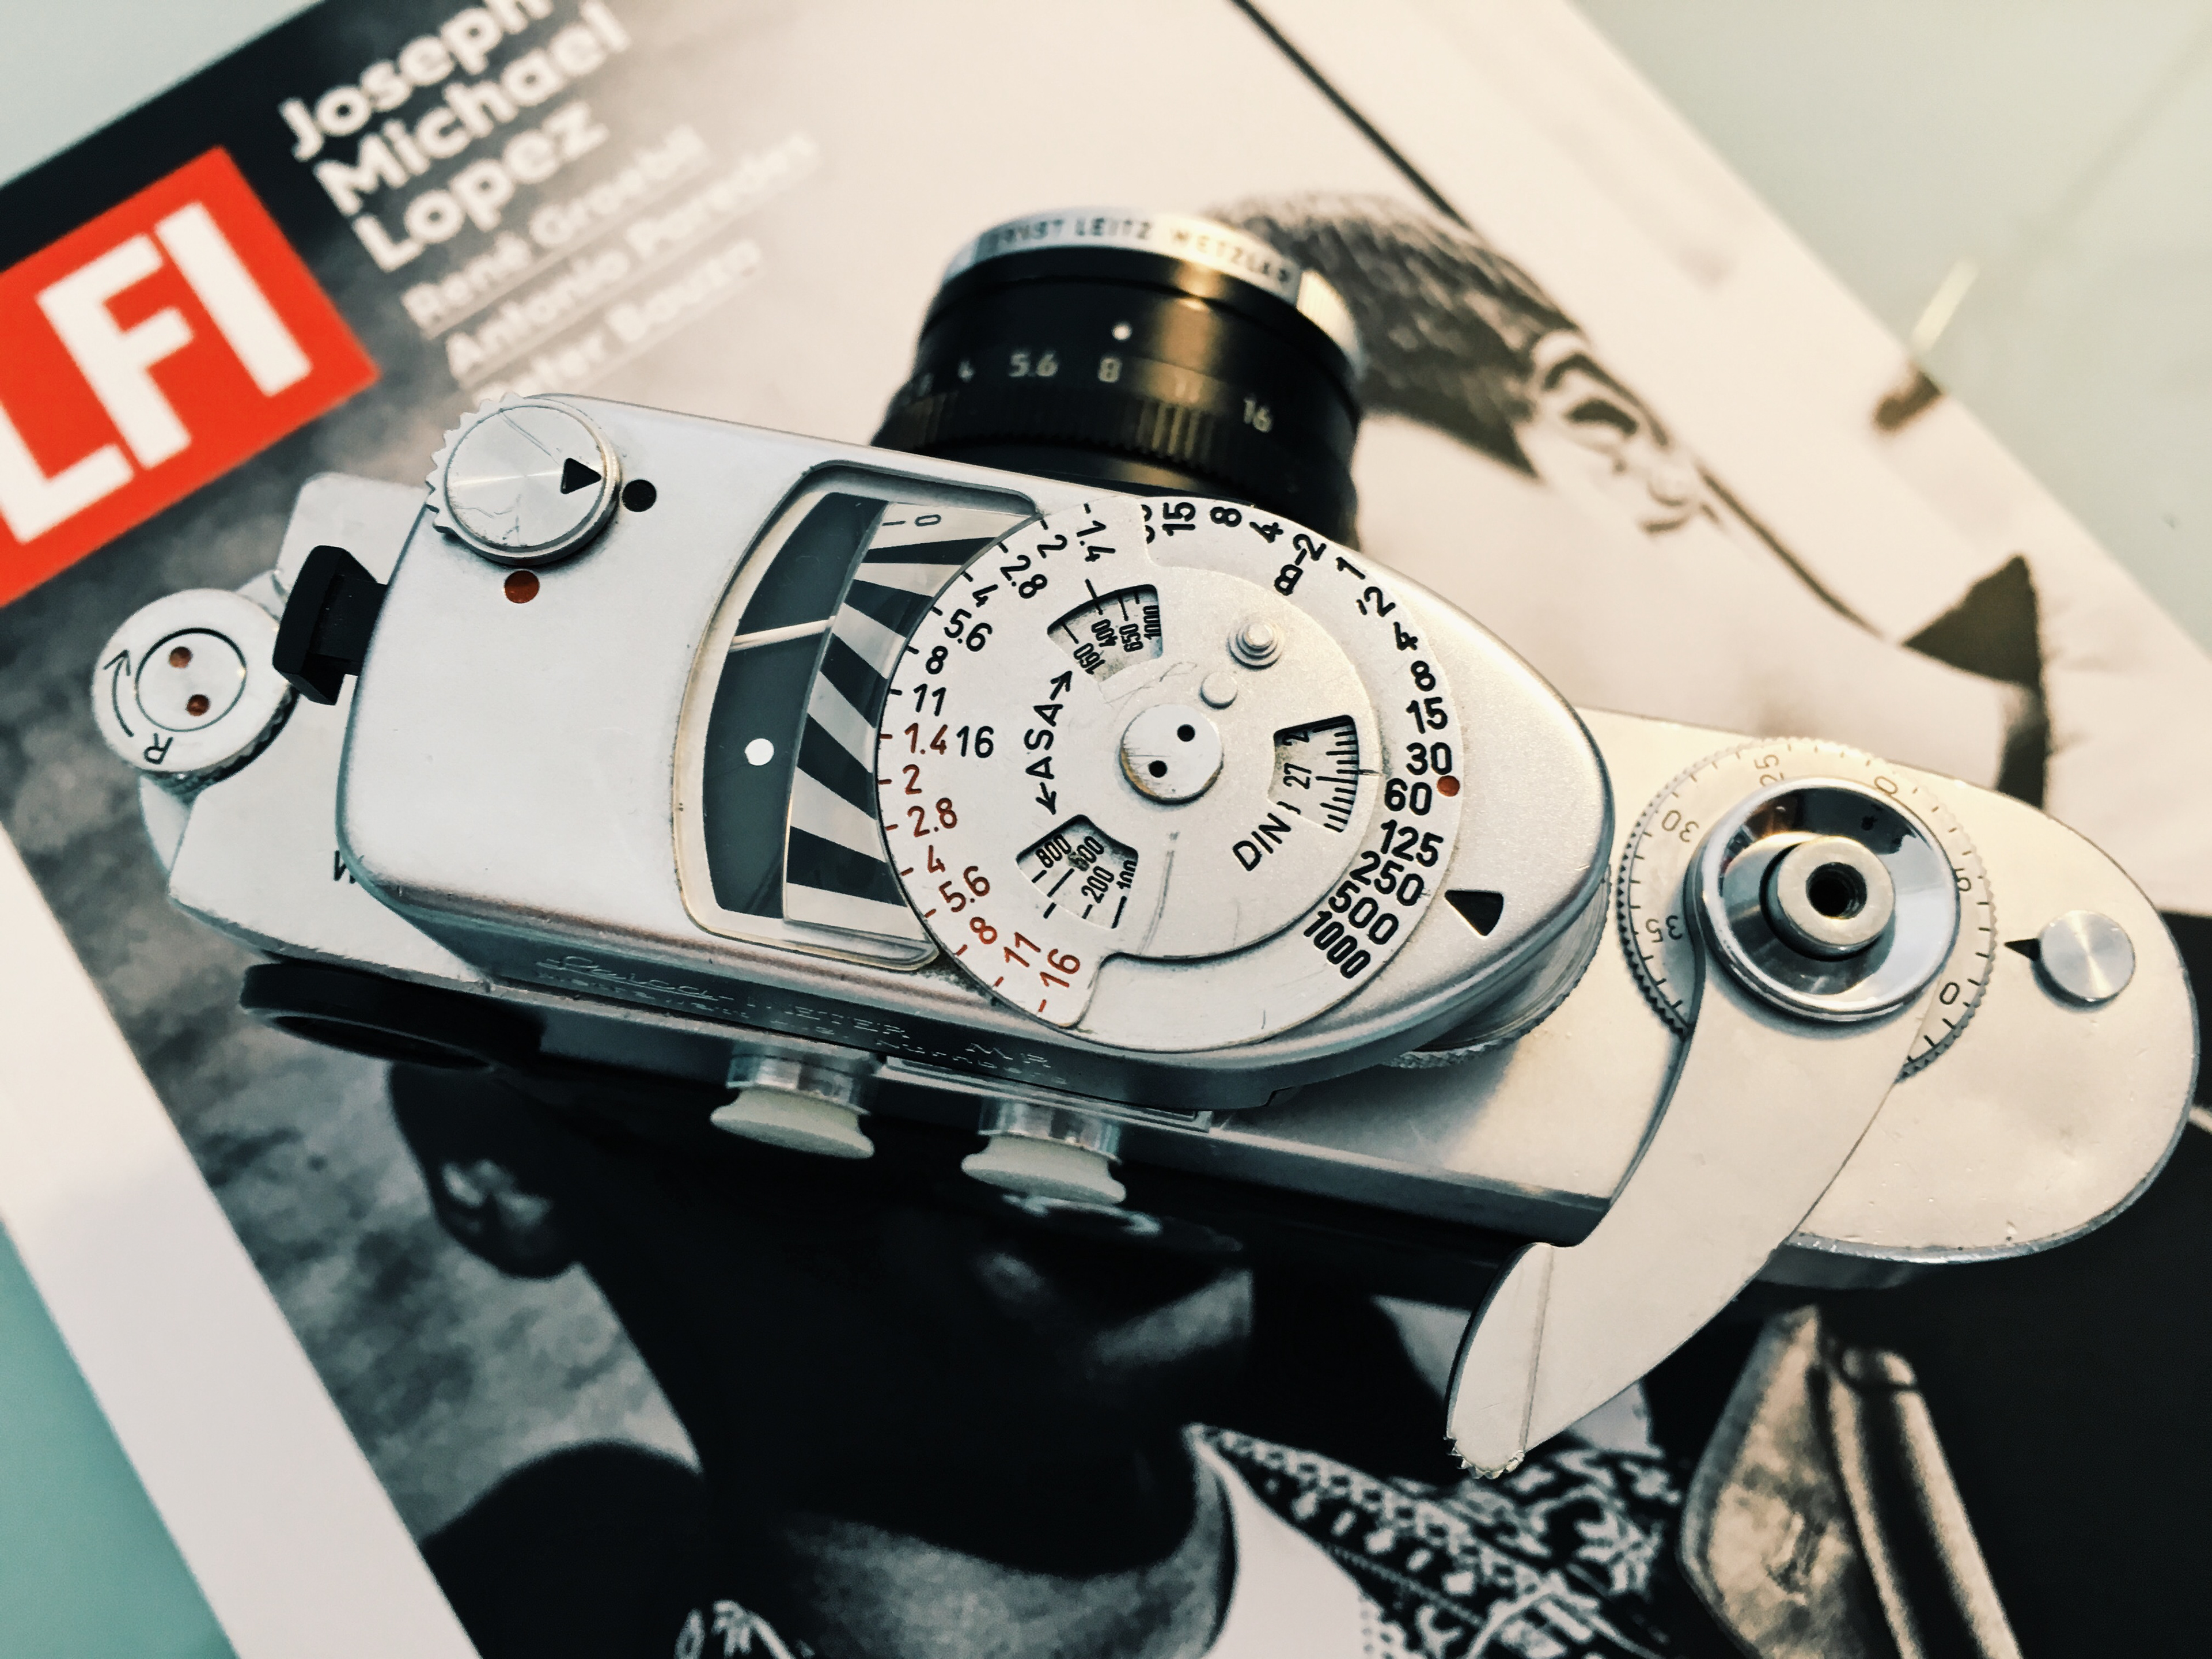
I also found a nice, working Leicameter MR (161004), a Leica Quick Loading Kit (14260), and some E39 color filters (guess I'm now into BW photography).
The first developed pictures are just stunning. The camera feels like new, and hopefully increased the value due to my restoration work.
If you have any questions regarding the process, used tools or anything else, I'm more than happy to help!


Kudos to "John Wayne" for the instruction on the top cover removal (https://www.youtube.com/watch?v=SqYi_sP1WNs)